Hi everyone! It’s Laura here, with a bright and colorful card featuring the new Gerda Steiner Designs Bunny Friends stamp set and a video tutorial showing how you can create it!
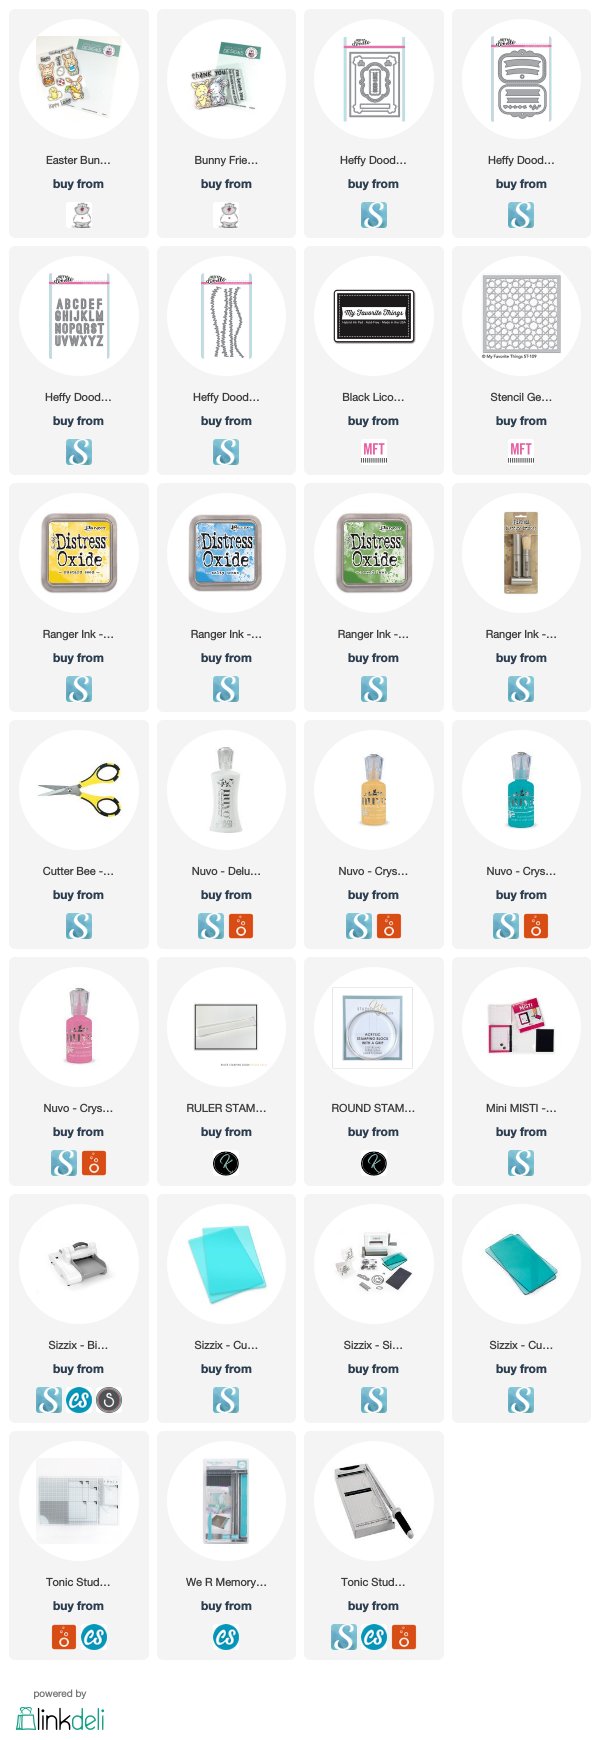
I started by stamping the bunnies with My Favorite Things Black Licorice Hybrid ink on Neenah Solar White 110lb cardstock. I colored the images with Copic markers and fussy cut the with my EK Success Cutterbee scissors.
I created the background on some yellow Bazzil cardstock. I die cut it with the Heffy Doodle Clover Frames dies and added some detail with Distress Oxide in Mustard Seed and the My Favorite Things Abstract Stencil. I couldn’t find this stencil in the MFT store, so I added one in the list of supplies which I felt would work as well.
I then die cut some light blue Bazzil cardstock using the Heffy Doodle Tag Along dies and added some shading to it with Distress Oxide in Salty Ocean and my Ranger Blending Brushes.
I created two grassy borders by combining the Tag Along dies with the Heffy Doodle Lassy Grass Borders. I the shaded them with Distress Oxide in Mowed Lawn.
Using the frame tag in the Tag Along dies, I die cut some pink cardstock. I ended up cutting it twice and layering the die cuts, in order to create some dimension.
For the sentiment I used the Heffy Doodle Alphabetters dies. I cut the word hello, once from pink cardstock and three times from white cardstock. I stacked all the die cuts together and glued the sentiment on my card.
I mounted everything on a top-folding A2 card base and decorated the inside of the card. I stamped one of the bunnies in the Easter Bunnies stamp set by Gerda Steiner Design with Memento ink in London fog. I also stamped the sentiment thank you for being you from the Bunny Friends stamp set with the same London Fog ink.
I finished off the front of the card by adding some Nuvo Drops in Dandelion Yellow, Carnation Pink and Caribbean Ocean and a little bow that I tied from some gray and white twine.
As I mentioned at the beginning of this post, I uploaded a video tutorial in which I show how to make this fun and bright spring card. Make sure to watch it, as I am also sharing some tips on how to glue your die cut sentiment so that they are straight and centered.
And that’s it for today! I really hope you enjoyed the post and the video and I hope I inspired you to create with the Gerda Steiner Designs Bunny Friends stamp set!
Thank you all so much for stopping by and have a great day!

Comments
I LOVE Gerda Designs sooooo much! This is DARLING!