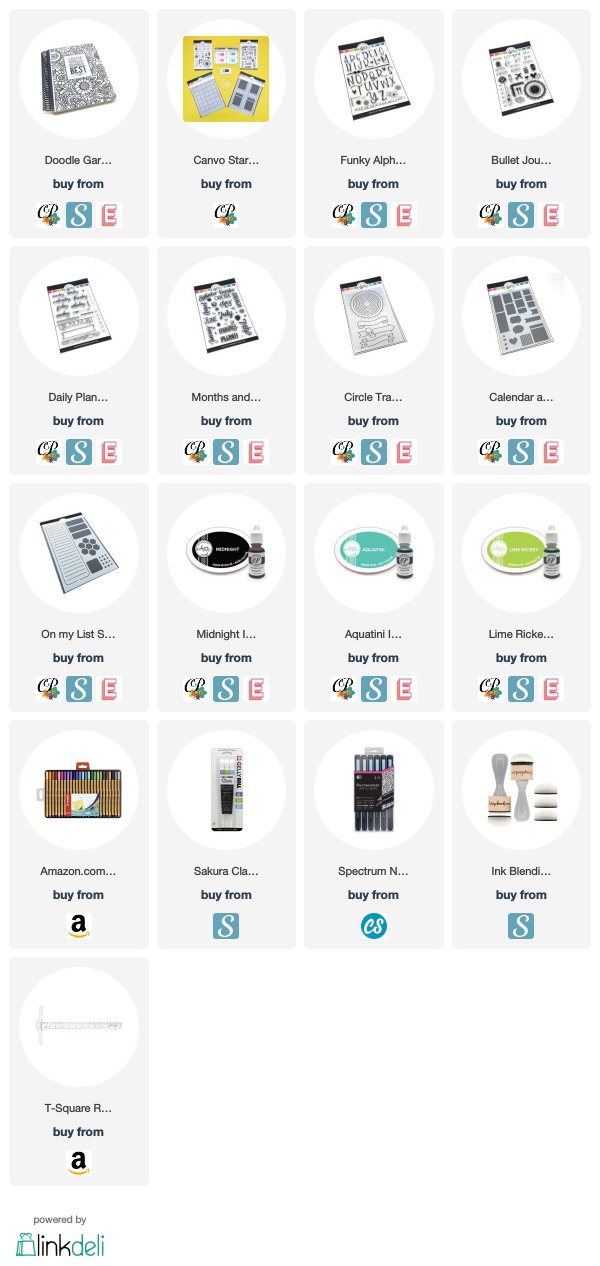
Hi everyone! Today I am back with a post and a video where I will share with you my bullet journal setup for 2020! The journal I am using is the Canvo Bullet Journal by Catherine Pooler Designs [CP | SBC| EH]. If you want to know more about this notebook and the whole Canvo System you can check out this post!
For my setup today I used several stamps and stencils in the Canvo line by Catherine Pooler Designs, I will explain everything in the post and the video!
INDEX

The first page in my bullet journal is my index. Here is where I will keep track of all the content I have in my bullet journal, so that I can always find what I am looking for. As I add new pages I am going to log them in the index by writing down page number and page title.
For the title and the squiggly lines I used stamps in the Funky Alphabet stamp set [CP | SBC| EH] . I stamped the title with Midnight Ink by Catherine Pooler and the wiggly lines with Aquatini and Lime Rickey Inks.
CHEAT SHEET

The second page is my Cheat Sheet. Here is where I write down how many squares long is my page, both in the vertical and horizontal direction. I then do the same but diving the page in half, thirds and quarters. This is a reference page that I can look up when I want to draw boxes in my Bujo and it will help me figure out the size they need to be. The credit for this idea goes to Amanda RacheLee 🙂
I drew the guides with Stabilo fine liners in different colors. For the title I and the smaller stamped circles I used again the Funky Alphabet stamp set and for the scalloped circle I used the Bullet Journal Basics set [CP | SBC| EH]. The large circle was ink blended over a mask and the circles inside it were created with a white gel pen and the Circle Tracker & Banner Stencil [CP | SBC| EH].
There is actually a funny story about why I have this ink blended circle on my page – you can find it out in the video at the end of this post!
key

Next, is my Key page. Here is where I define symbols that will help me organize tasks, events and appointments. It is a crucial element in every Bullet Journal.
I created the box for my key using the On my List Stencil [CP | SBC| EH]. I ink blended a large black circle again and decorated the rest of the page with stamps in the Funky Alphabet, Daily Plan [CP | SBC| EH] and Bullet Journal Basics stamps sets. I also created a shadow around the page title with a green Stabilo fineliner.
goals and milestones

Following the Key, we have a Goals and Milestones page. Here is where I will write down the objectives I have for 2020 as well as my achievements.
Like for every other page, I stamped the titles with the Funky Alphabet set. I added a banner with one of the stamps in the Daily Plan set and Lime Rickey ink. I also added some faint grey lines with a Marvy Uchida brush marker.
FUTURE LOG

The next spreads in my Canvo Bullet Journal are the ones that form my future log. This is basically a yearly calendar with three months on one page, where I can log future taks and events. At the beginning of each month I can then migrate them to my monthly pages.
For each month I created two square boxes with the Calendar and Boxes stencil. There is where I have the monthly calendars. I then created a larger box around each monthly calendar with the On my List Stencil.

Using a finger dauber, Aquatini ink and the Calendar and Boxes stencil I created a banner, where I stamped the name of each month. I used the Months and Doodas stamp set and I outlined each month name with a white gel pen.
IDEAS

I also created a page to brainstorm ideas for my blog, my channel or anything that would pop into my mind. I called the page Ideas and I thought it would be fun to decorate it with the speech bubbles in the Calendar and Boxes stencil. Again, I did some ink blending with a finger dauber.
The arrows and the stars around the title are part of the Daily Plan stamp set.
to do and wishlist

The last page on my 2020 Bullet Journal setup includes spaces for To-Dos and for a wish list. For this spread I used only stamps from the Funky Alphabet set. I added some faint gray lines with a brush markers and that finished my setup.
video
I really hope that the description of my setup was clear, but if you’d like to know more, you can watch the video down below! I hope you like that, too!
Thank you all for stopping by and have a great day!

The items marked with a * were sent to me for free for designing purposes. When possible, affiliated links are used at no cost to you. Thank you for your support! 💖