

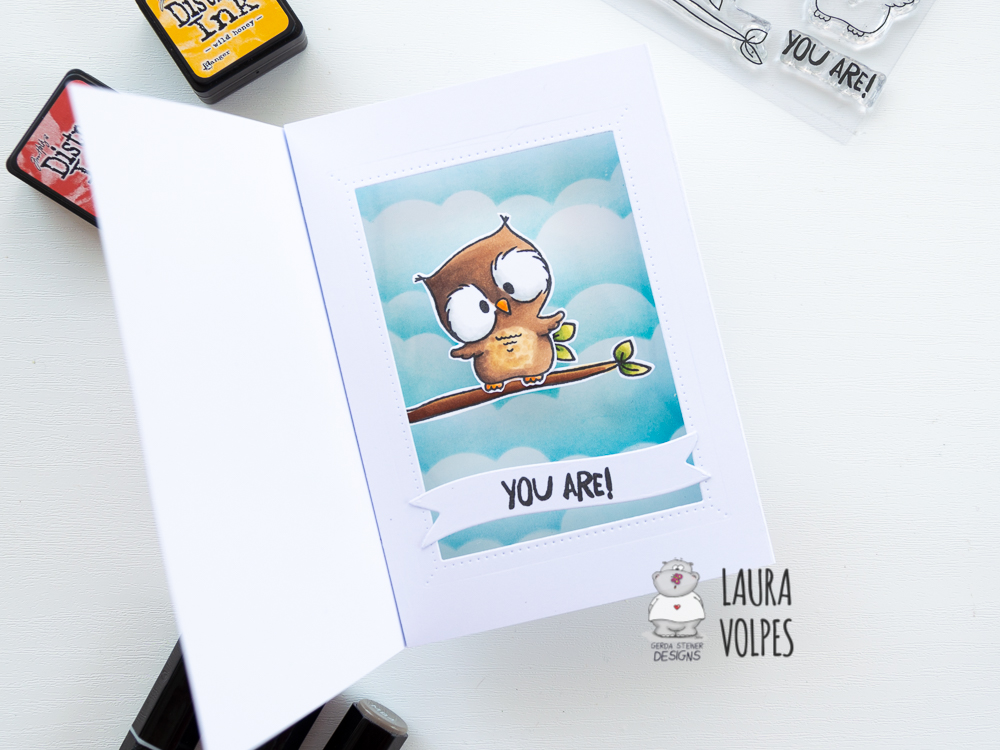
Hi everyone! Today I am back with another card and a video I made for Gerda Steiner Designs! I was so fascinated by Jennifer McGuire’s tutorial about shadow box cards, that I had to give it a shot!
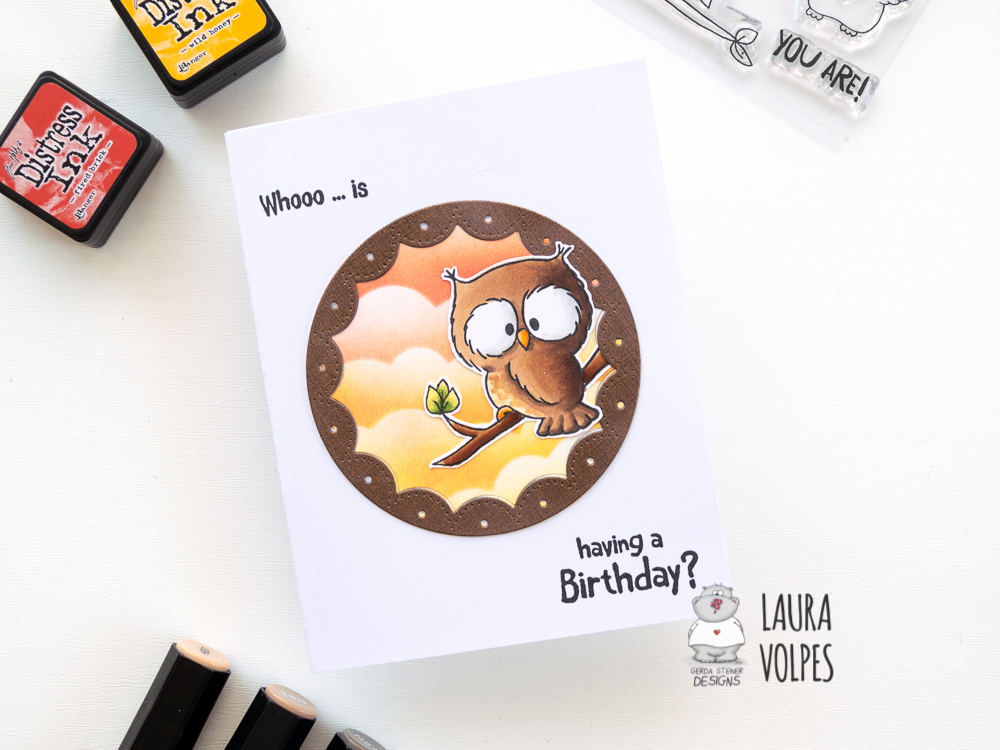
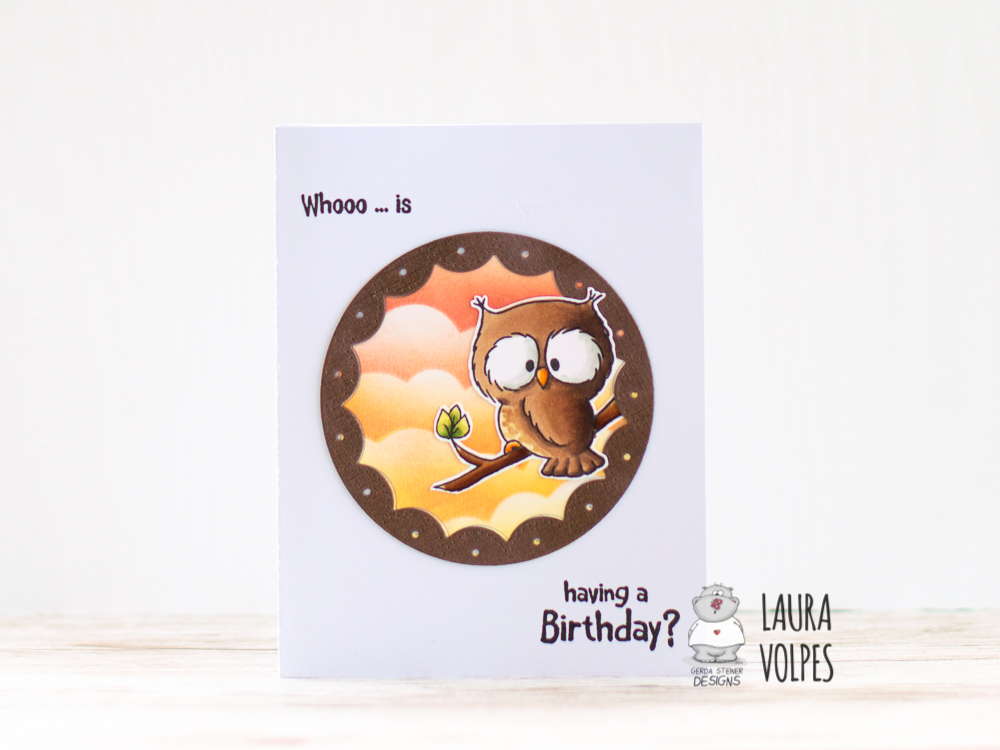
The stamps I used for this fun birthday card are from the Gerda Steiner Designs Owl Rather Be With You stamp set. I stamped them with Black Licorice Hybrid ink by My Favorite Things on Neenah Solar White Cardstock and colored them with my Spectrum Noir markers. I then fussy cut them with my EK Success Cutterbee Scissors.

I then used the Studio Katia Fancy Circles die to cut a circle out of the red sky. I used the same die to obtain the brown frame.
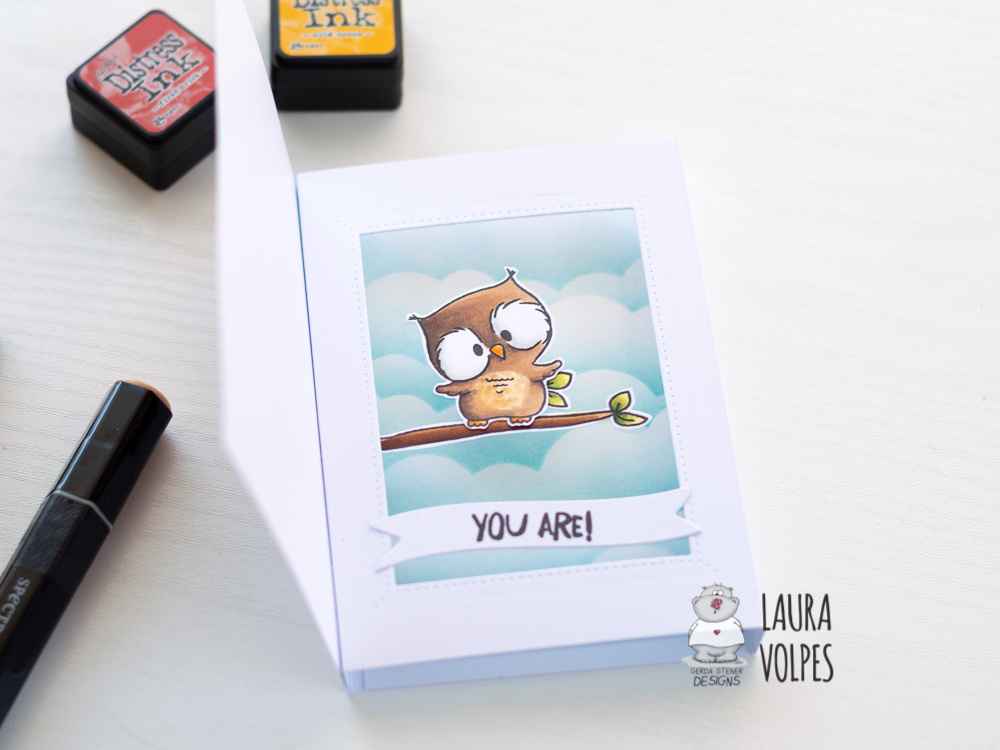
For the shadow box itself you are going to need two panels, which I created out of white cardstock.
The first one measures 4.25×10.5″ and is scored at 4.25″
The second one measures 4.25″x11″, and is scored at 0.5″, 4.25″ and 4.75″. Because this is the panel that will form the shadow box, I created a rectangular opening using the Studio Katia Dotted Patterns Set 2 . The opening should be created on the side between the 0.5″ and the 4.25″ score lines.
Before assembling the shadow box I stamped the sentiment on the front of my card. This would be the 4.25″x5.5″ side of the panel with one score line only. I used the sentiments from the Owl Rather Be With You set that read “Whooo…is” “having a Birthday”, and stamped them with My Favorite Things Black Licorice Hybrid Ink. I also stamped the “You are!” sentiment from the same set on a banner that I die cut using the Studio Katia Dotted Patterns set 2 dies.
I assembled my shadow box (you can see how in the video tutorial down below), and then I decorated it with the stamped images and all the elements I had previously created. I also wanted to mention that I backed the window of the shadow box with some acetate, so that the owl, the branch and the sentiment banner would be nicely supported.


