

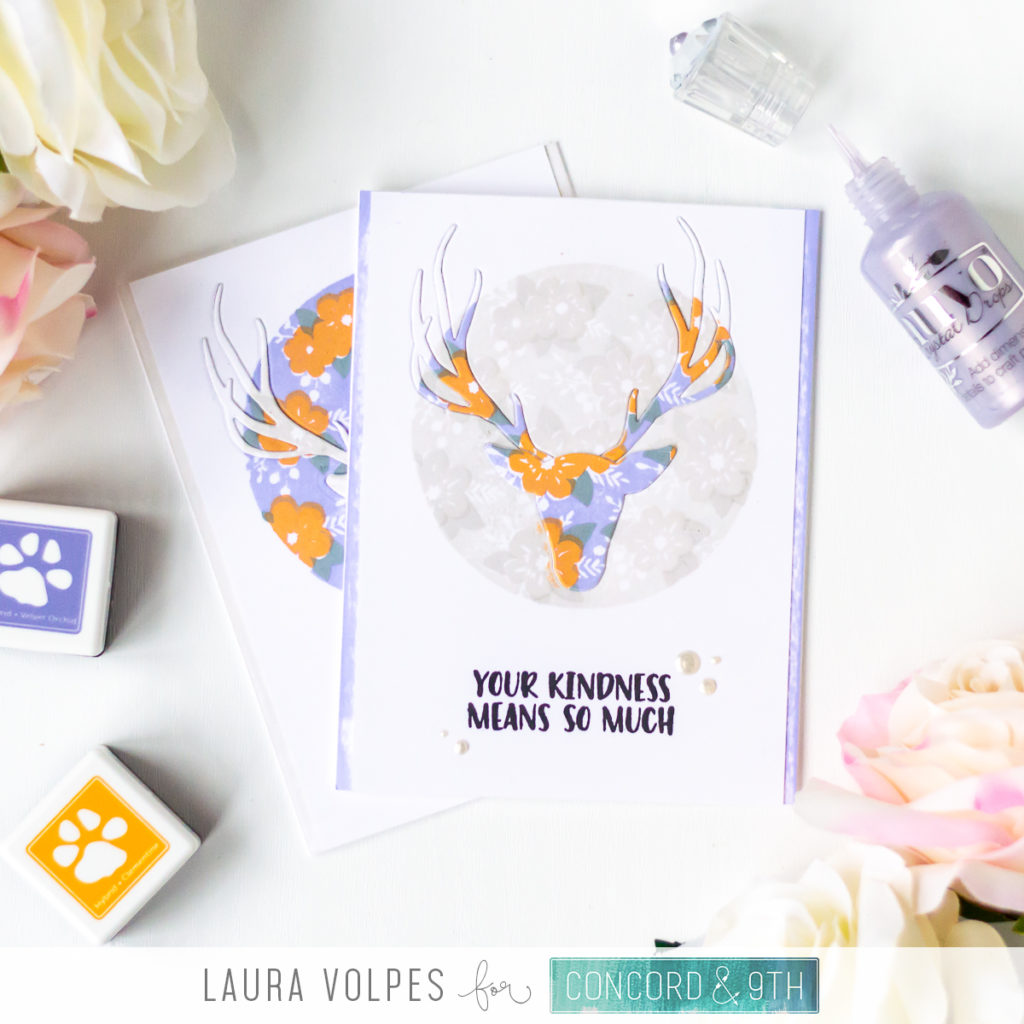
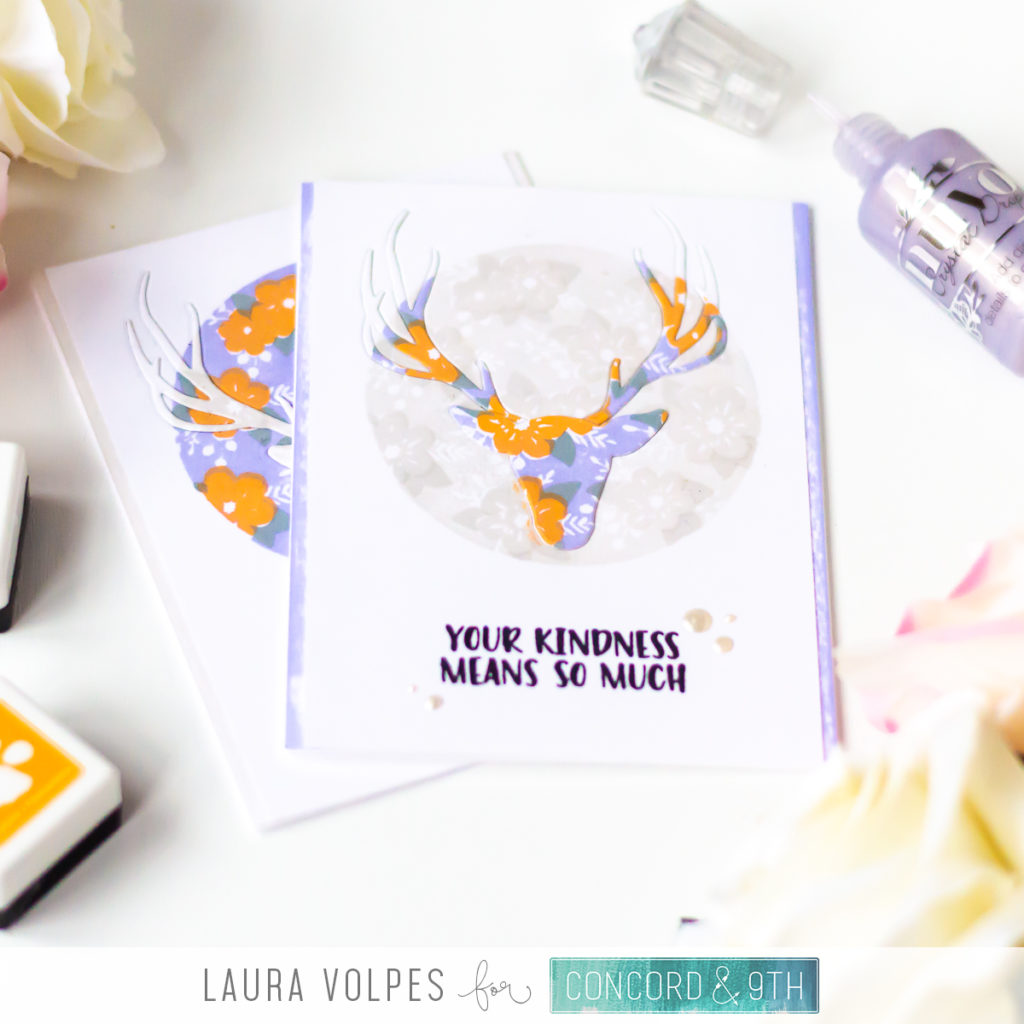
For today’s post I created two cards that share the same designs, but in which the color scheme is inverted.
I started by stamping the floral pattern in the Floral Print Silhouette Stamps on some Neenah Solar White 80lb cardstock. The pattern is built from three different stamps, so I first stamped the background, then the flowers, and finally the leaves. Aligning the stamps is really easy, as on each of the stamps there is a tiny arrow which works as a guide. A stamping tool like the Mini MISTI is also a great ally.

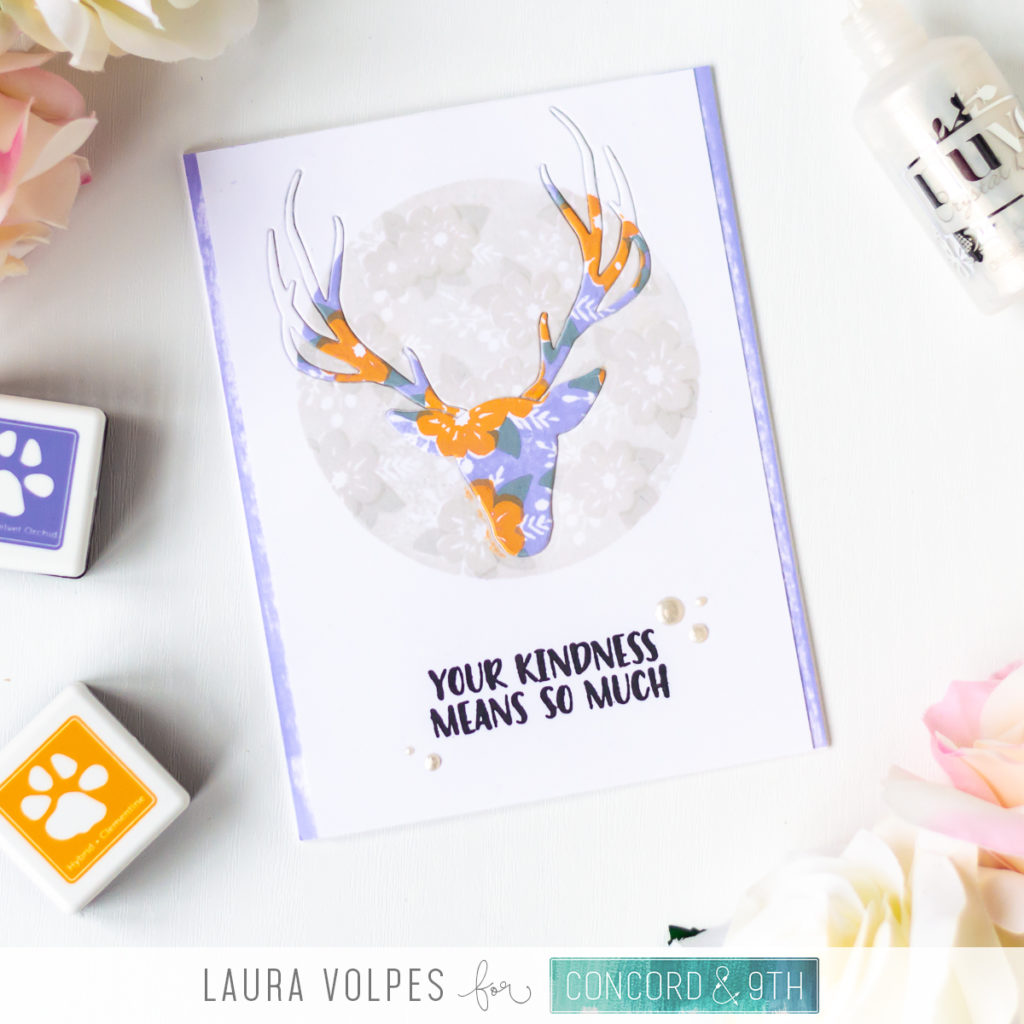
For my greyscale pattern I used the My Favorite Things Grout Grey ink. I achieved the different color depths by stamping each section a different number of times. I stamped the background twice, the flowers four times, and the leaves six times.
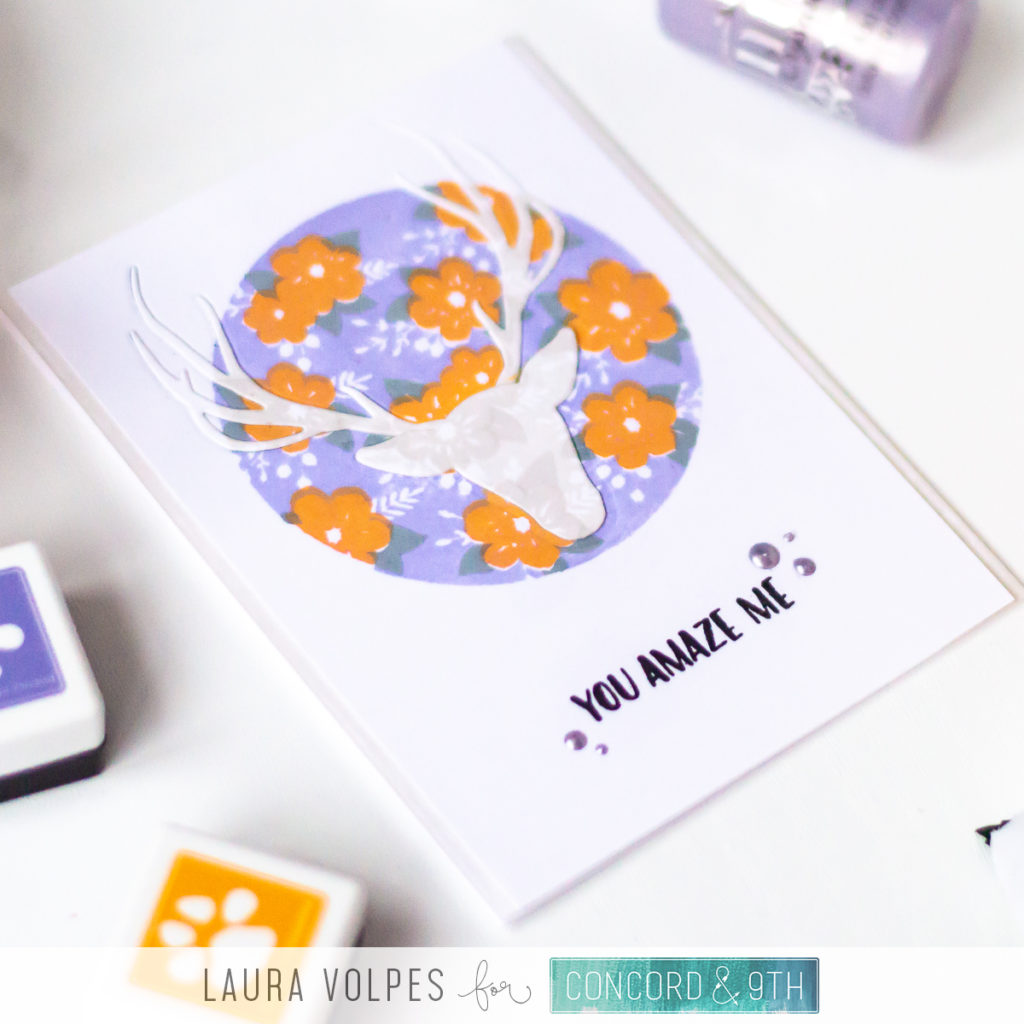
For the colorful pattern I did the exact same thing on a separate sheet of Neenah Solar White, using inks from the Simon Says Stamp Morning Sun Mini Ink Cube sets. For the background I used Velvet Orchid, for the leaves Seafoam, and for the flowers I layered Clementine and Rose Apple.
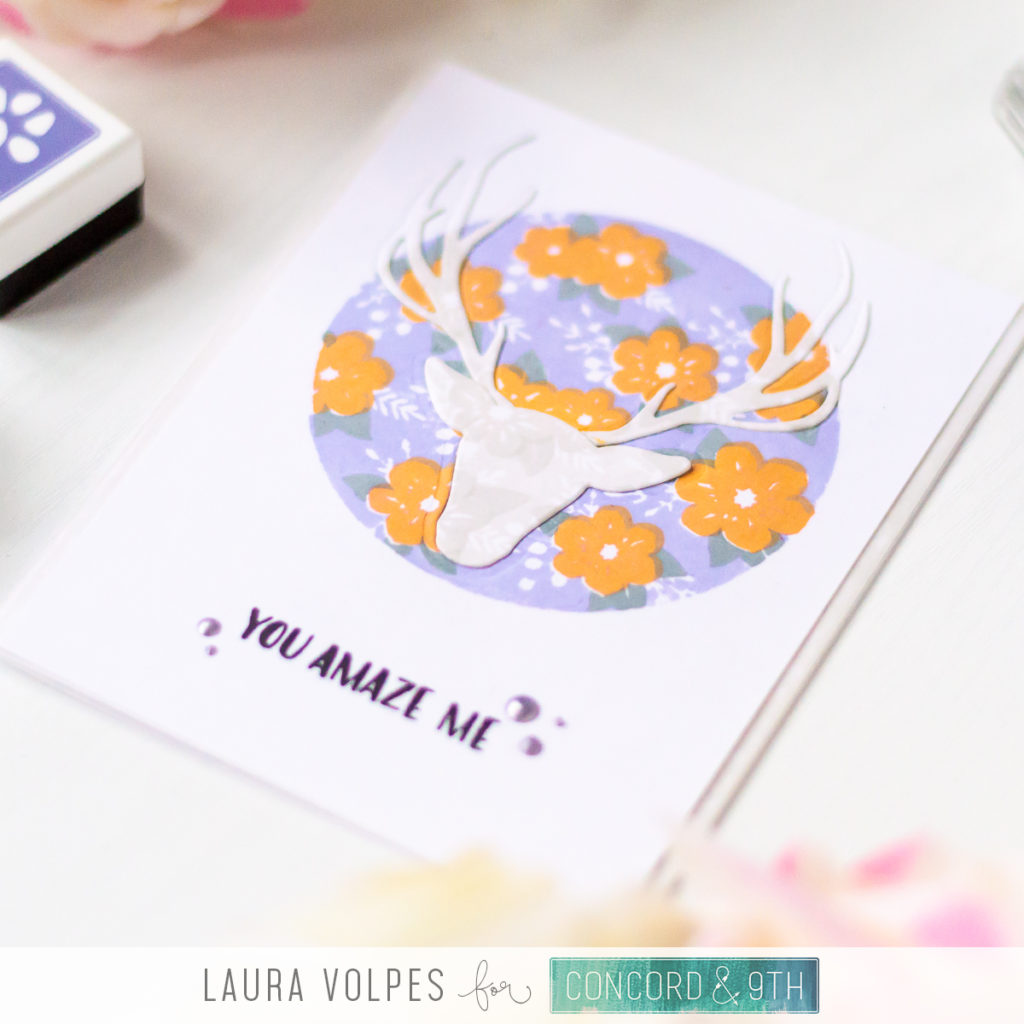
I then die cut the deer in the Floral Print Silhouette Dies out of the stamped panels. I die cut it from the first, and then used that to guide me in cutting the second one exactly in the same position. This way I could switch them up, while still having a continuous floral pattern.
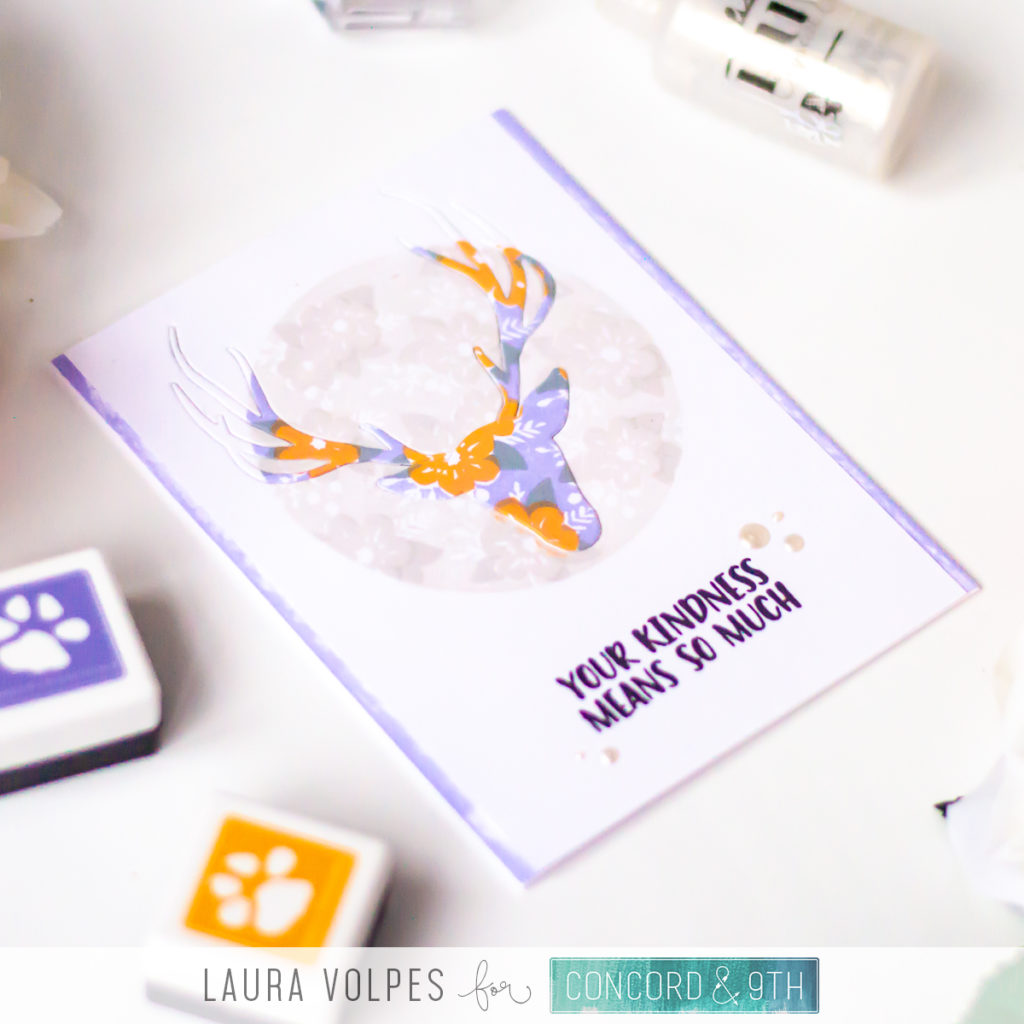
I also cut two more deers out of scrap white cardstock and glued them under the stamped ones, as I wanted to create an inlaid die cutting effect, but with some dimension.
Before adhering the deers, I trimmed each of my card fronts to 4 x 5.5″. To create the borders on the side of the cards, I took some more Neenah cardstock and lightly swiped the MFT Grout Grey and the SSS Velvet Orchid ink pads along the sides. By using a light hand I was able to add both color and texture to the paper.
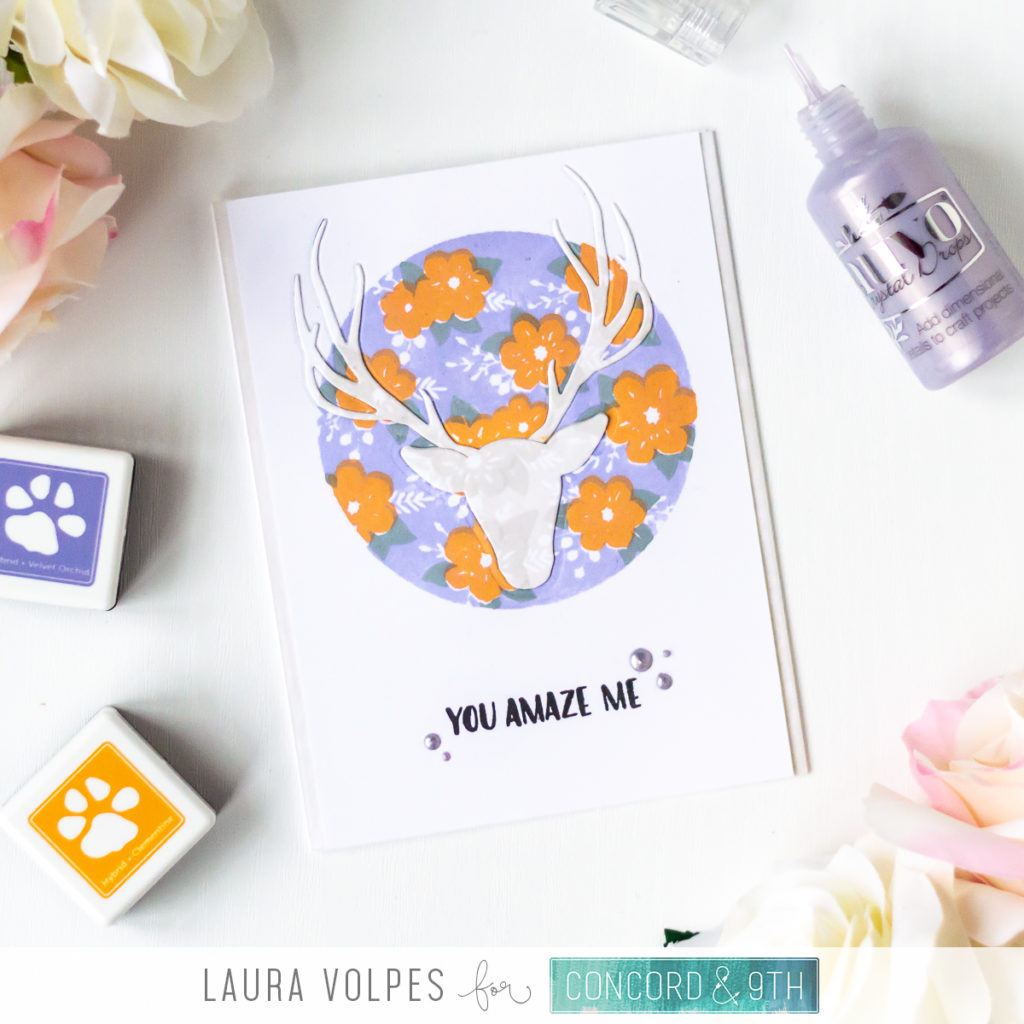
I glued the card front and the colored stripes on my white A2 card bases. I then inlaid the die cut deers, making sure I had the colored one one the gray background and vice-versa. And, because the effect is similar to that of spotlight coloring, I decided to call this technique Spotlight Inlaid Die Cutting.
And that’s it for today! Make sure to check out the new Concord & 9th release, the new products are now available for purchase on the Concord & 9th store! Also, visit the Concord & 9th blog to see the inspiration shared by the other guest designers! Thank you all so much for stopping by, and have a great day!


Comments
Awesome, two cards from one sitting, these are fabulous. Thank you for sharing these awesome designs.
Author
Thank you so much, Andrea! It’s always fun to create multiple cards in one go! 🙂