

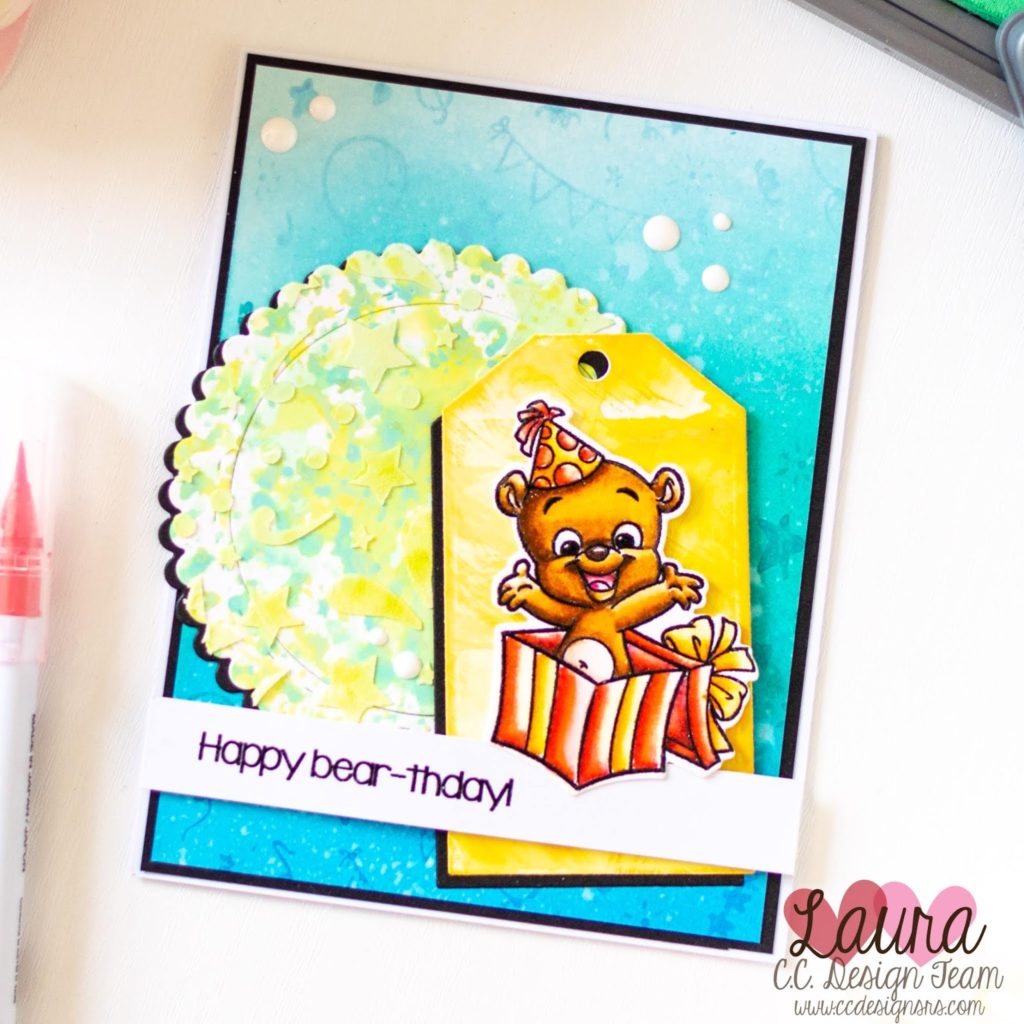
Hi everyone! One never has enough birthday cards and today I am sharing one I made with the C.C. Designs Bears stamp set. This is one of my favorite sets from the new release and I was so happy to finally ink it up and use it on a project.
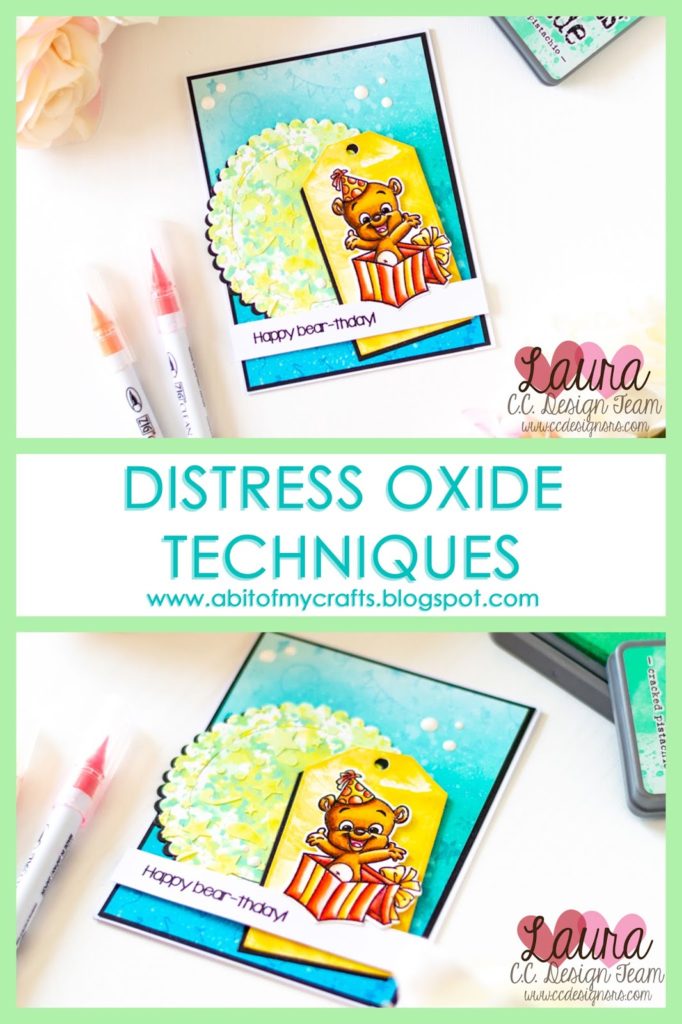
I also created a video tutorial showcasing five different techniques with Distress Oxides and the whole making process of this card.
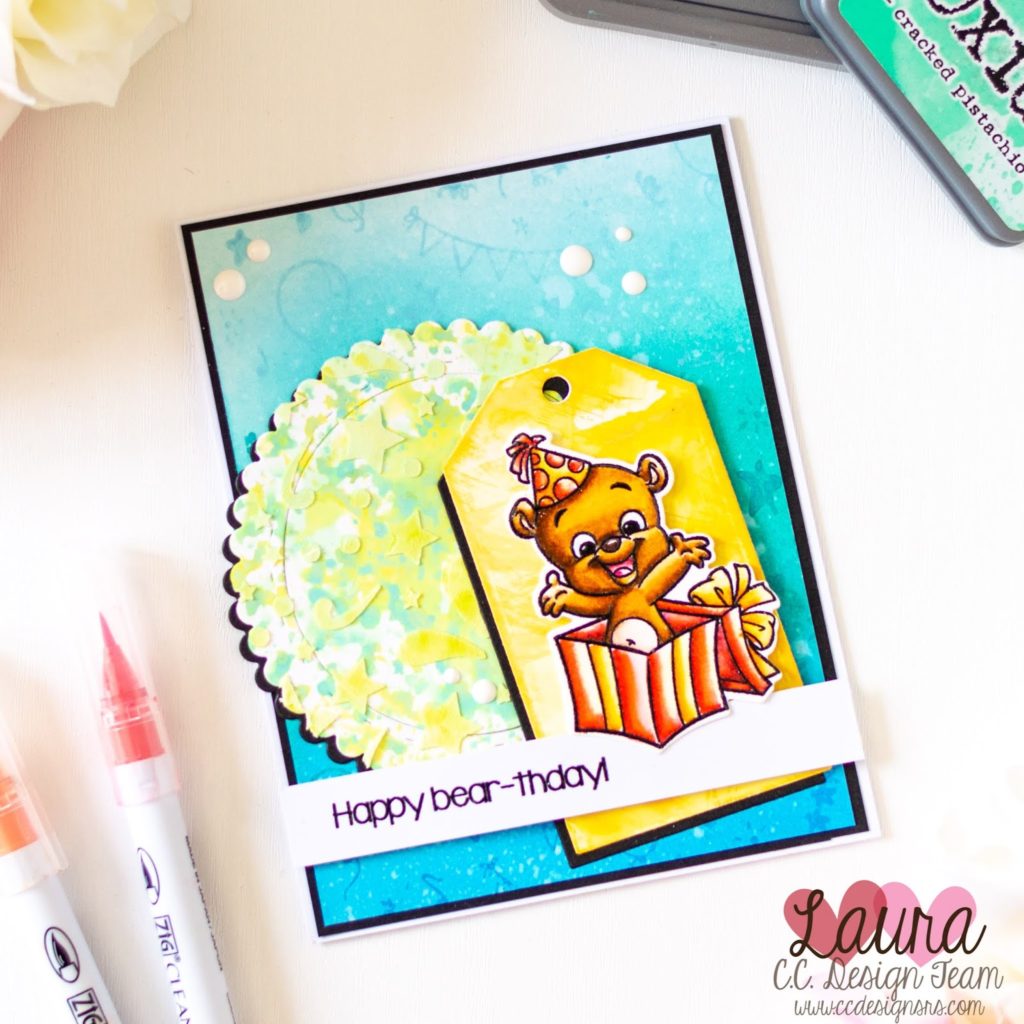
For the background I used Distress Oxides in Tumbled Glass, Peacock Feathers and Salty Ocean. I blended them on a panel of Bristol Smooth Cardstock and added some water droplets with a Distress Sprayer. I then did some tone on tone stamping using the C.C. Designs Birthday Background stamp, also part of the new release.
For the scalloped circle I used the In & Out Circles and Distress Oxides in Cracked Pistachio and Twisted Citron. I used the ink smooshing technique to create a fun texture on this die cut.
I then used the Boy Doodle Stencil and the same colors of Distress Oxides to add a pattern to the circle. To make it stand out even more I layered some Texture Paste by Ranger directly on top.
I stamped one of the images from the Bears stamp set on some more Bristol smooth cardstock. I used Versafine Onyx Black ink and did some embossing with clear embossing powder. I colored the image with Zig Clean Color Real Brush markers and die cut it with the coordinating dies.
I die cut the scalloped circle and the tag out of some black cardstock and I glued them on the back of the colored ones, creating a drop shadow effect.
I trimmed the blue background to 4″ by 5″ 1/4 and matted it with some black cardstock, cut at 4″ 1/8 by 5 3/8″. I glued everything on a top-folding A2 card base.
For the sentiment I used again Versafine Onyx black ink and did some embossing with clear embossing powder. I glued the sentiment banner and the bear to the front of the card with one layer of foam tape.
To finish off the card I added some enamel dots and some sparkle to the box and the party hat with a Spectrum Noir clear overlay pen.
As I mentioned at the beginning of this post, I also uploaded a video tutorial for you, showing how to create this handmade birthday card with the C.C. Designs Bears. You can watch it down below or directly on my YouTube channel!


Comments
Oh my goodness! This is just TOO cute!
Have a wonderful day,
Migdalia
I would love for you to follow me over at my NEW blog…
Migdalia's Crafts