

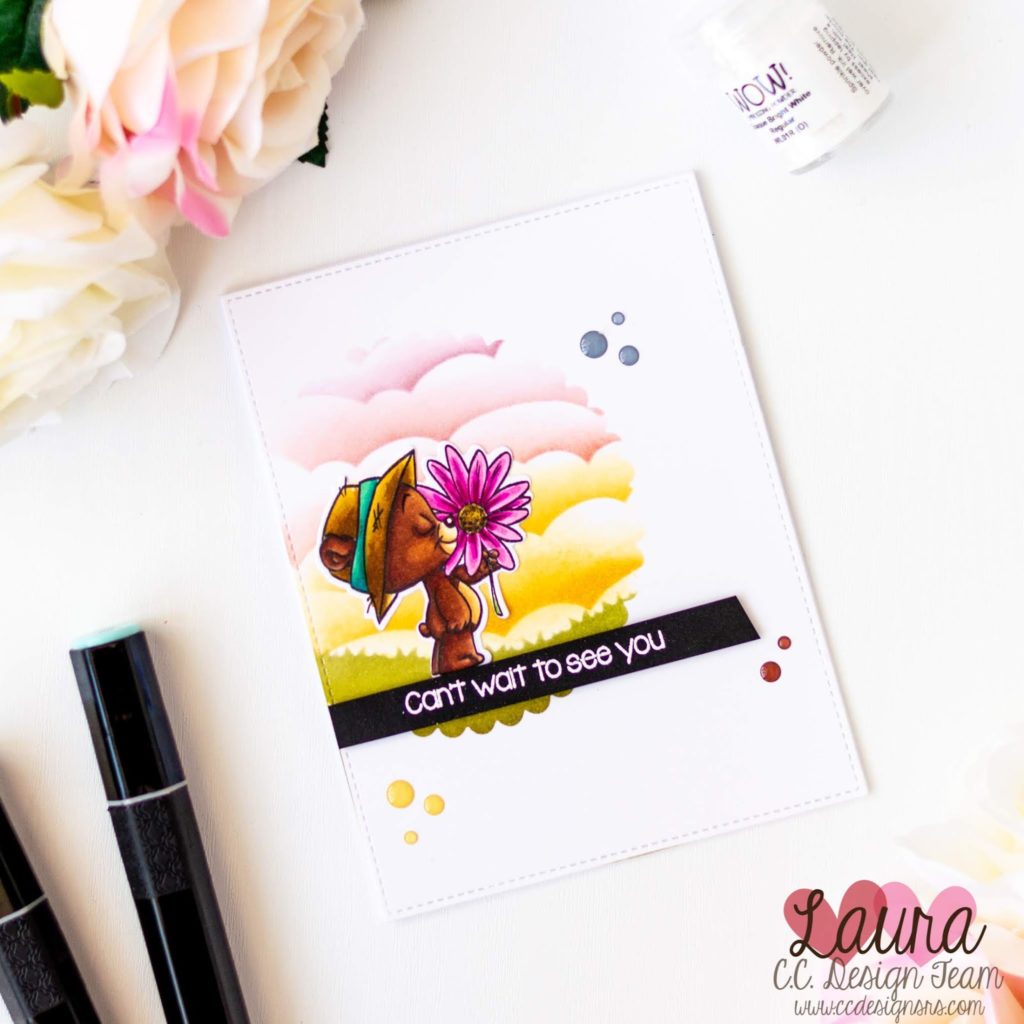
Hi everyone! Today I am back with a rather clean and simple (and super cute) card and a step by step photo tutorial on masked ink blending.
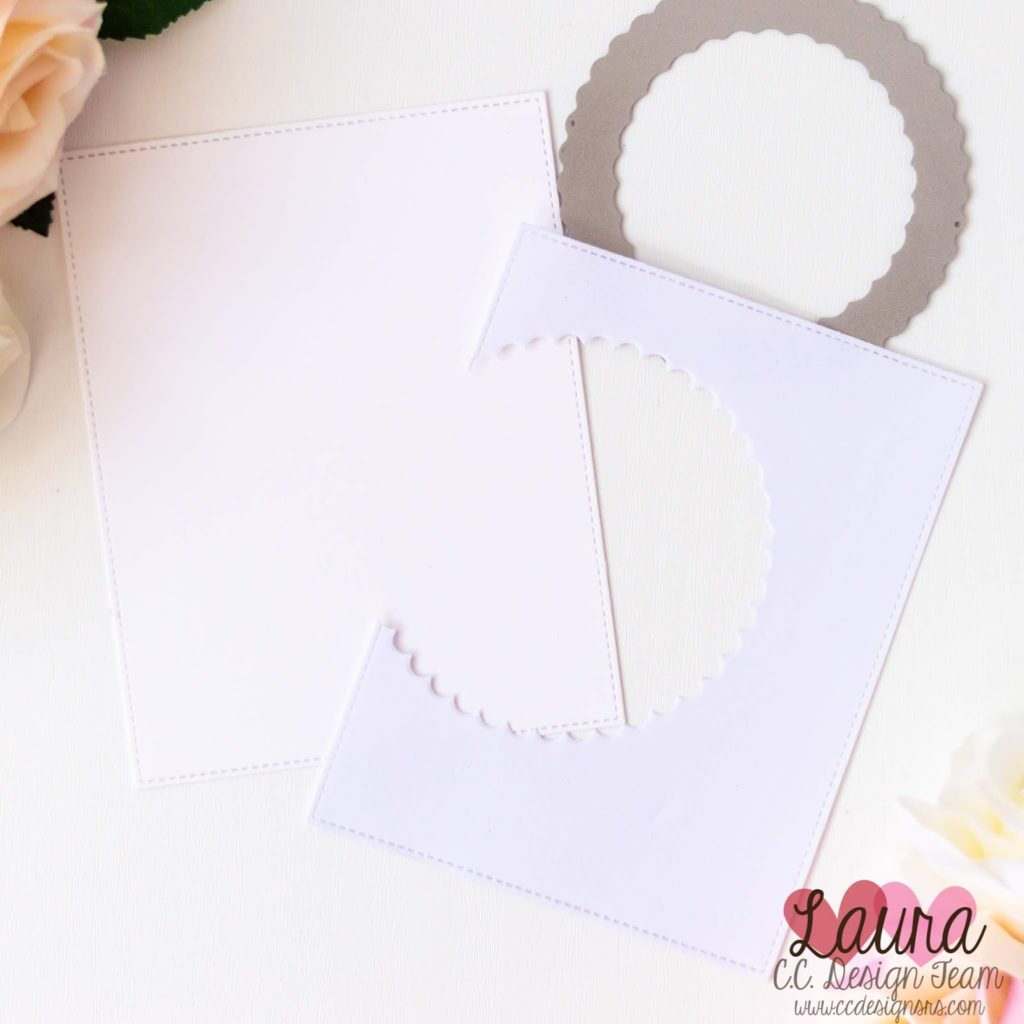
I started by die cutting an A2 rectangle out of some Strathmore Bristol Smooth Cardstock and by preparing my mask. I used repositionable packaging labels, which are low tack and work perfectly for the purpose. I cut the maks with the same A2 rectangle die I used for my card panel, and then I cut a scalloped circle out of it with the C.C. Designs In & Out Circles.
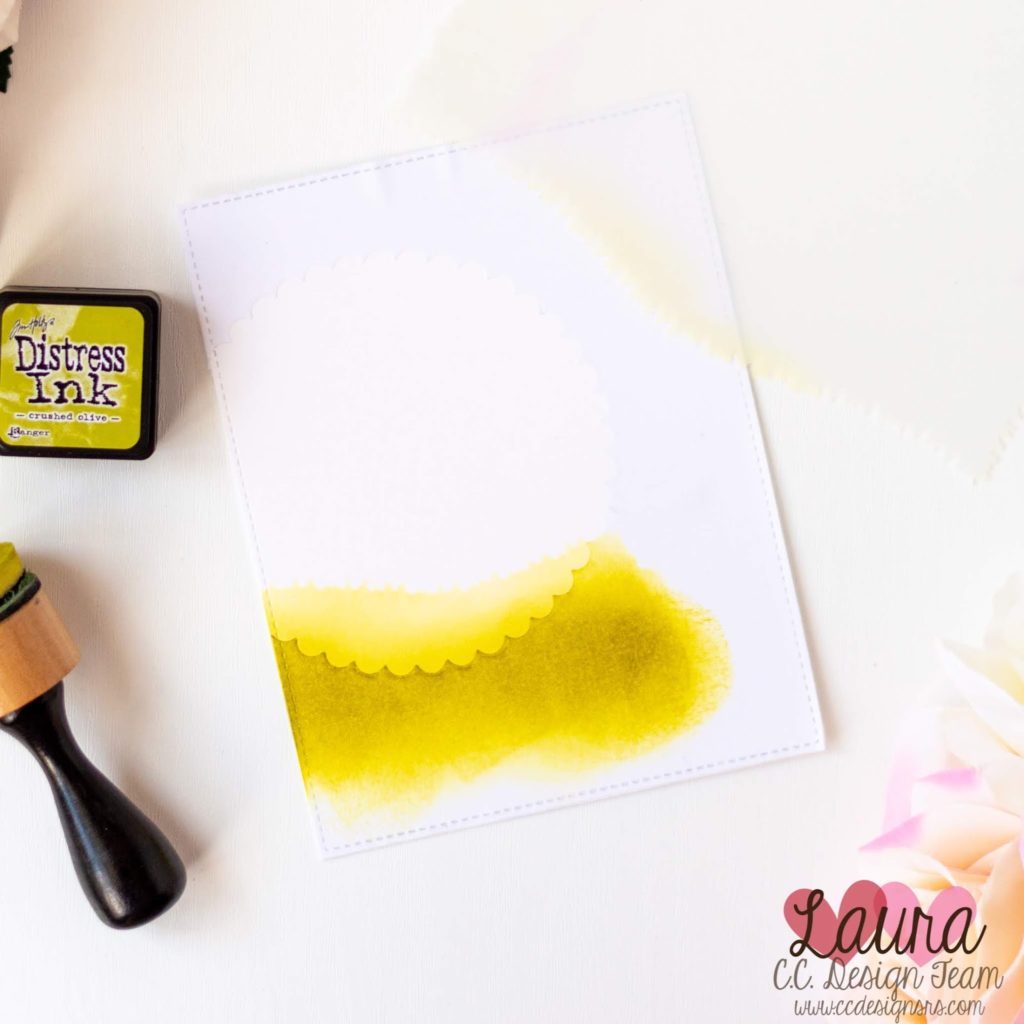
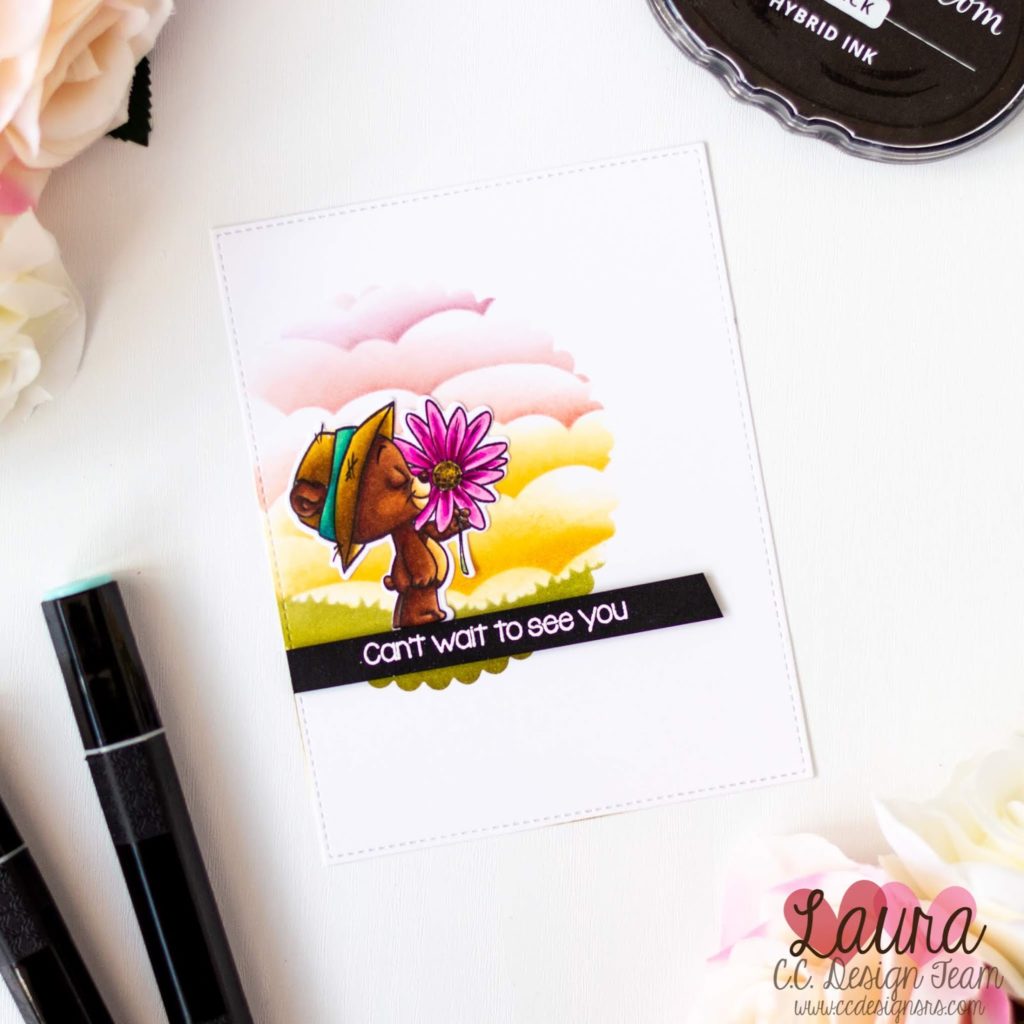
I adhered the mask to my panel and started to create my ink blended scene. I took the C.C. Designs Clouds & Grasses Stencil and did some Ink blending with Distress Inks. I started by creating the grassy field with Distress Ink in Crushed Olive…
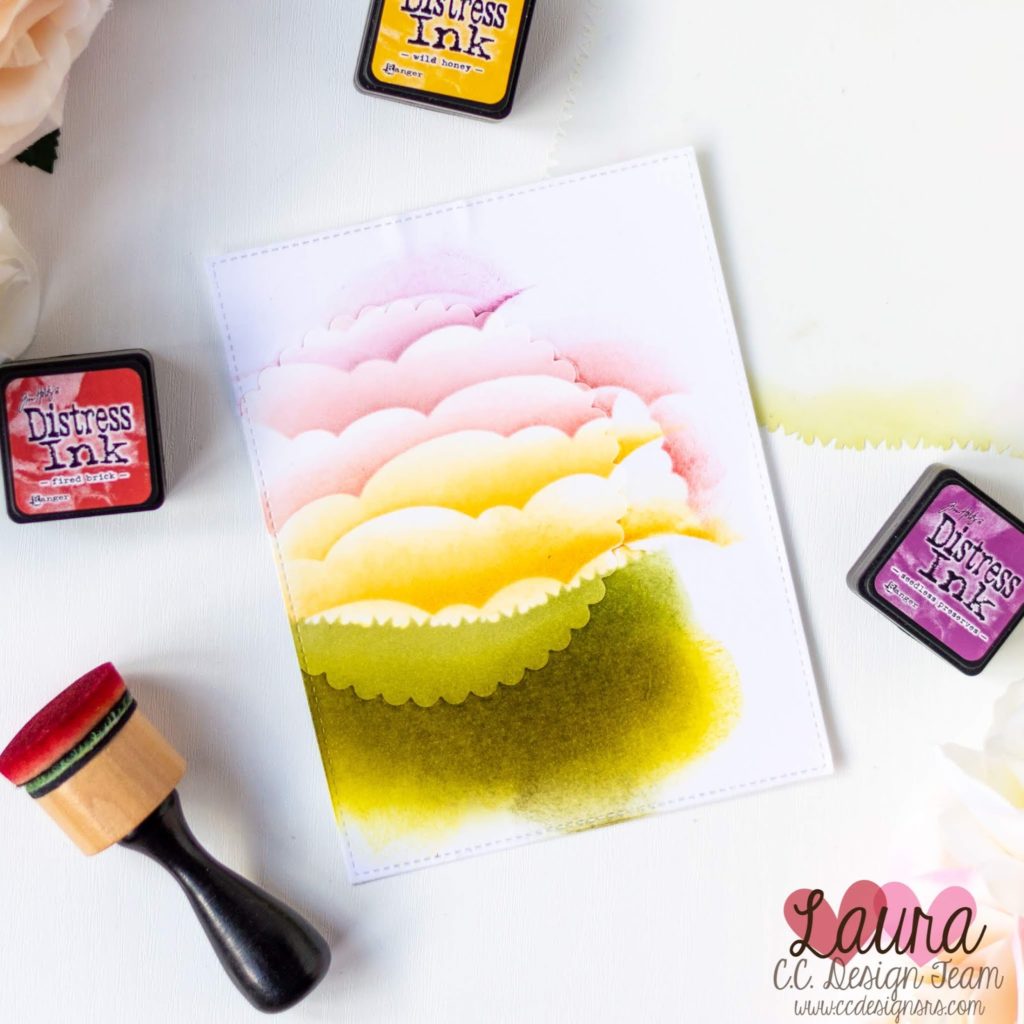
…and then created the cloudy sky. I used Wild Honey, Fired Brick and Seedless Preserves. I also darkened up the grass with Peeled Paint and Forest Moss Distress Inks.
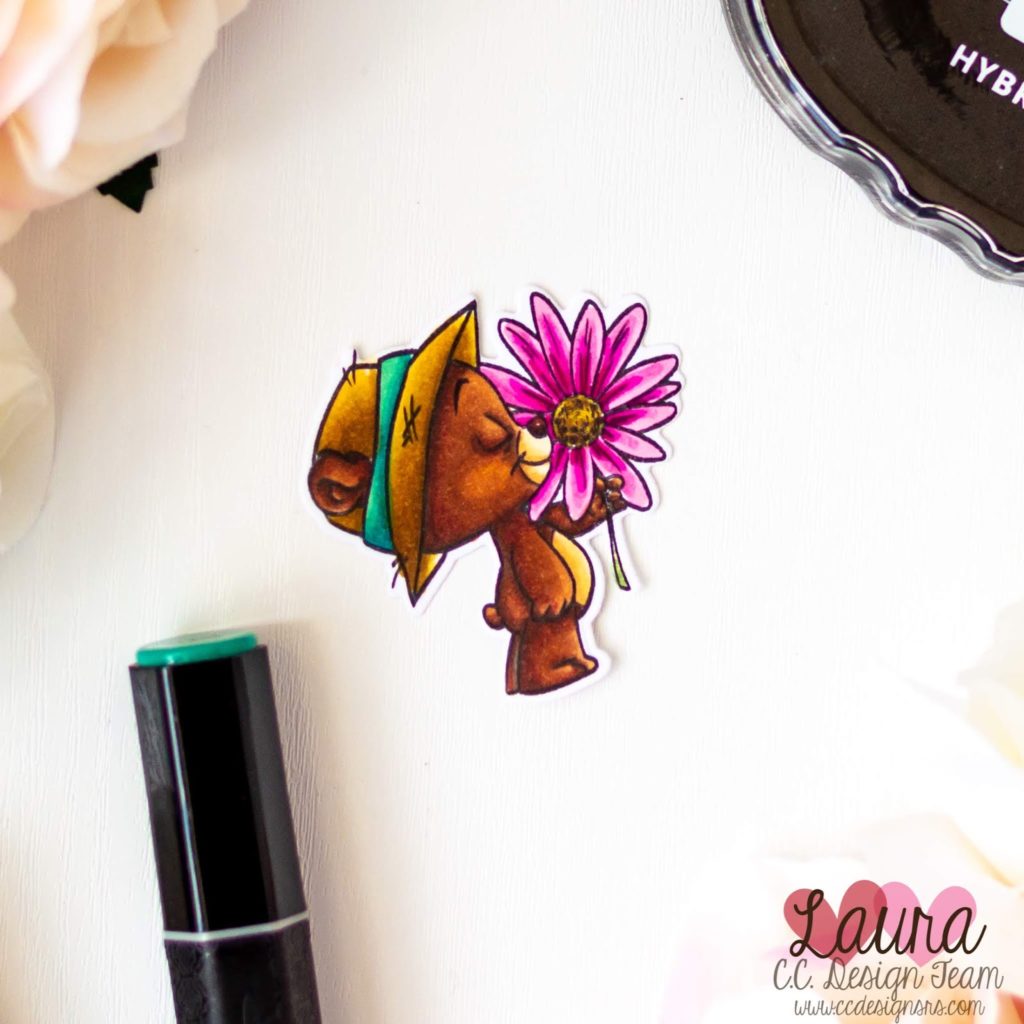
I removed the mask and started working on my image. I chose one of the bears in the adorable Bears stamp set, by C.C. Designs, I stamped it with Scrapbook.com Premium Hybrid Black Ink on Neenah Solar White 110lb cardstock and I colored it with Spectrum Noir markers. I then die cut it with the coordinating dies.
I heat embossed one of the sentiments from the Bears stamp set on black cardstock with white embossing powder and cut a banner around it. I raised the banner over my card base with one layer of foam tape, and used it to ground my bear.
I mounted my card front on a top folding A2 card base, cut at 4.25 by 11″ and scored at 5.5″. For a finishing touch I added a dot with a white gel pen on the bear’s nose and scattered some Razzle Dazzle Clear Enamel Dots on the card front.
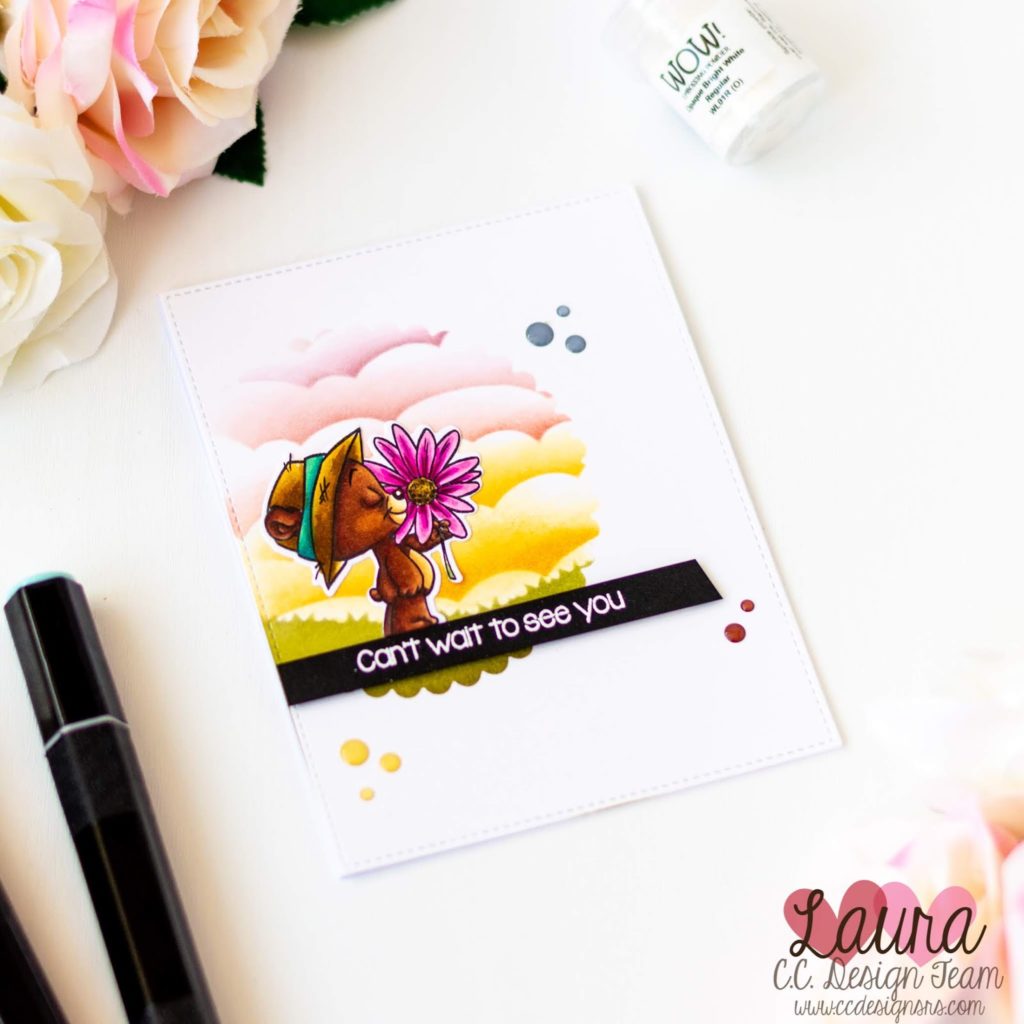
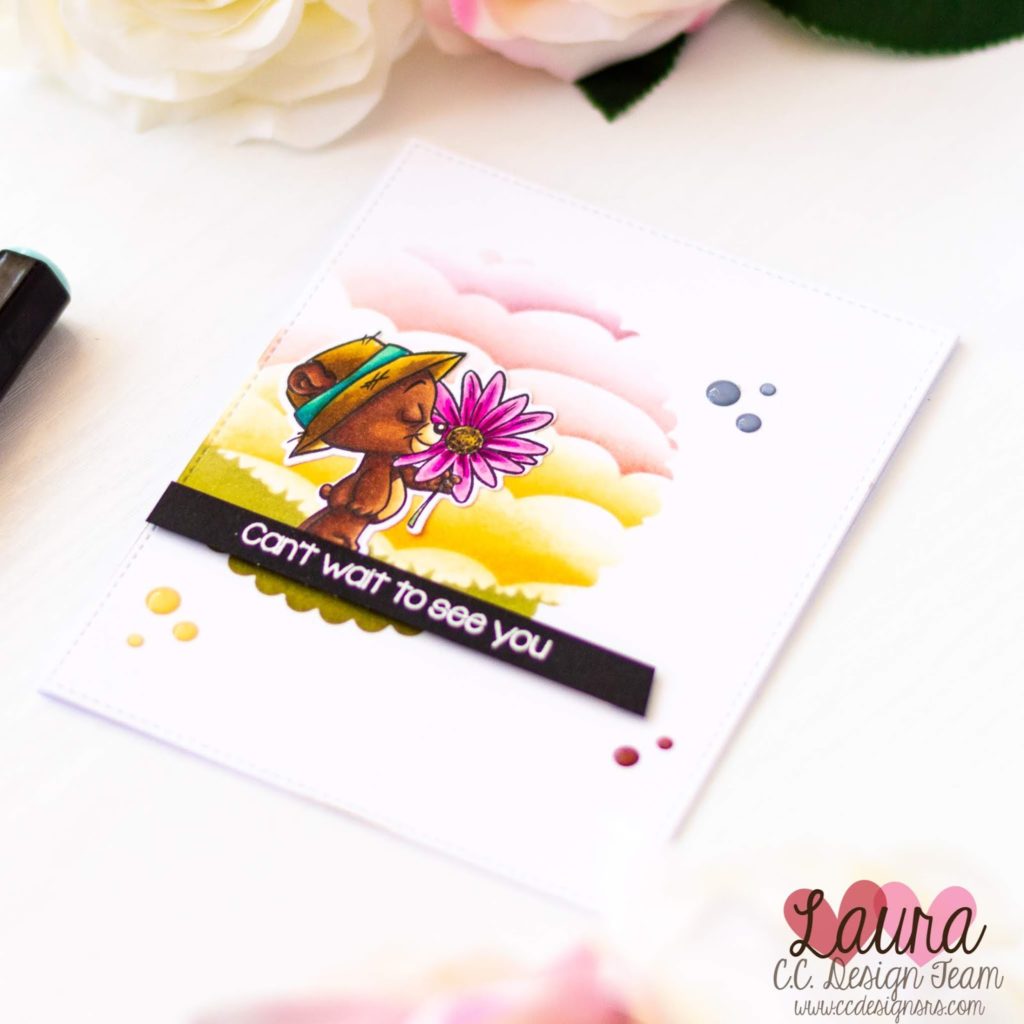
Before I go, I wanted to share one more picture…I am in love with this adorable bear, the whole scene turned out so sweet!
And that’s it for today! I really hope you liked the card and found this step by step tutorial useful! Thank you all so much for stopping by and have a great day!
When possible, affiliated links are used at no additional cost to you. This means that if you make a purchase through one of these links, I will get a small commission at no additional cost to you. The money I earn this way goes towards running this blog and my YouTube channel. Thank you for supporting my creative journey! 💖


Comments
This is so pretty. I love the colorful background you created and then the vibrant image just make it pop.
Your scene is beautiful! I love the ink blending and would have loved to see a video. Your bear is adorable!