Shadow Box Card feat Lawn Fawn Mermaid for You – #mermay

Hi everyone!  Today I am back with a step by step tutorial I created for the Impronte d’Autore blog, in which I am going to show you how to create a shadow box card with stamps and dies by Lawn Fawn
As a first step, I die cut the base of my shadow box. I used papers from the 6×6″ collection  Rainbow Dot-Stripe Petite Print by Doodlebug, and dies from the Lawn Fawn Shadow Box Card set.

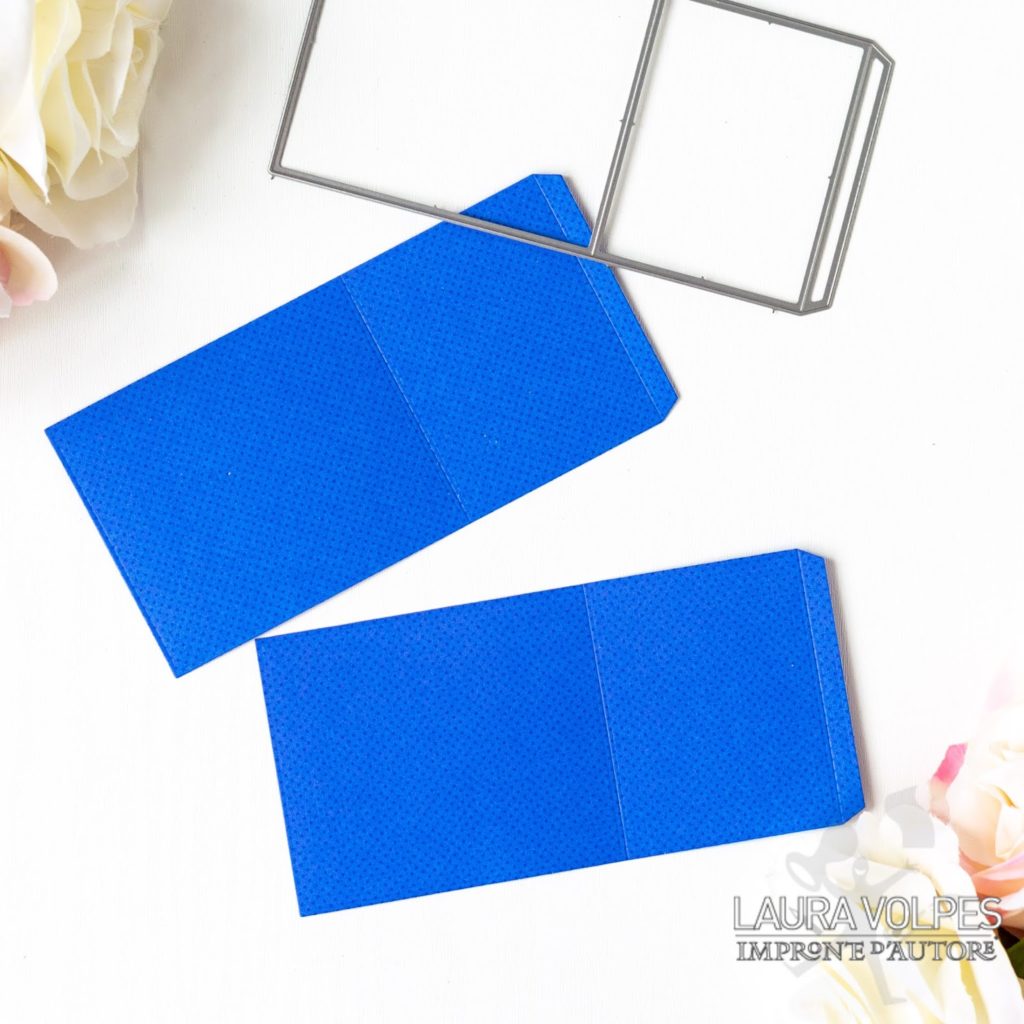
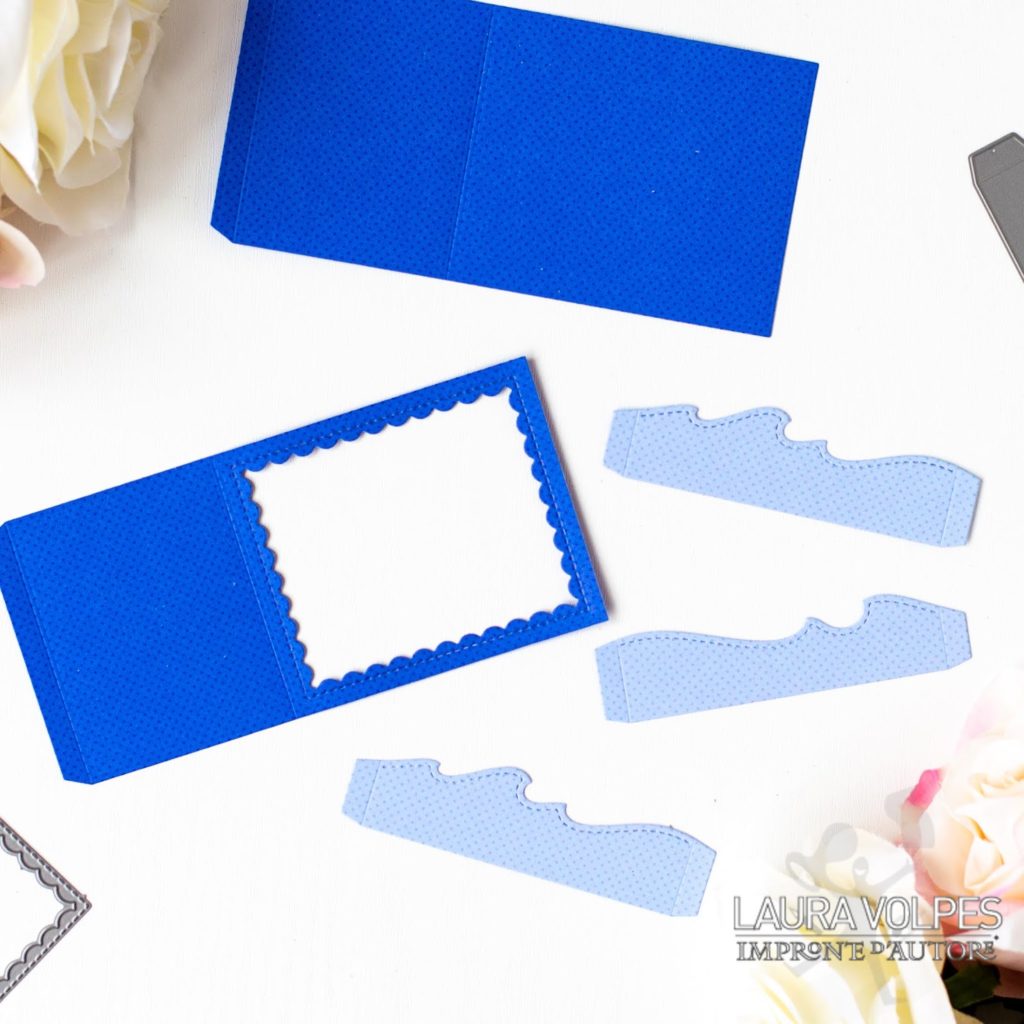
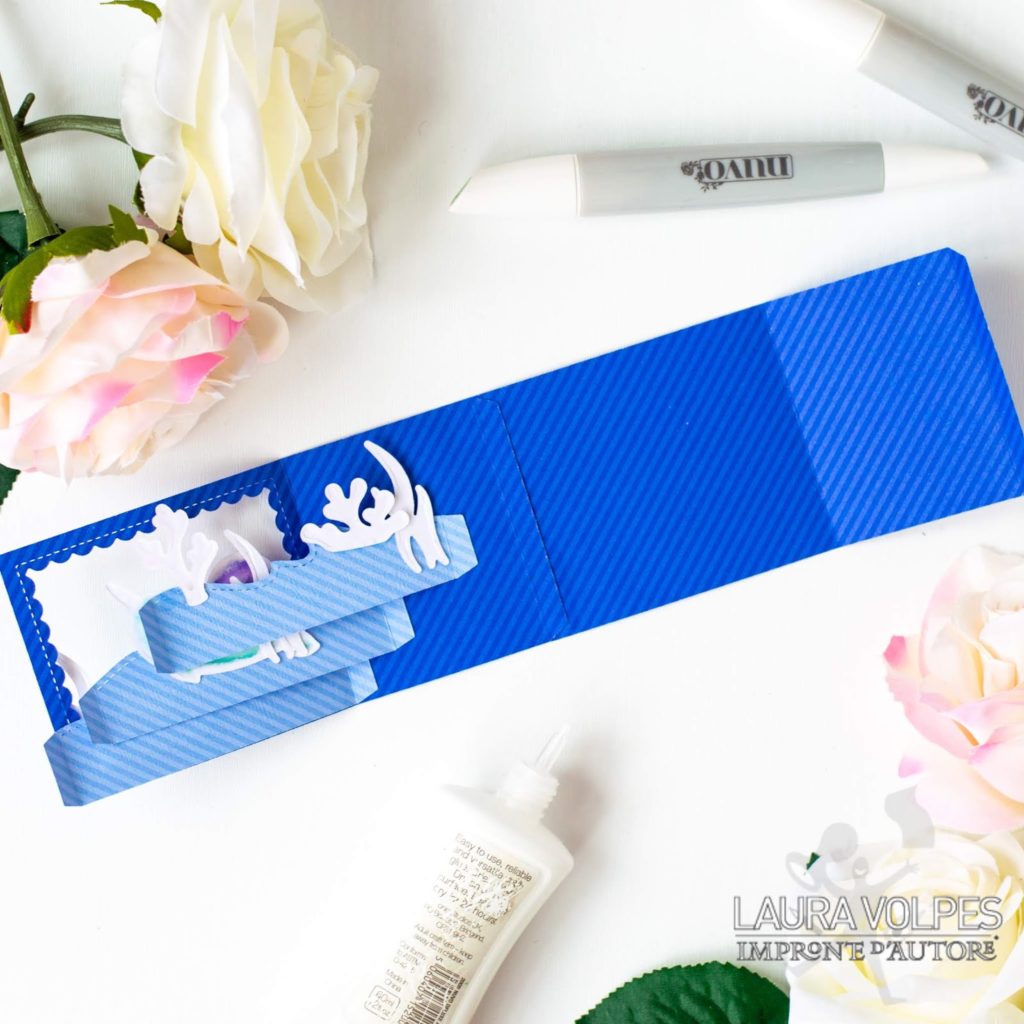
As you can see in the picture below, I die cut the paper twice, to create both the front and the back of my shadow box.

I then used some of the dies in the Lawn Fawn Shadow Box Card Ocean Add-on to die cut some wave panels out of another design from the Rainbow Dot-Stripe Petite Print paper pad by Doodlebug.
Using another die from the same set, I also die cut an opening out of one of the two halves of my shadow box.

The images i chose for today’s project are part of the Mermaid for You stamp set by Lawn Fawn. I stamped them with Memento Tuxedo Black Ink on Neenah Solar White cardstock and I colored them with Nuvo markers.
I then die cut them with the coordinating dies.

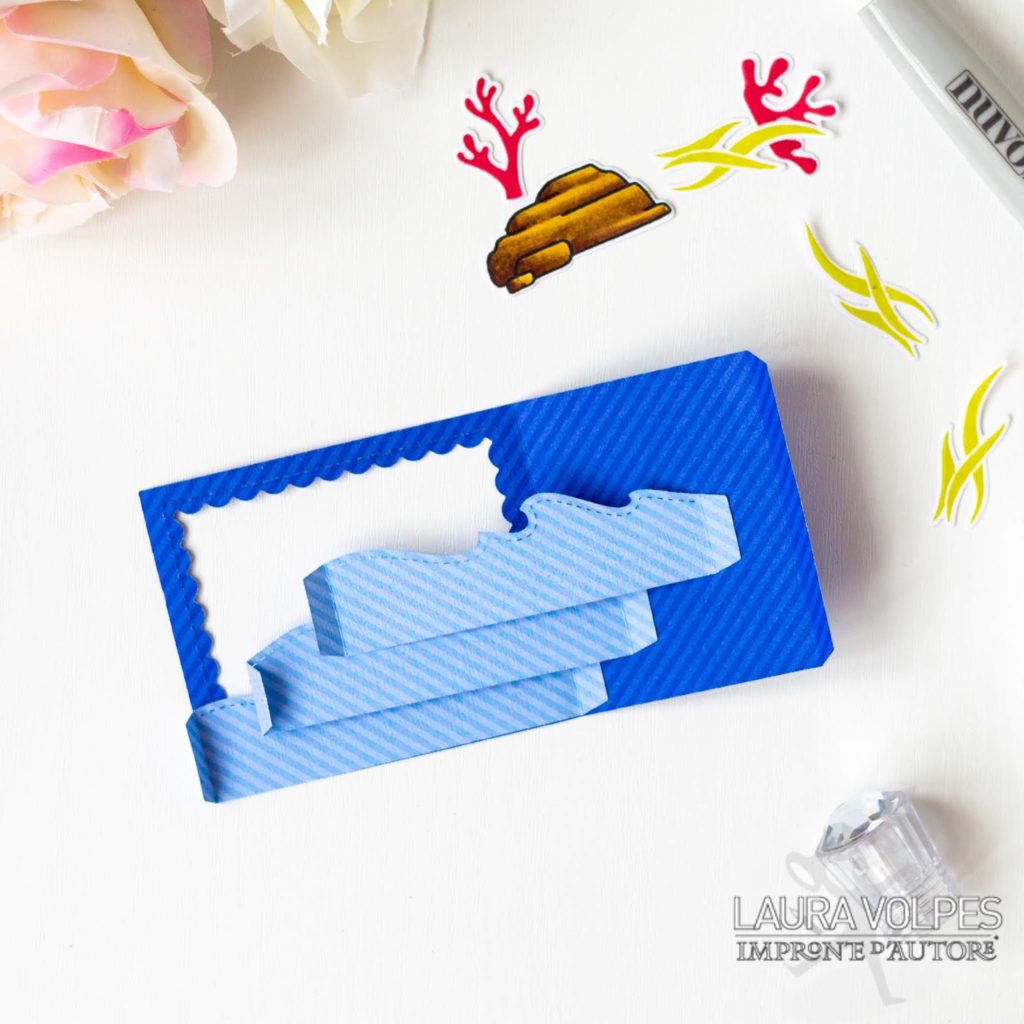
At this point I could start assebling the shadow box. I started by gluing the waves inside the front of the shadow box. You probably can’t tell fromt the picture, but the only part that is actually glued down are the little flaps on the sides of the wave borders.
I adhered the borders at different heights and depths in my shadow box front, in order to create more interest.

I then glued the images on the wave borders, but if you prefer you can do this step once the shadow box is all assembled.

I put my shadow box together by first attaching the two halves like you see in the picture below…

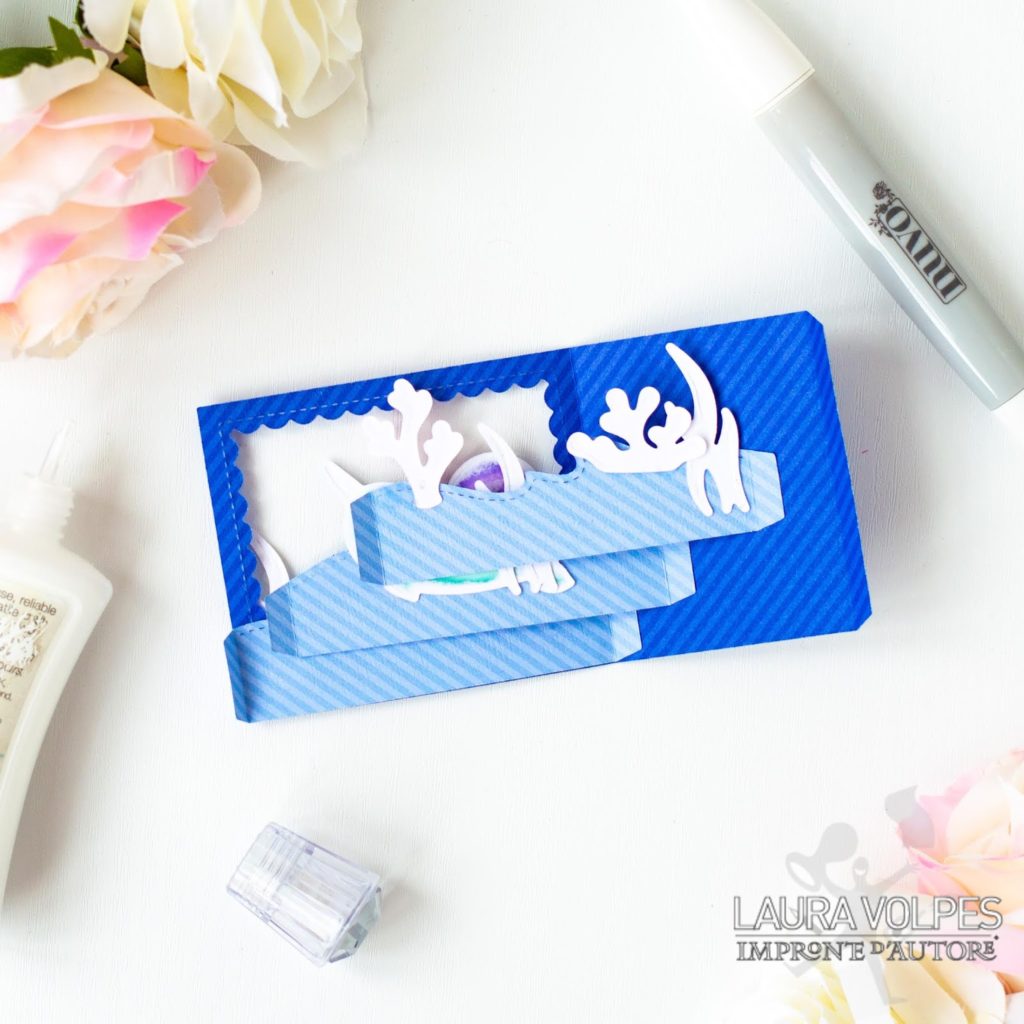
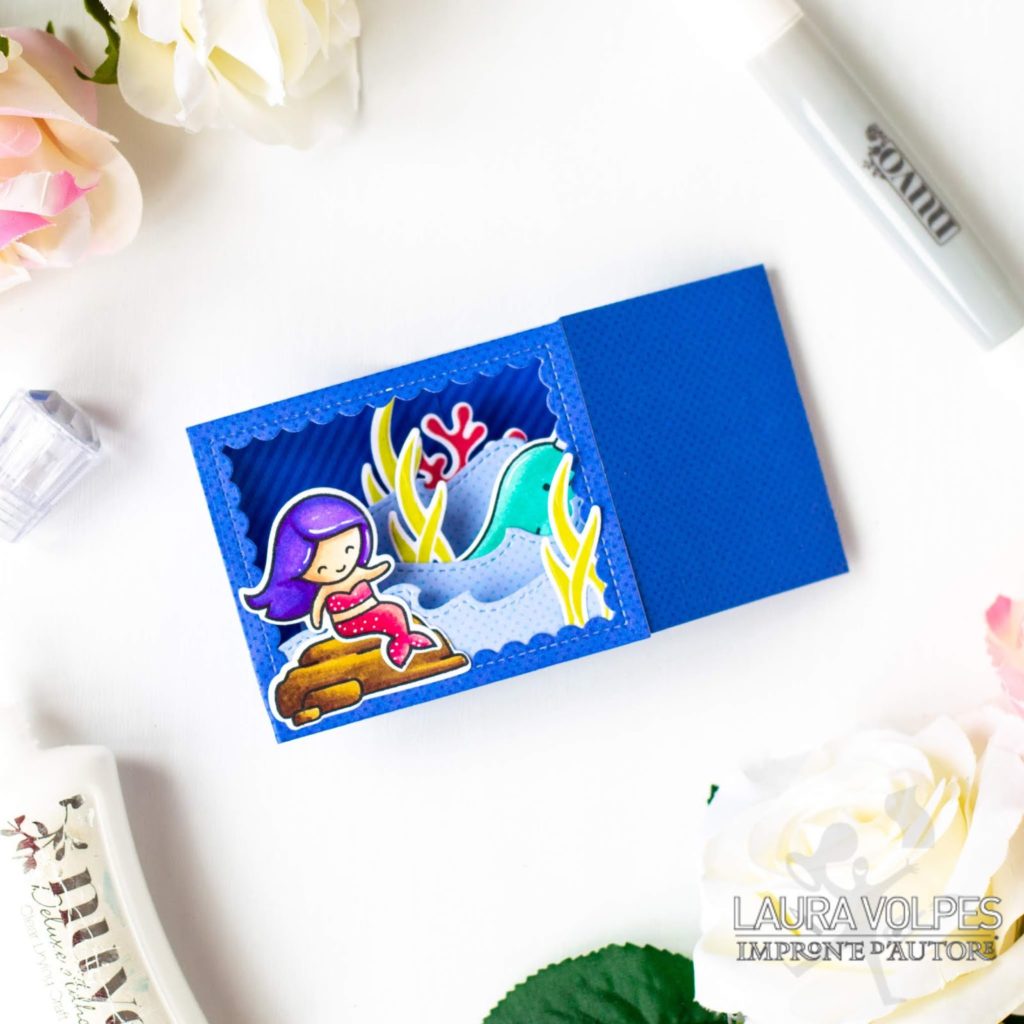
…and then I closed them on top of each other. At this stage I also glued the other side of the wave borders to the shadow box.

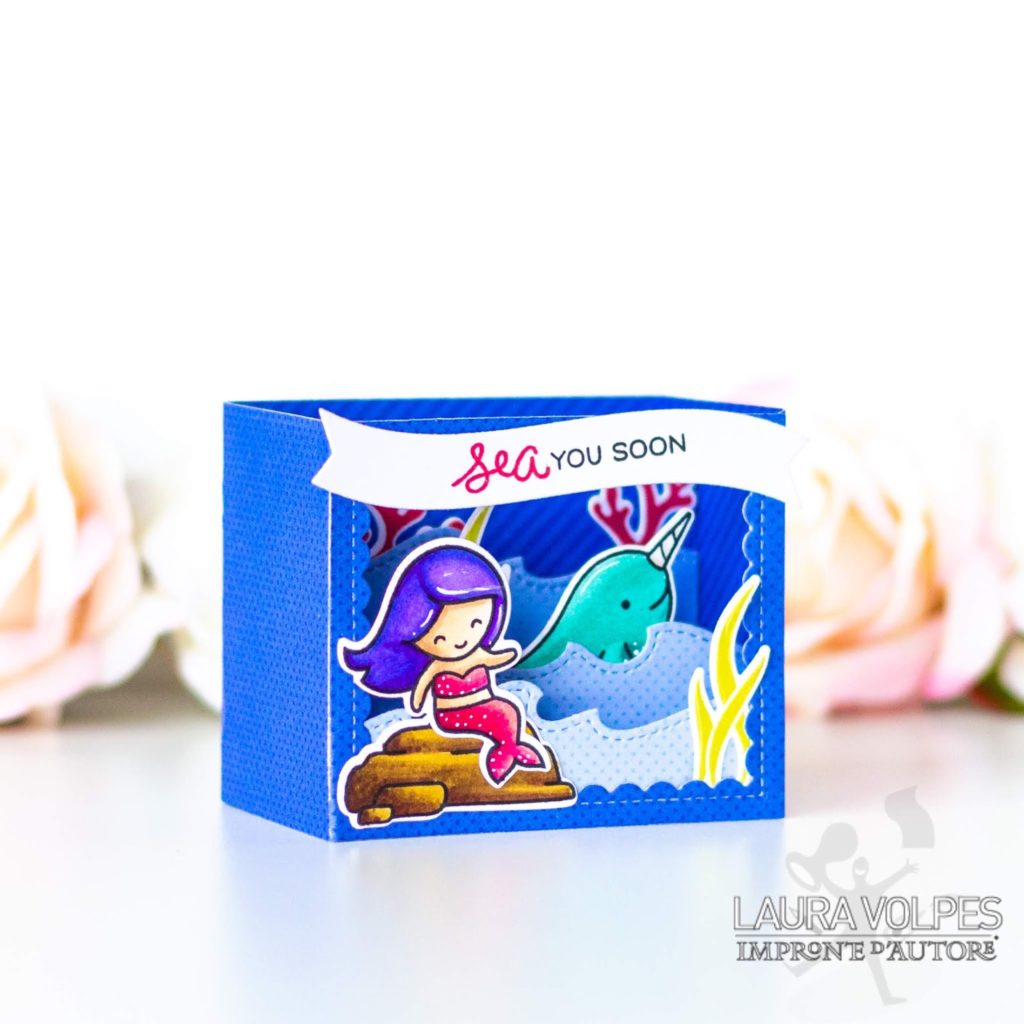
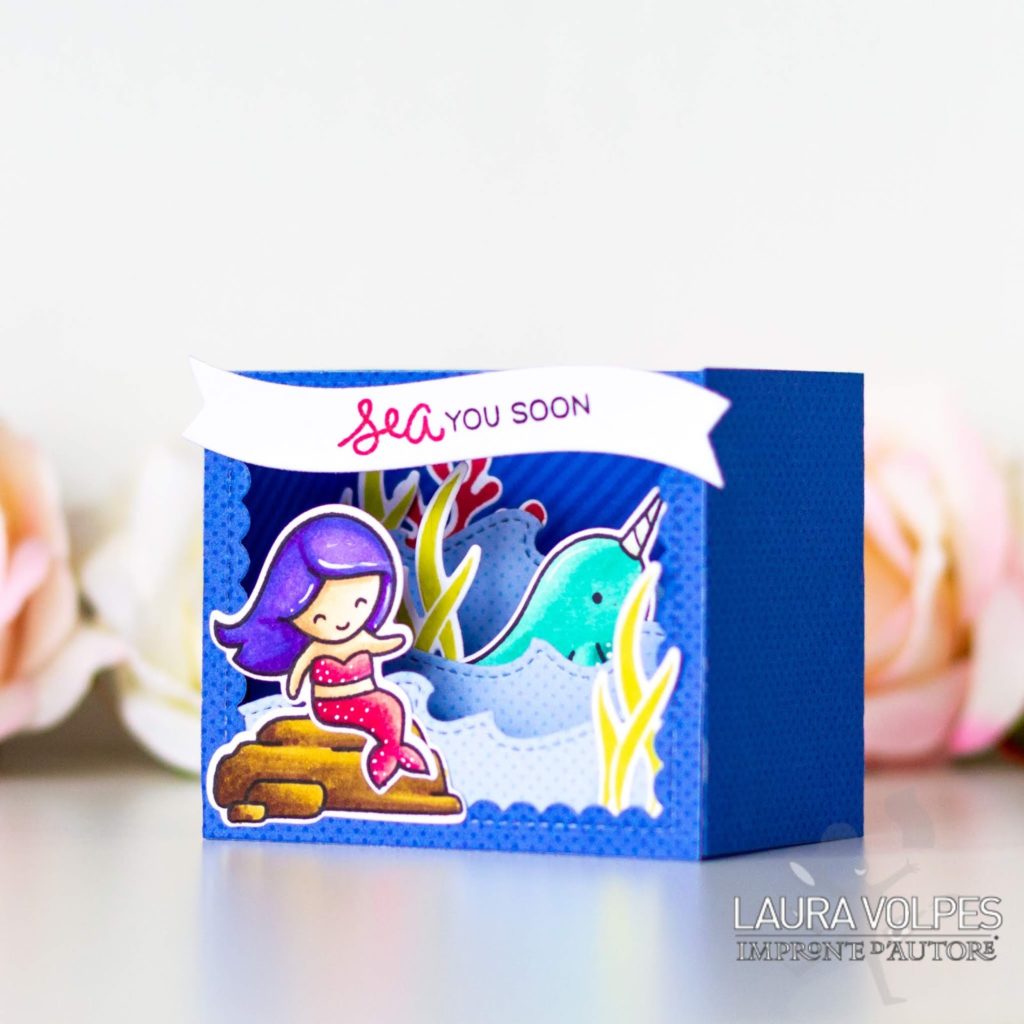
I stamped my sentiment on a banner that I die cut out of some white cardstock with one of the dies in the Shadow Box Card Ocean Add-on and I adhered it to the top of the shadow box.

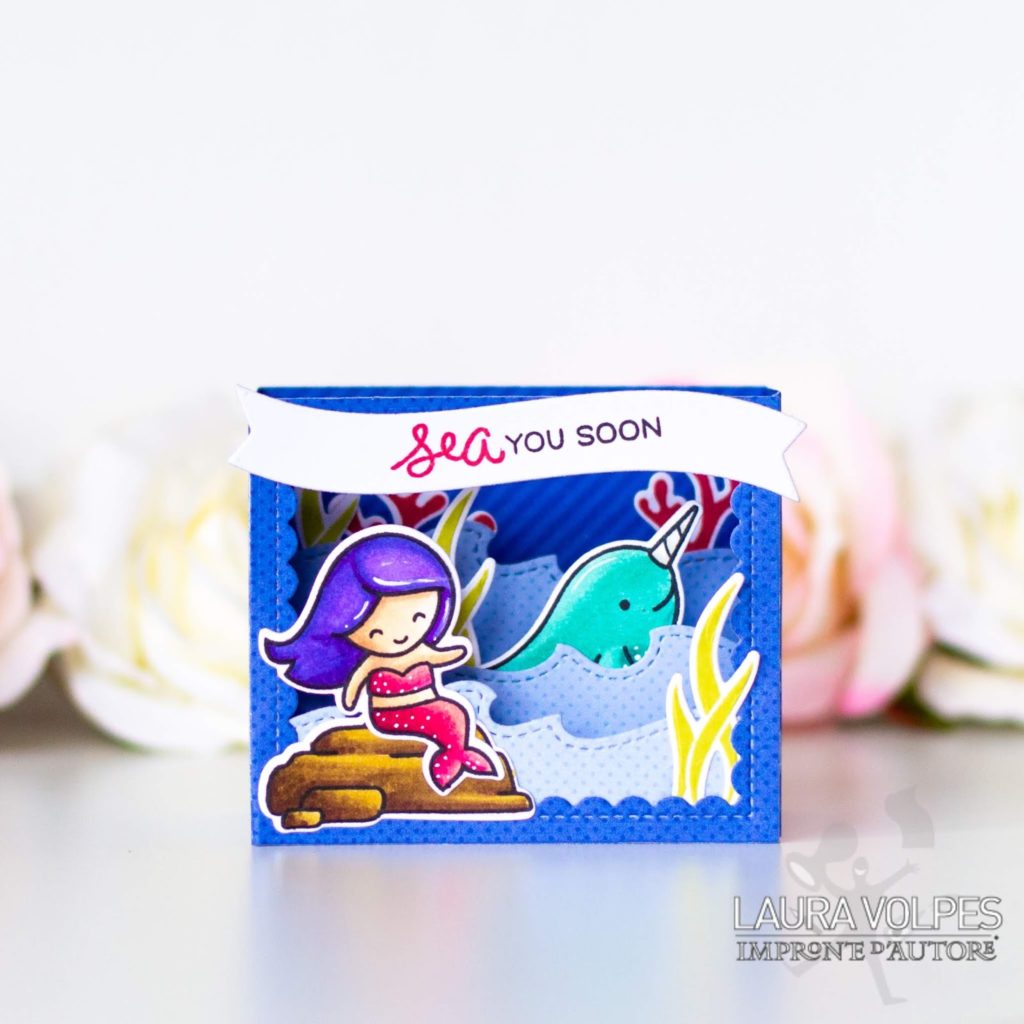
Before leaving I wanted to show you one more picture…I really love this type of card! It’s easy and quick to make, you can flatten it out and put it in an envelope to send it in the mail, and the recipient will be amazed for sure!

And that’s it for today! I really hope you liked the card and found the tutorial helpful! Thank you all so much for stopping by and have a great day! 
When possible, affiliated links are used at no additional cost to you. This means that if you make a purchase through one of these links, I will get a small commission at no additional cost to you. The money I earn this way goes towards running this blog and my YouTube channel. Thank you for supporting my creative journey! πŸ’–

Thanks for Sharing Your Thoughts! :)