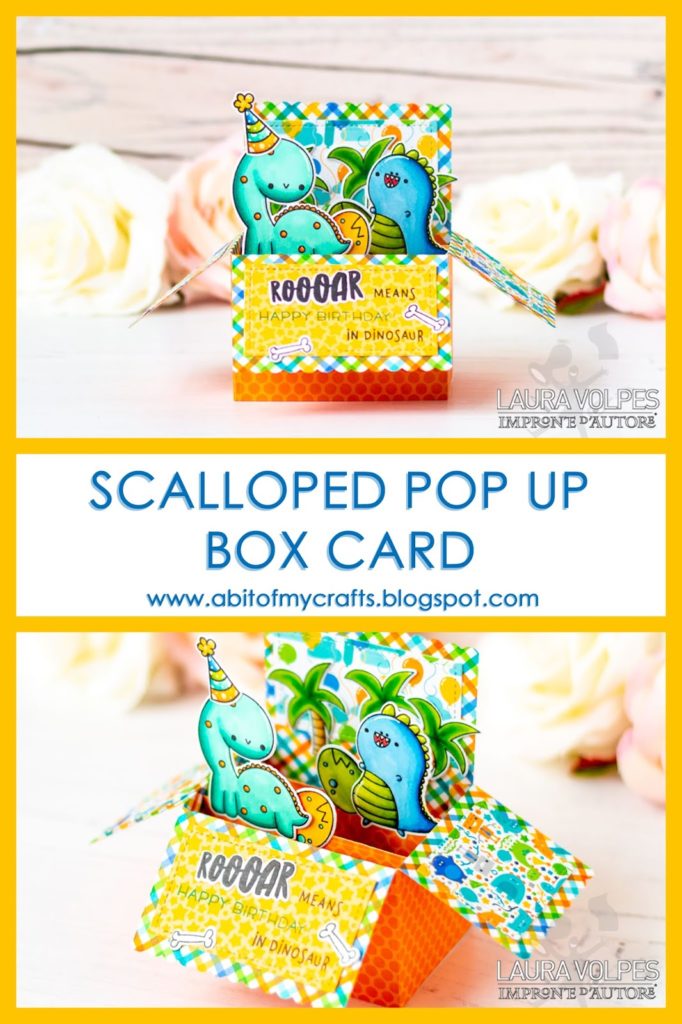
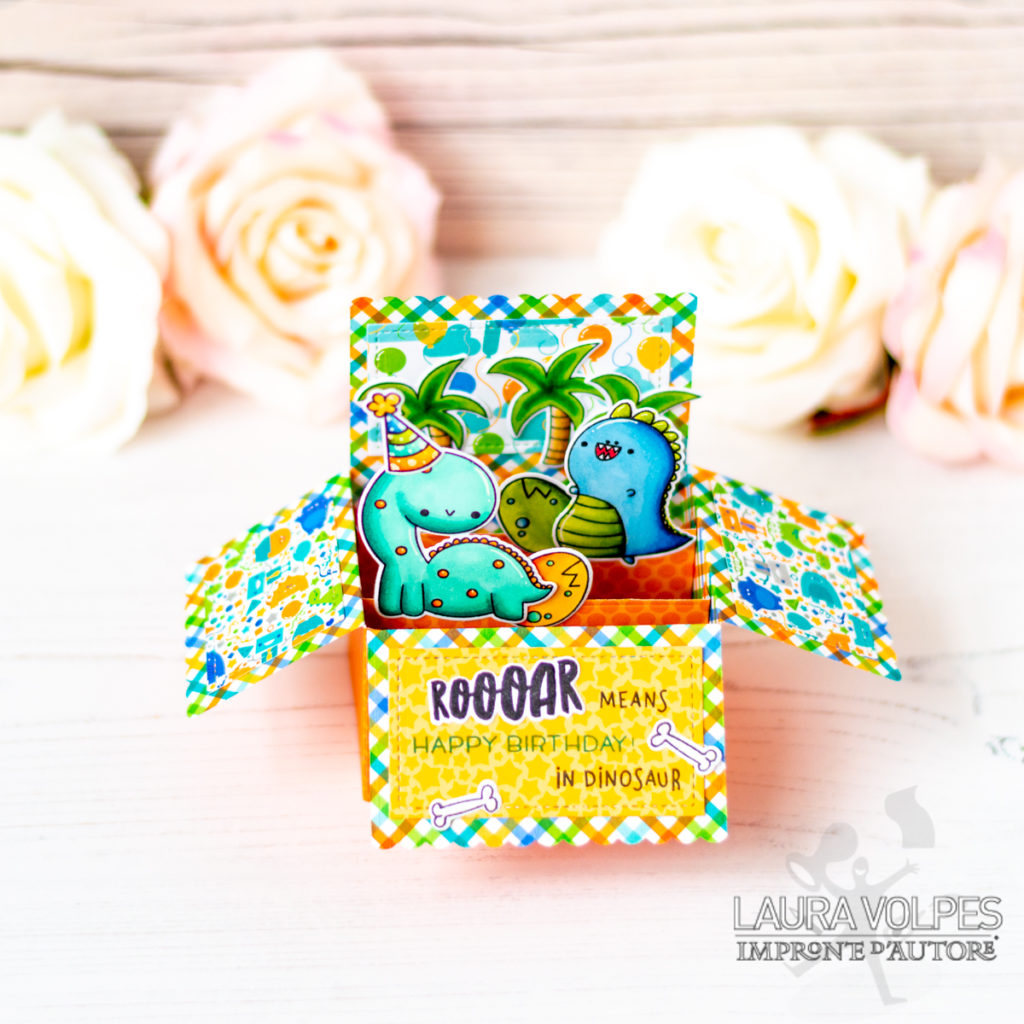
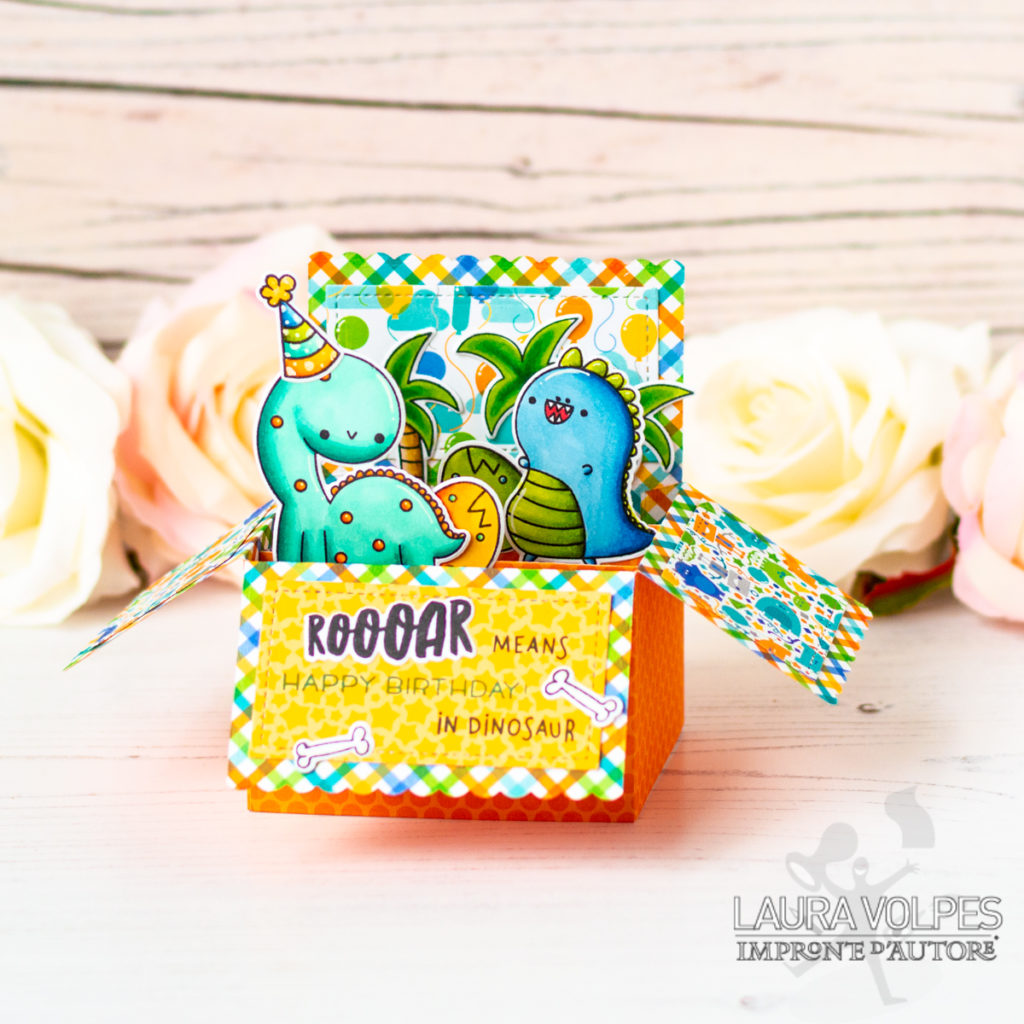
Hi everyone! Today I am back with a tutorial that shows how to create a super fun pop-up box card, perfect for the birthday of a boy!
I used the Lawn Fawn Scalloped Box Card Pop-up, papers from the Doodlebug Hip Hip Hooray 6×6″ paper pad, and the Dinos stamp set by Impronte d’Autore (LOVE)!
 |
| Figure 1 |
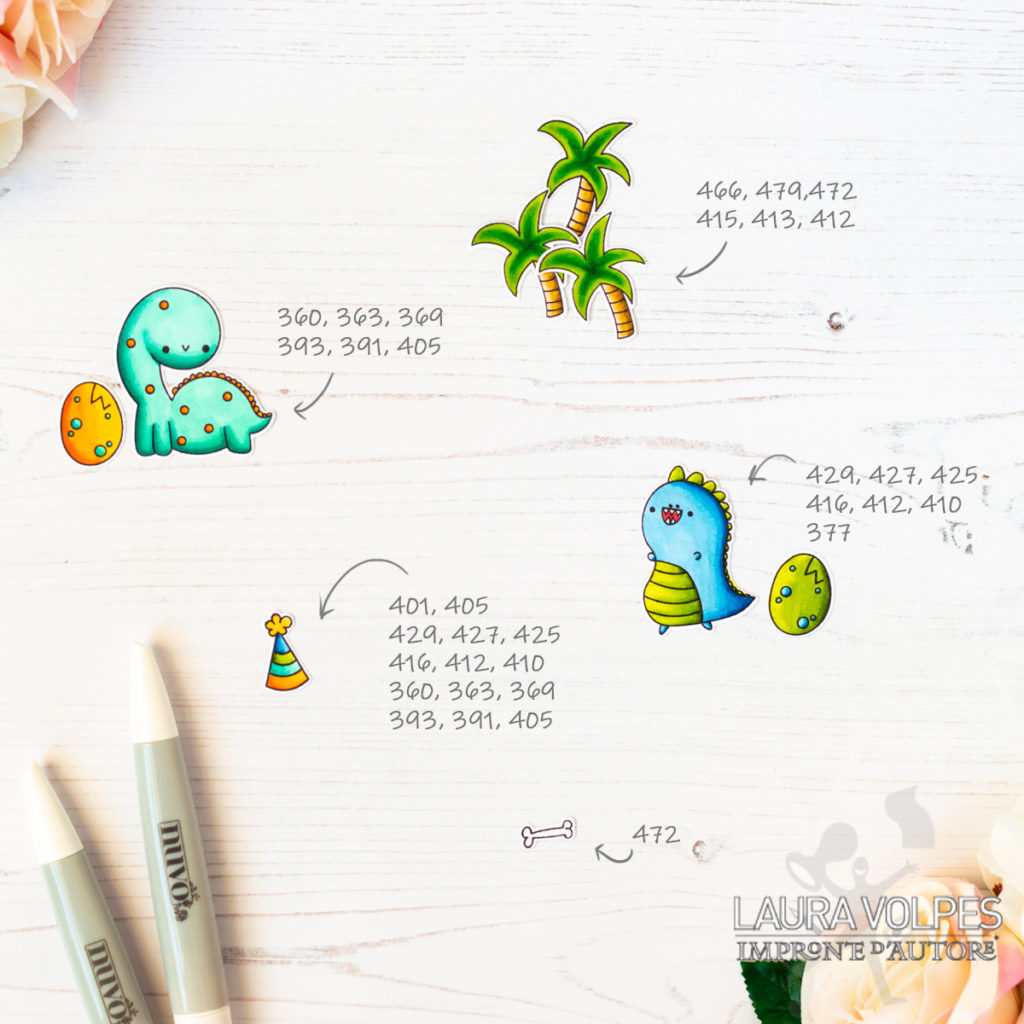
I started by stamping my images with Memento Tuxedo Black ink on Neenah Solar White 110lb cardstock, and I colored them with Nuvo markers. Once I was done coloring, I die cut them with the coordinating dies.
I also created a color chart (Figure 1), with a list of the markers I used. I hope you will find it useful!
Here are also a list of the sets those markers belong to: Marina Blues (429, 427, 425), Aquamarine (369, 363, 360), Woodland Greens (415, 413), Irish Clover (416, 412, 410), Cookies & Cream (472), Honey Amber (479,466) and Rich Reds (377).
 |
| Figure 2 |
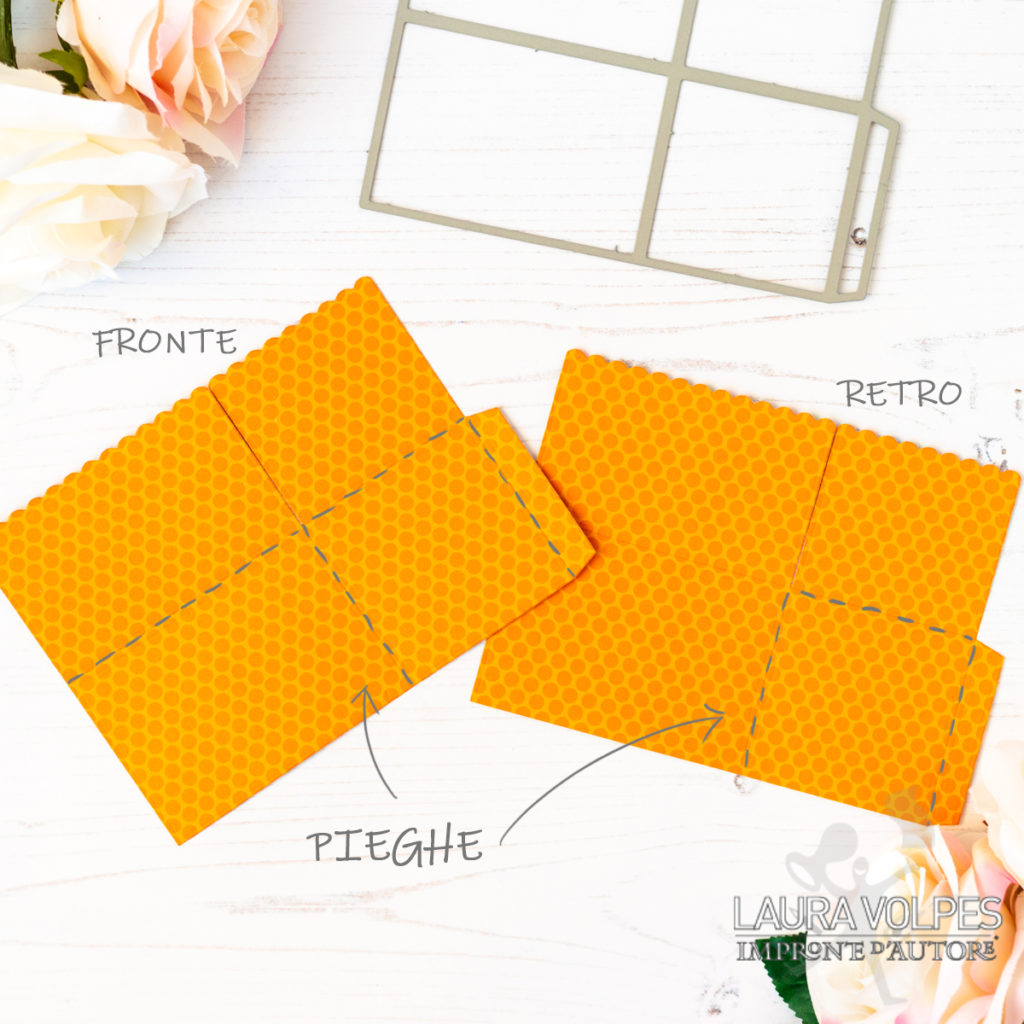
I then moved on and started preparing all the elements that I needed to build my pop up box card. I picked two identical sheets from the Doodlebug Hip Hip Hooray paper pad and I die cut them with the largest die in the Lawn Fawn Scalloped Box Card Pop-up di Lawn Fawn. If you use 12×12″ paper, one sheet will be enough. Just make sure that your paper is double sided, as both sides will be visible in the final results.
One of the two die cuts will be the front and the other the back of our card in a box.
At this point we can go ahead and fold the paper along the score lines created by the die. I have marked where to fold the paper in Figure 2, using some dashed lines. We will have one less fold on the back piece, because that panel will stay vertical in the finished project.
 |
| Figure 3 |
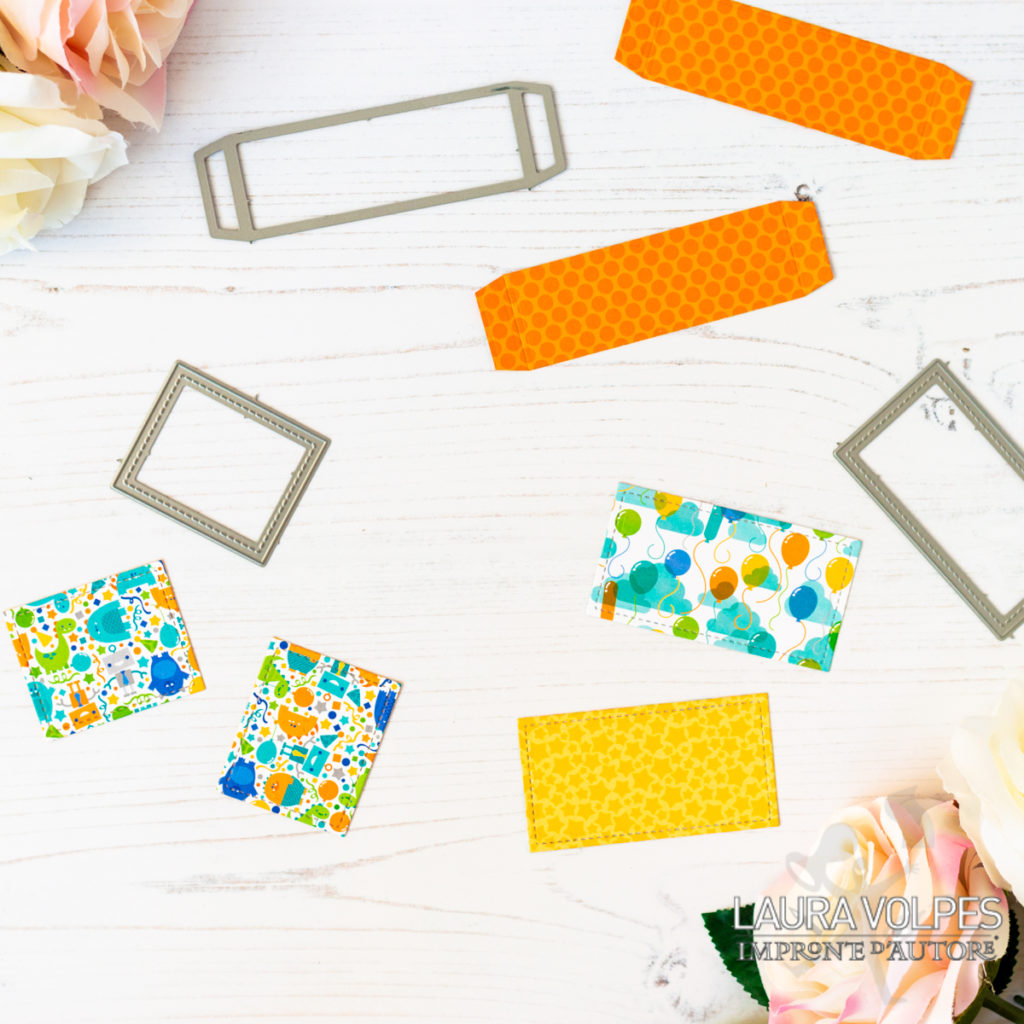
I then used the smaller dies in the set to die cut some rectangles, that I will use as decorations, and the two tabs where I will be gluing my images (the orange die cuts at the top of Figure 3).
 |
| Figure 4 |
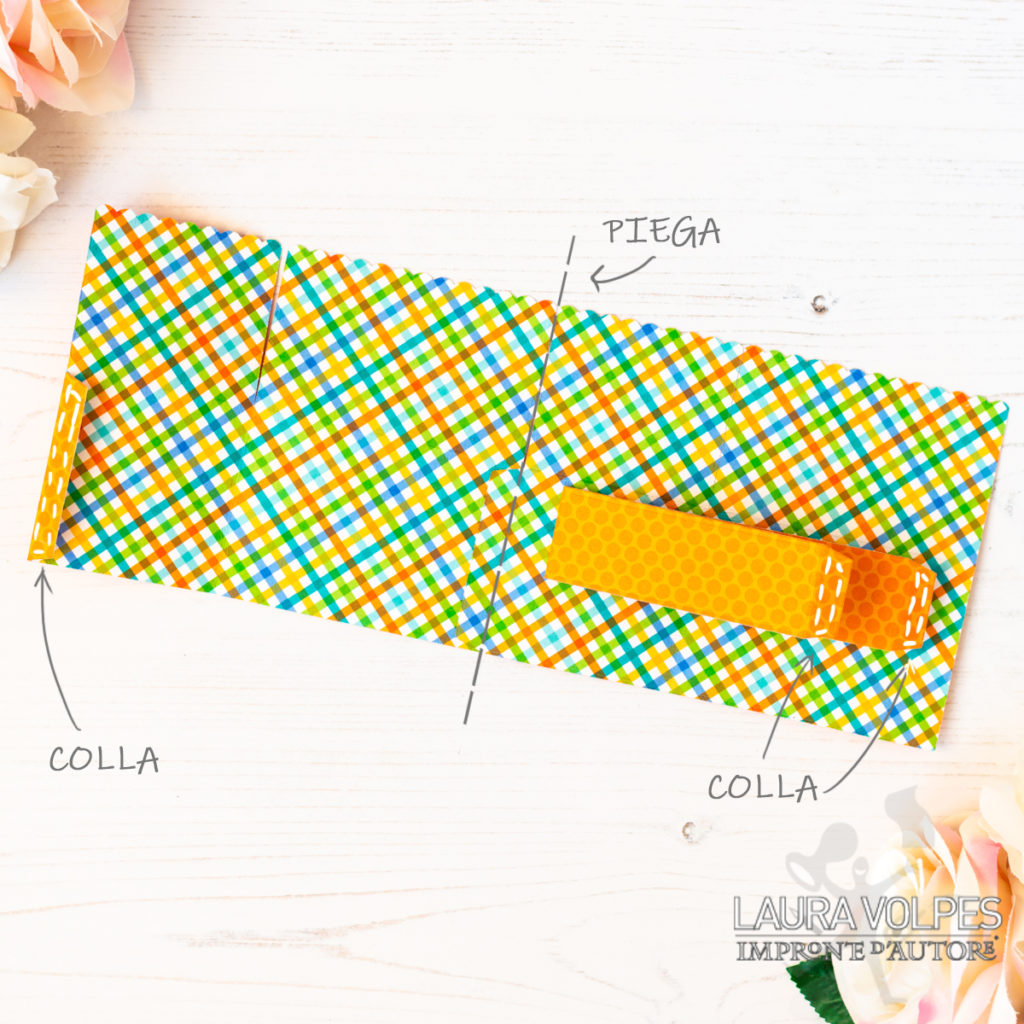
We can now start assembling everything. We will add glue or double-sided tape to the tab on one of the two halves of the pop up card (number 1 in Figure 4 above).
We can now glue the two halves together, adhering the flap to the second die cut. The flap will end up under the side that I marked as number 2 in Figure 4.
 |
| Figure 5 |
For the final steps, start by turning your paper face down. In Figure 5 you can see that I already went ahead and adhered the two supports to one of the short sides of the box. They are adhered at the same height with respect to the box bottom, but slightly apart from each other. mente distanziati.
At this point we are going to add glue to all exposed flaps, which are marked with some dashed rectangles in the picture above. The next step is to fold the card on itself, along the dashed line that I added to the picture.
 |
| Figure 6 |
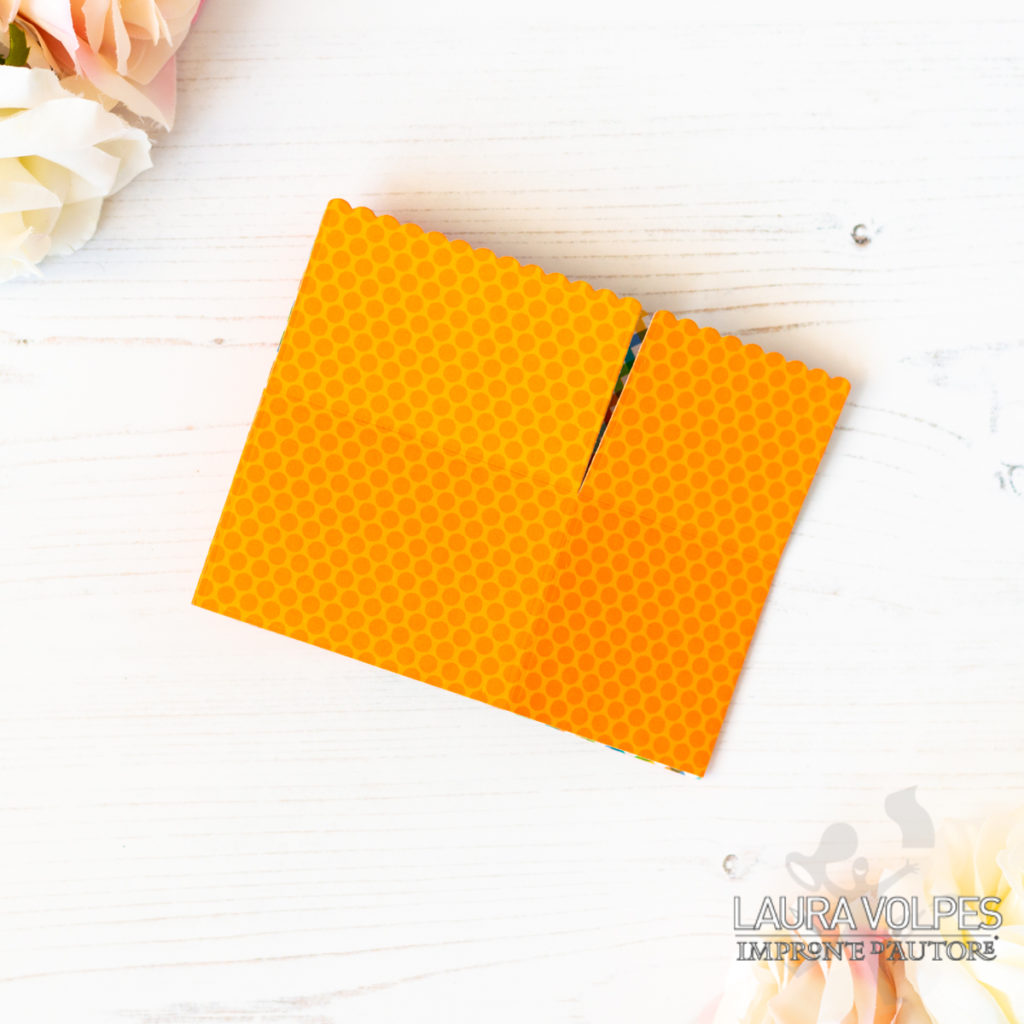
Make sure you press firmly, so that all the flaps are glued down securely. The result should look like what you see in Figure 6.

Once everything is nicely glued together, we can go ahead and decorate our card!
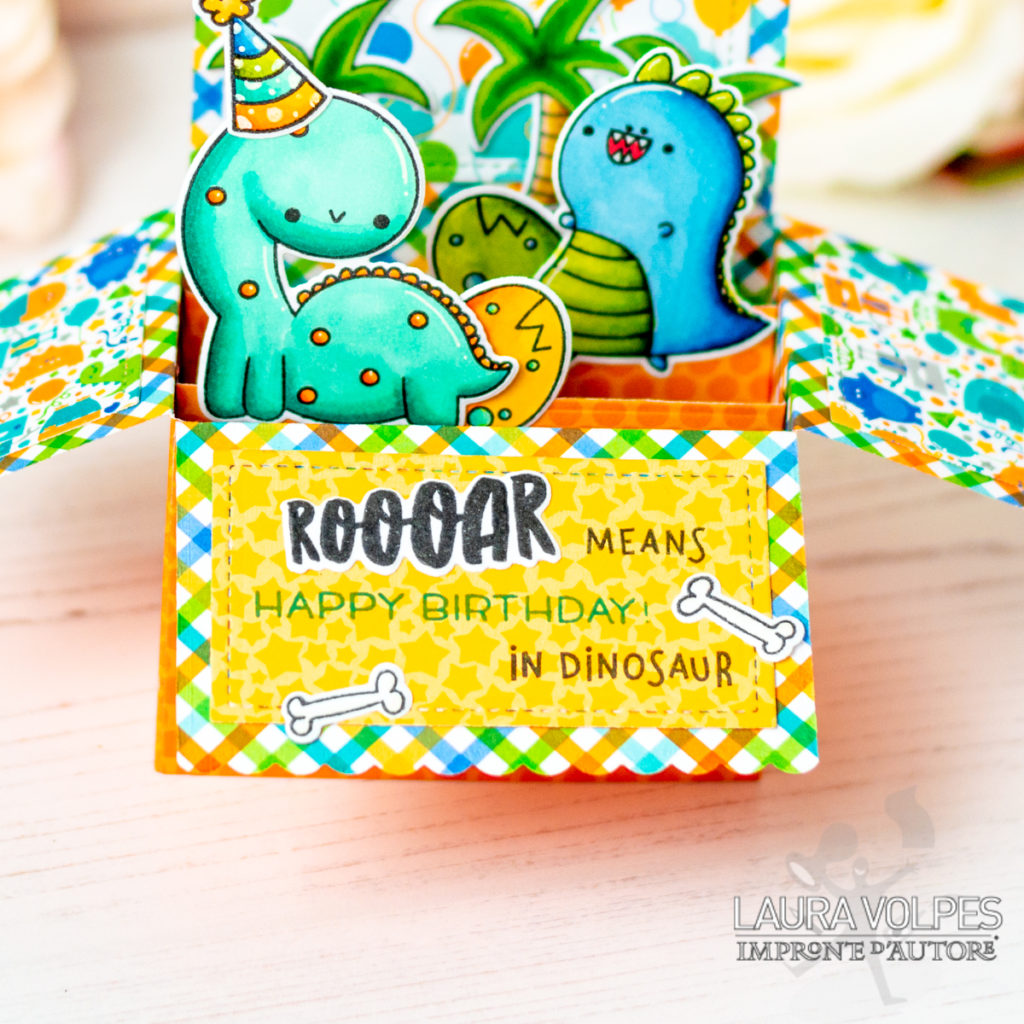
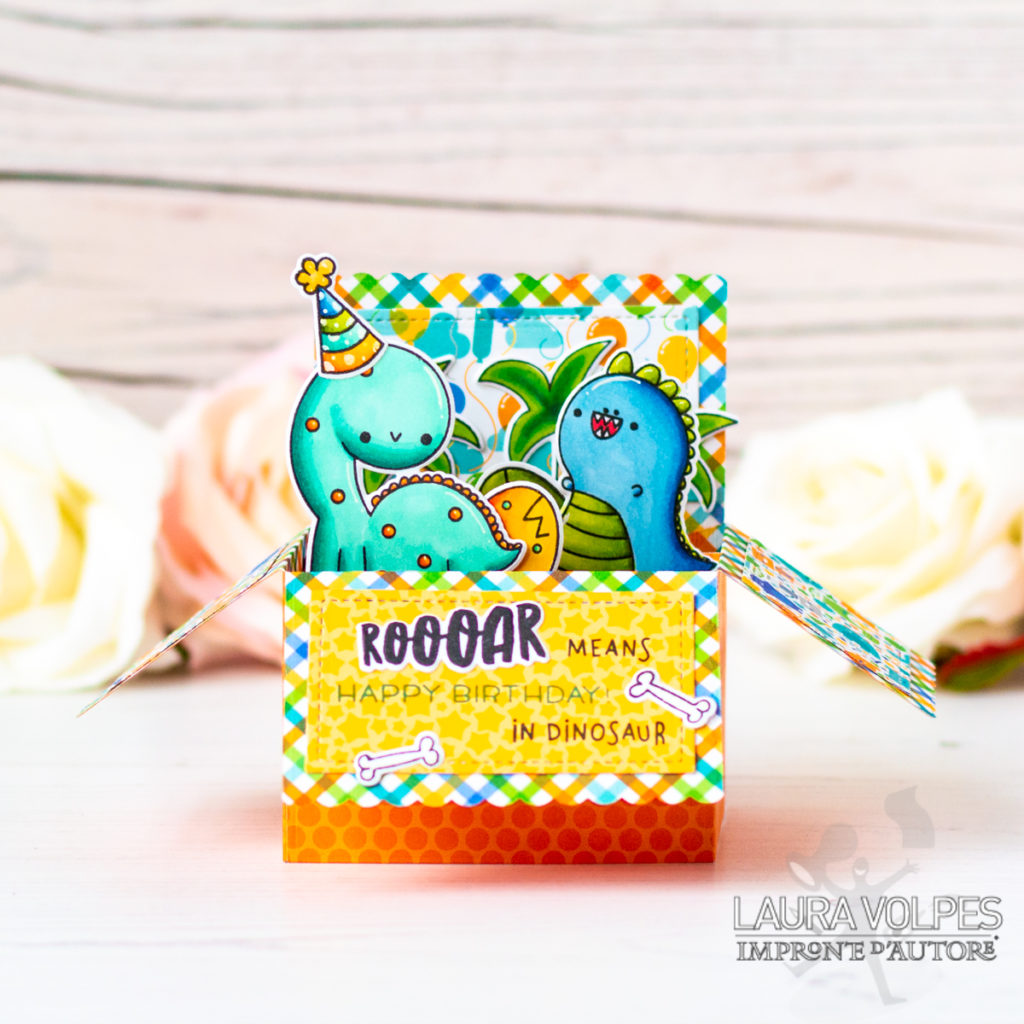
For my sentiment I combined the word ROOOAR (a.k.a. rawr) from the set Dinos by Impronte d’Autore with the Lawn Fawn Rawr and Oh, Gnome! stamp set. I decorated the panel with two bones that I had previously colored.
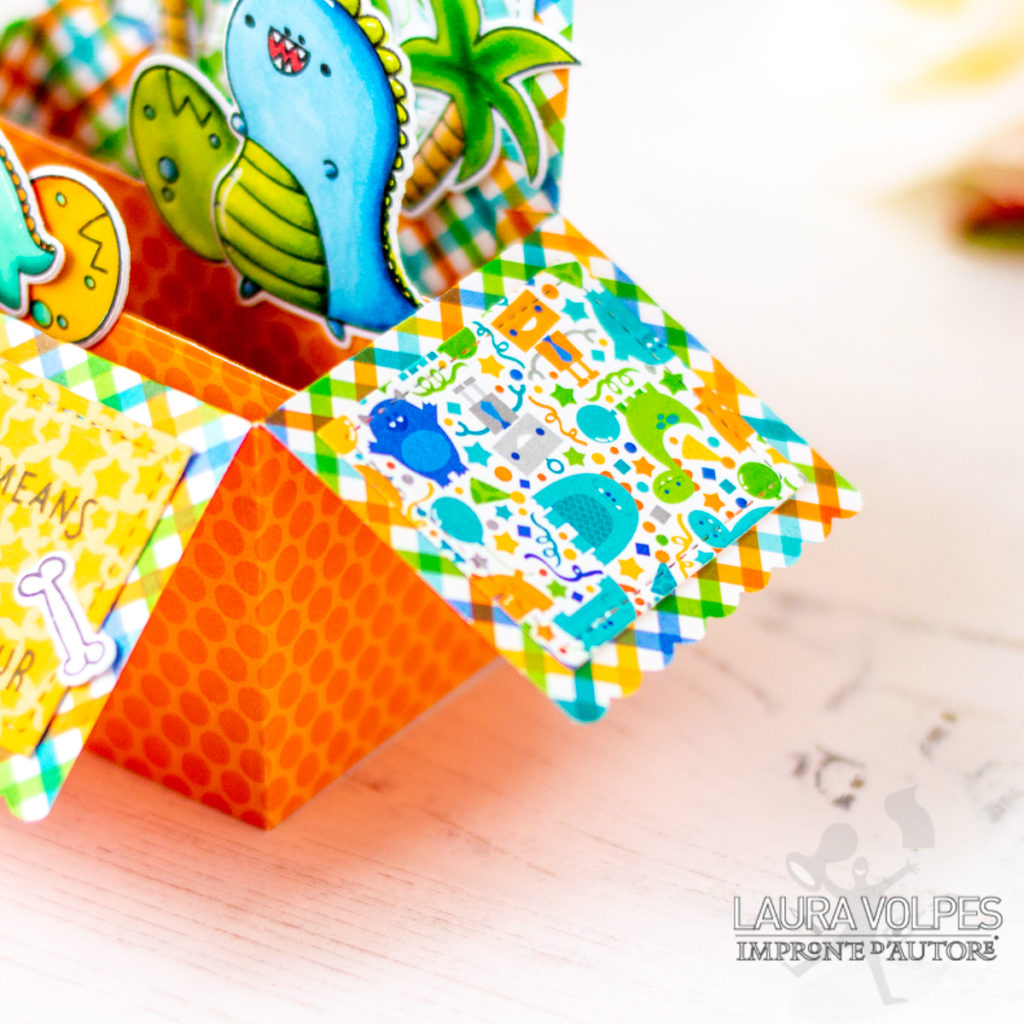
I embellished the sides of the box with the design featuring those super fun monsters, which were a great match to the style of the stamps that I used today.
Having used patterned paper also helped me chose my markers before starting to color my images.
I then glued the rest of the images, distributing them between the two supports in the center and the back panel, in order to create more depth. The photo below was shot with a slight bird’s eye view perspective, I hope it gives a feeling for all the layers inside the box.
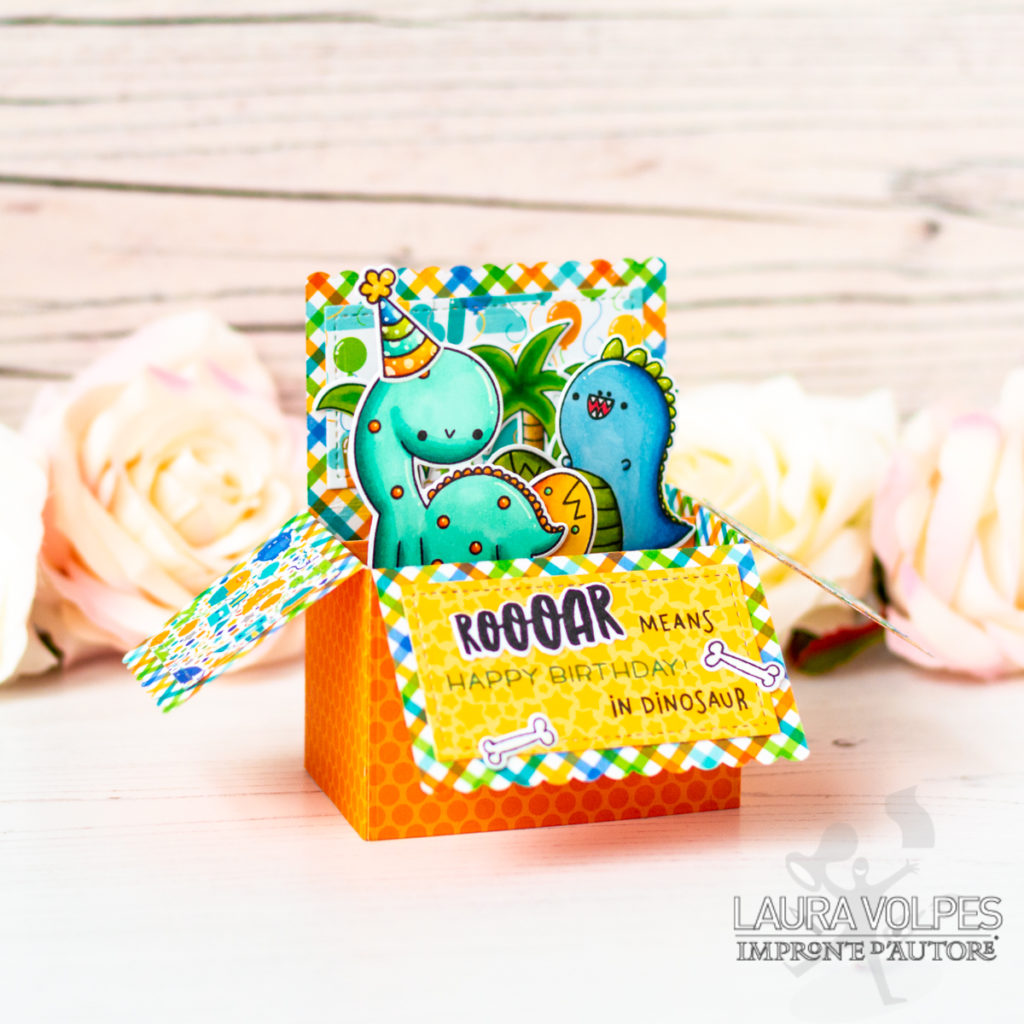
One more picture before I go…
…and that’s it for my August tutorial for Impronte d’Autore! I really hope you enjoyed it and you found it useful! I had a lot of fun creating this card and you’ll have to excuse me, but I have to go play with it!
Thank you all so much for stopping by and have a great day!

When possible, affiliated links are used at no additional cost to you. This means that if you make a purchase through one of these links, I will get a small commission at no additional cost to you. The money I earn this way goes towards running this blog and my YouTube channel. Thank you for supporting my creative journey! 💖