The sponsor for today’s hop is A Colorful Life Designs, and today’s cards will showcase stencils from their Holiday Release. There are ten 15$ gift certificates to be won, make sure to watch my video to find out more!
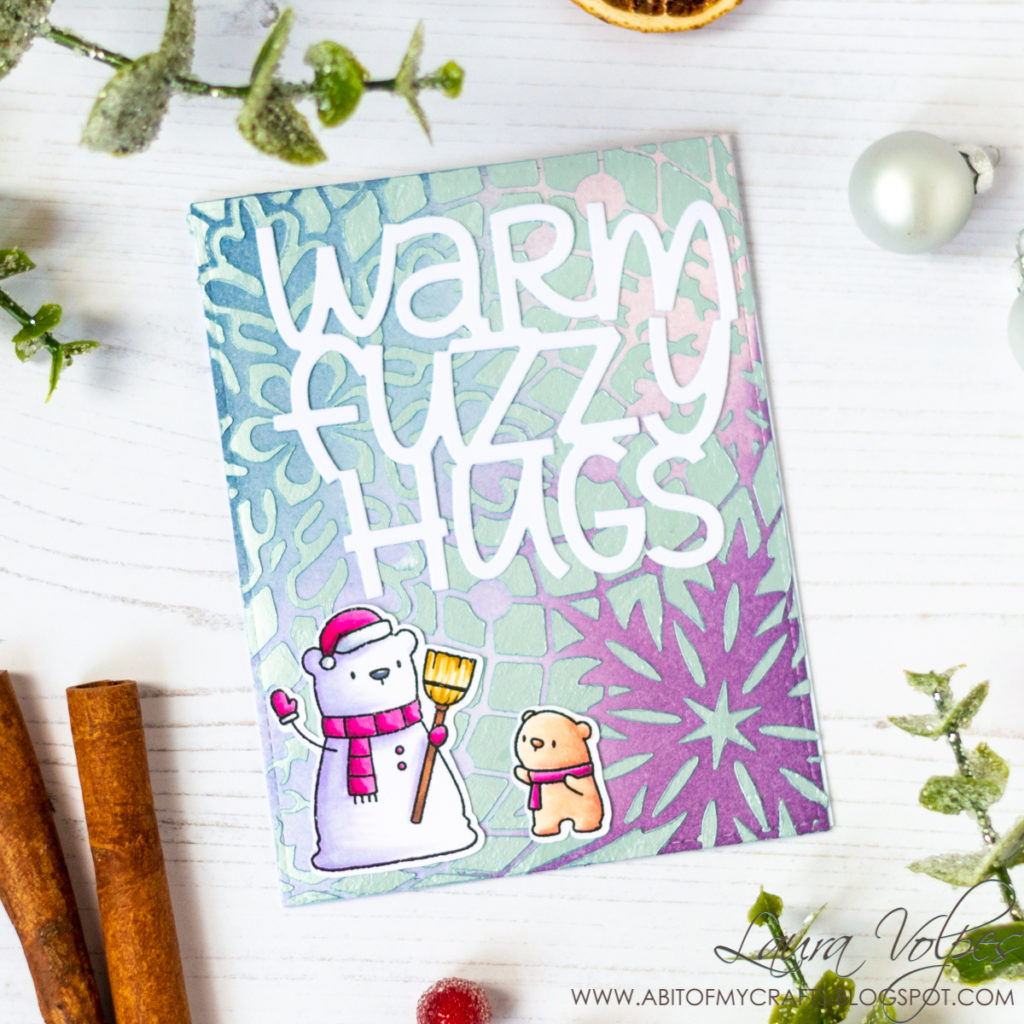
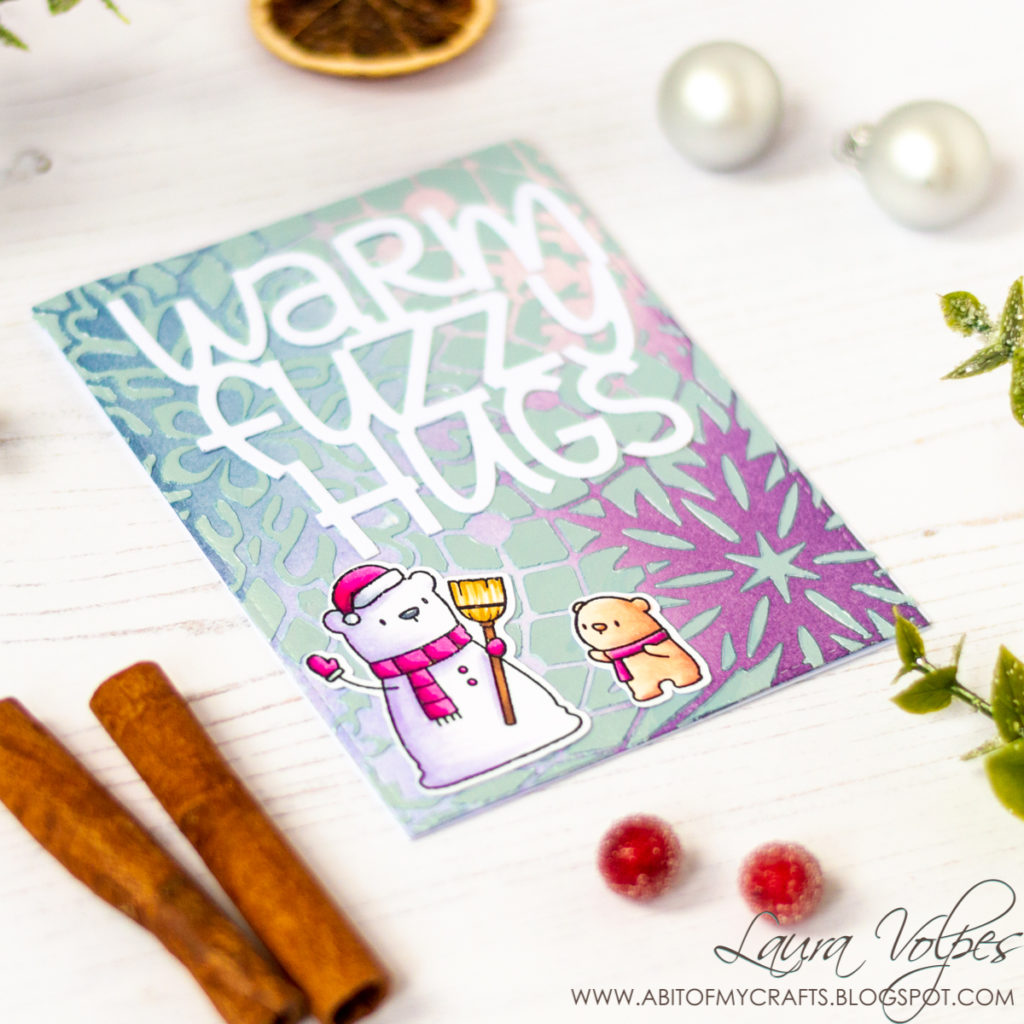
For my first card I used the Snowflakes Net stencil and Nuvo Mousse in Powder Blue. Before applying the mousse I created the background using Distress Inks.
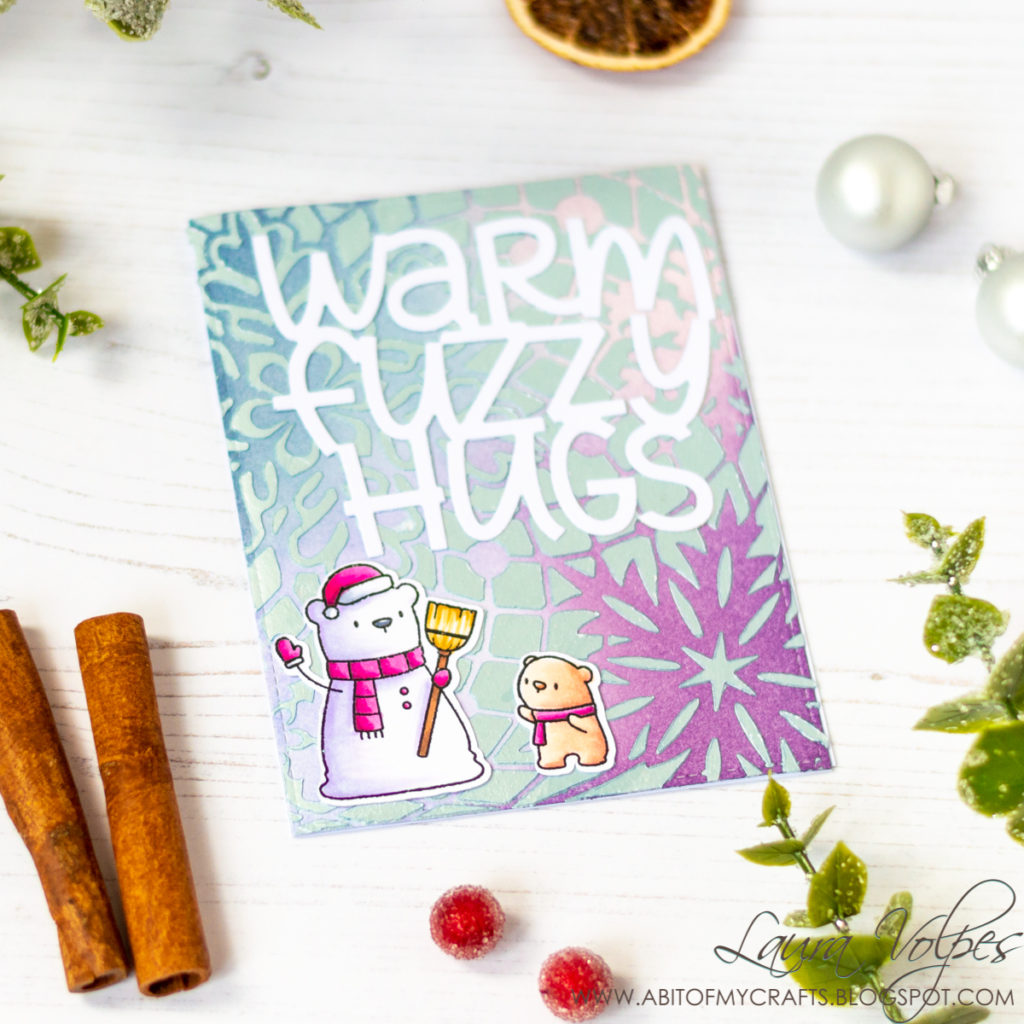
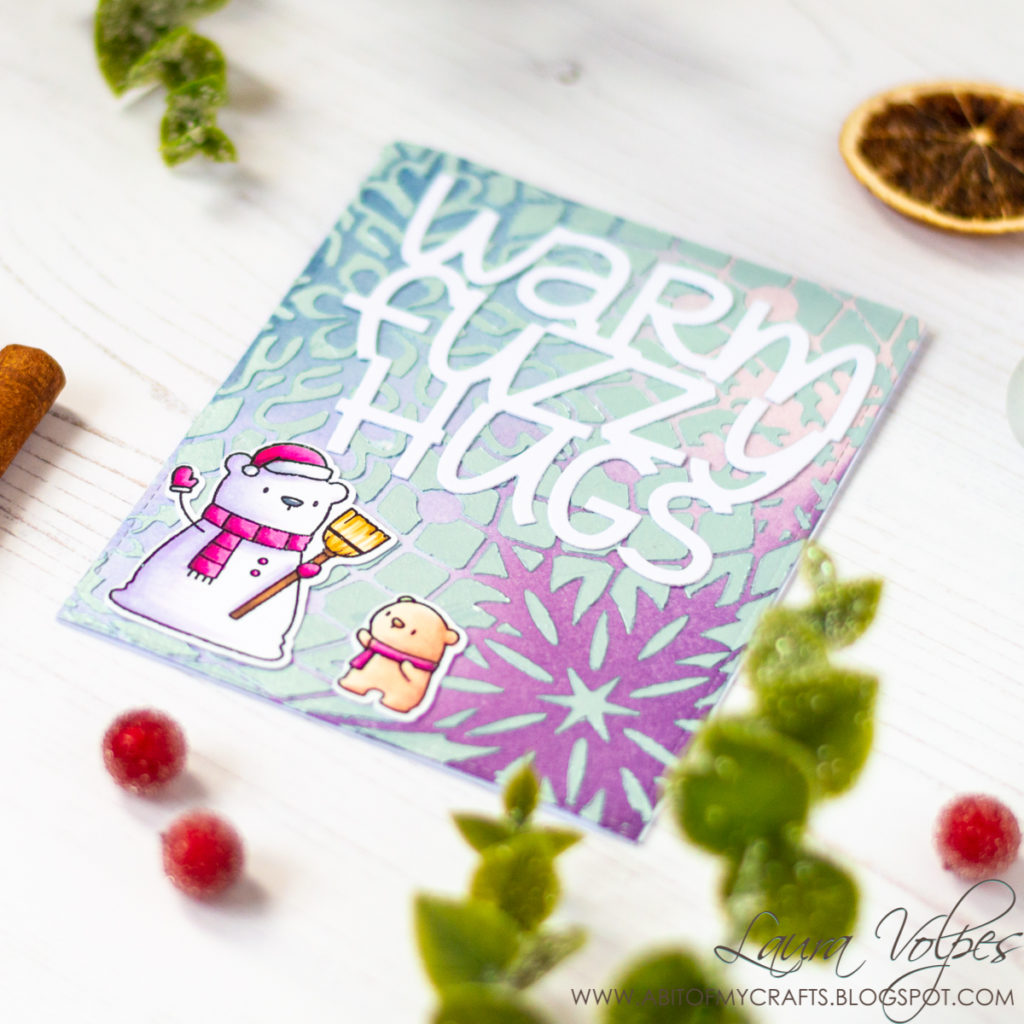
For the sentiment I die cut some white cardstock with the Mama Elephant Warm Fuzzy Hugs die and I glued it at the top of my card.
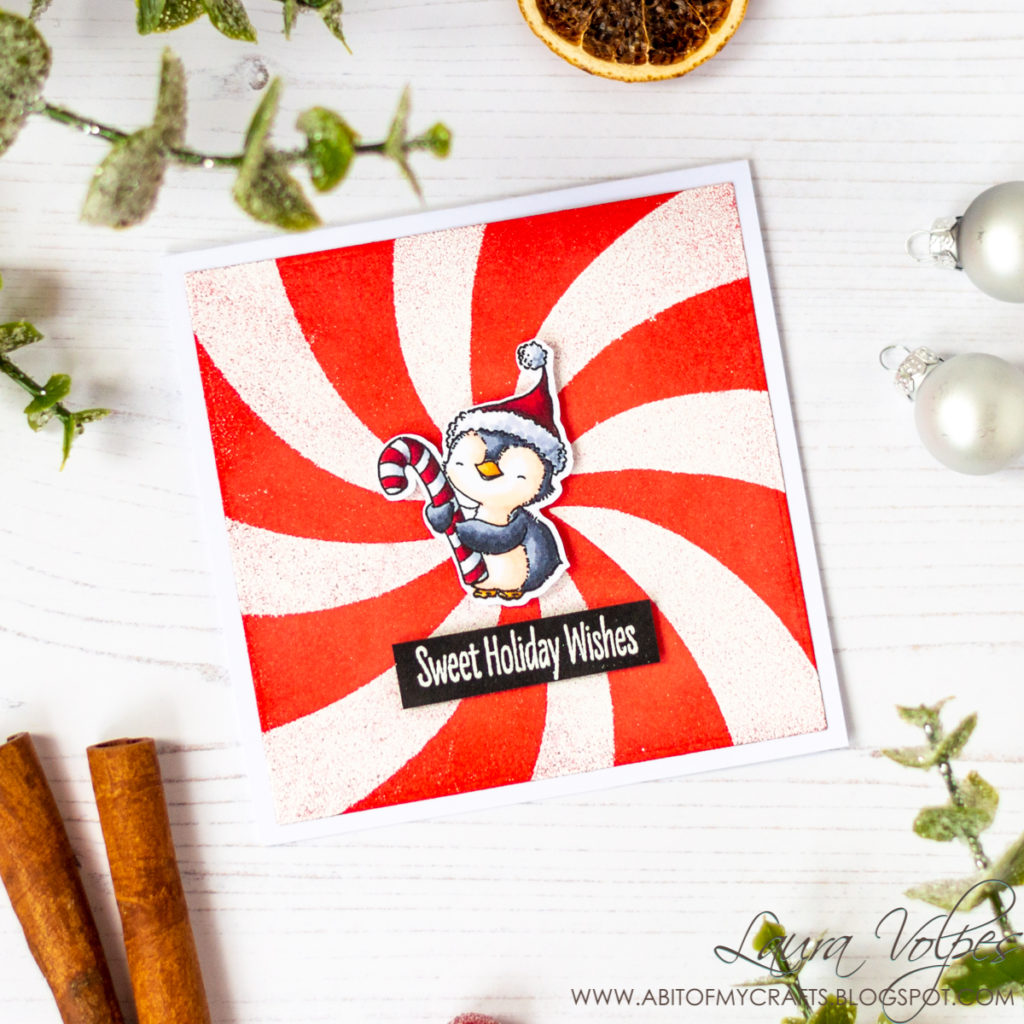
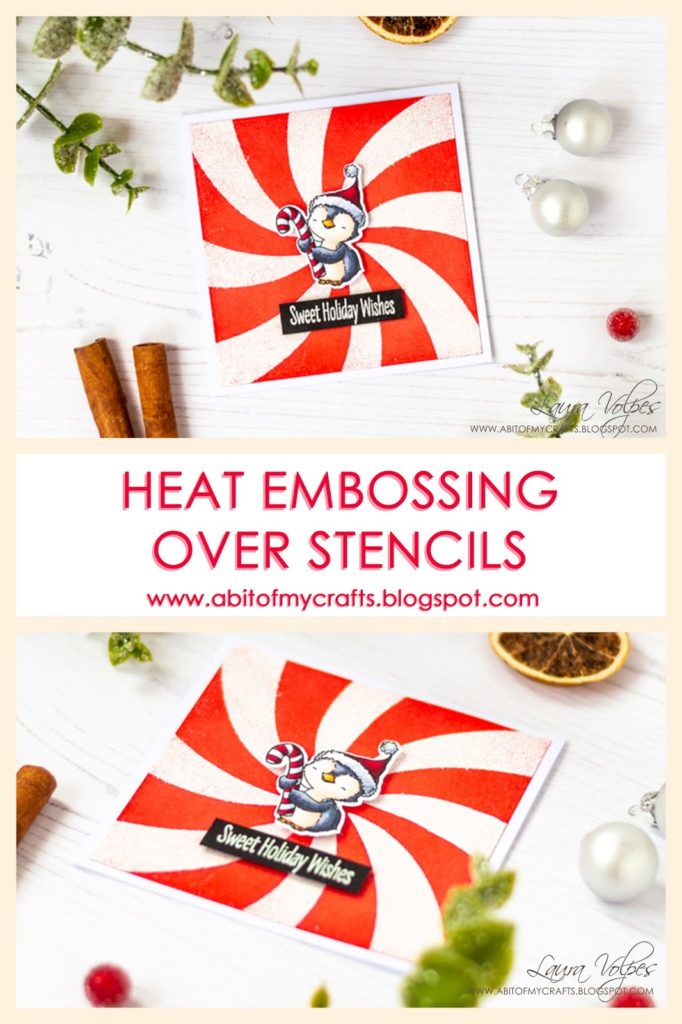
On my second card I used the Big Swirl stencil and heat embossing. I first created the base by die cutting some Bristol Smooth cardstock with the Tonic Studios Layering Squares and then blended Distress Ink in Candied Apple over the whole panel (you can also directly use some red cardstock).
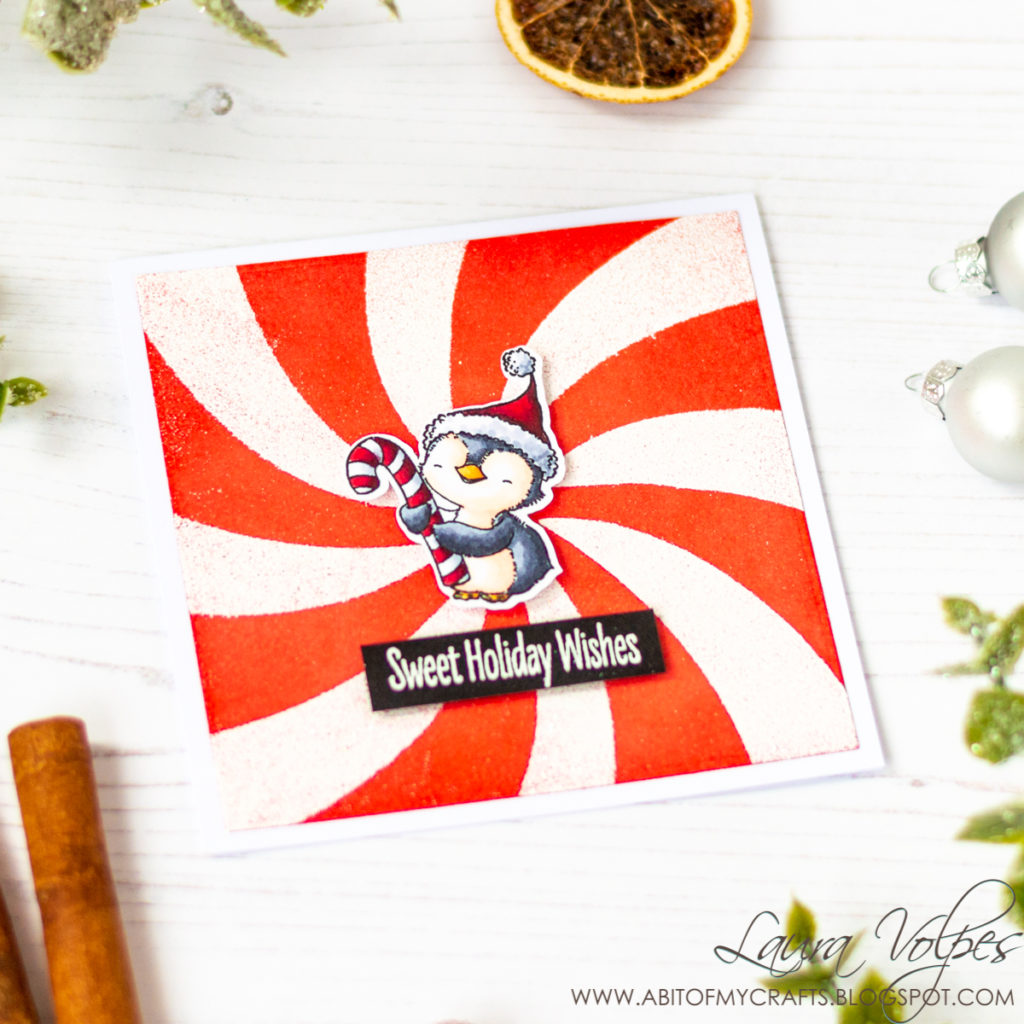
I then blended Lawn Fawn Yeti Pigment ink over the stencil, coated the area with Wow Sparkling Snow embossing powder by Wow and heat set it with my heat gun.
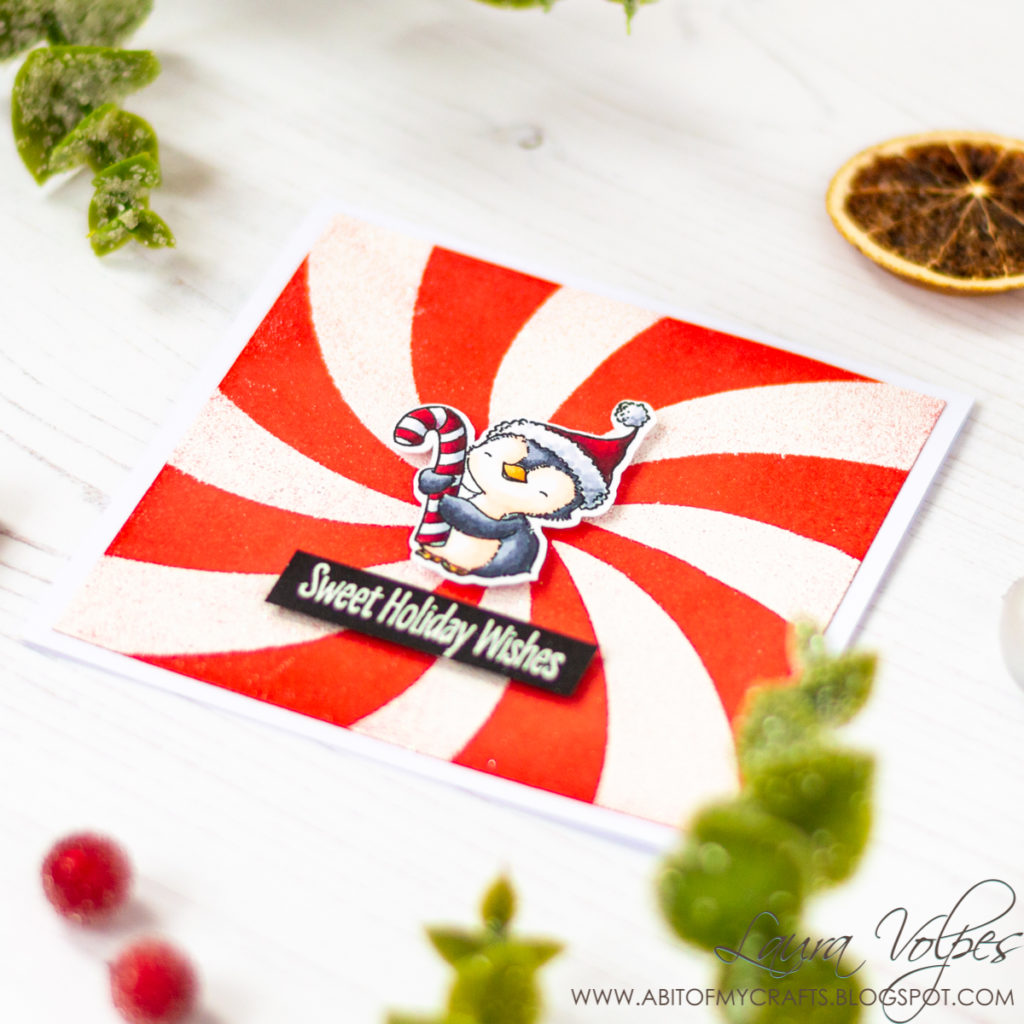
The image I used for this card is part of the MFT Sweet Holiday Penguins stamp set. For the coloring I used again my Spectrum Noir markers, and here is the color chart for it too.
The sentiment I used is also part of the Sweet Holiday Penguins stamp set, and was heat embossed with white embossing powder on black cardstock. For some extra interest, I raised the image and the sentiment over foam squares.
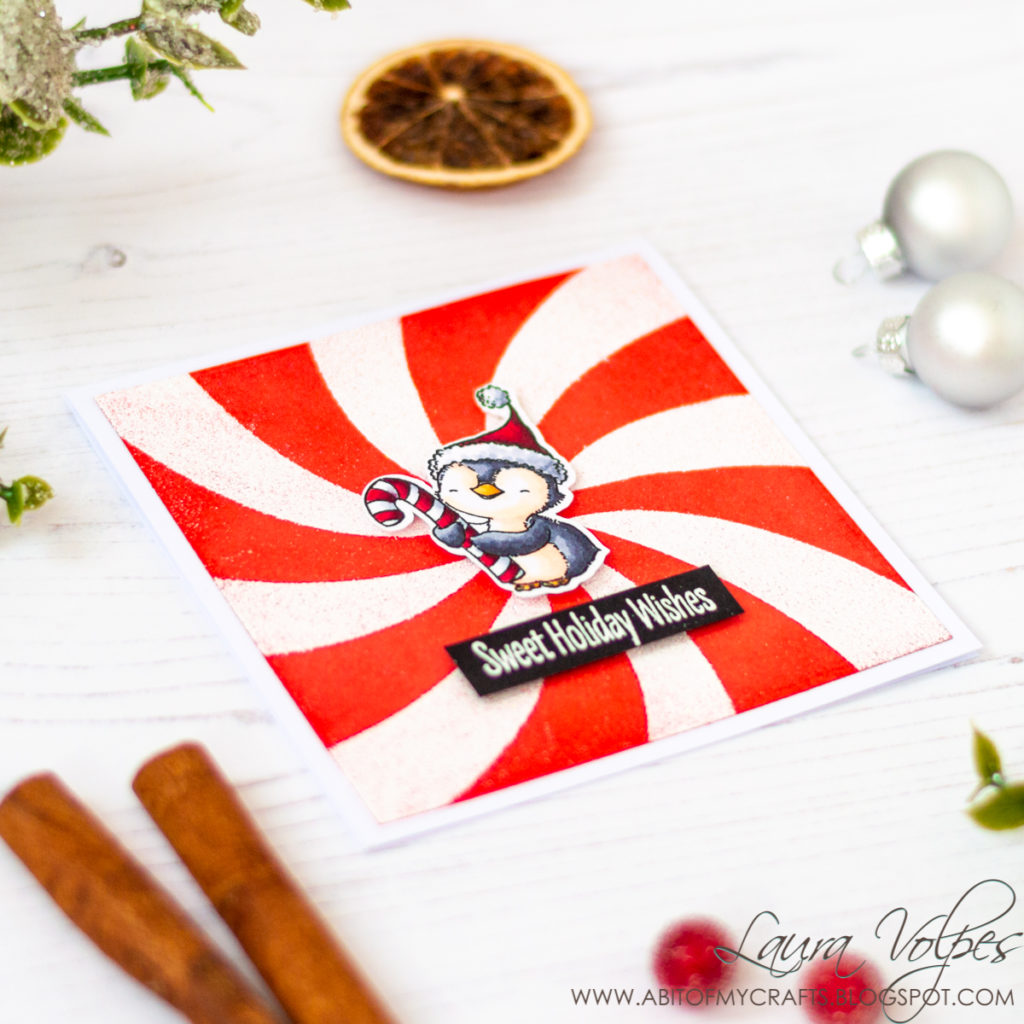
I mounted my card front on a square card base, cut at 4 3/4″ by 9 1/2″ and scored at 4 3/4″, and that finished off my second card.
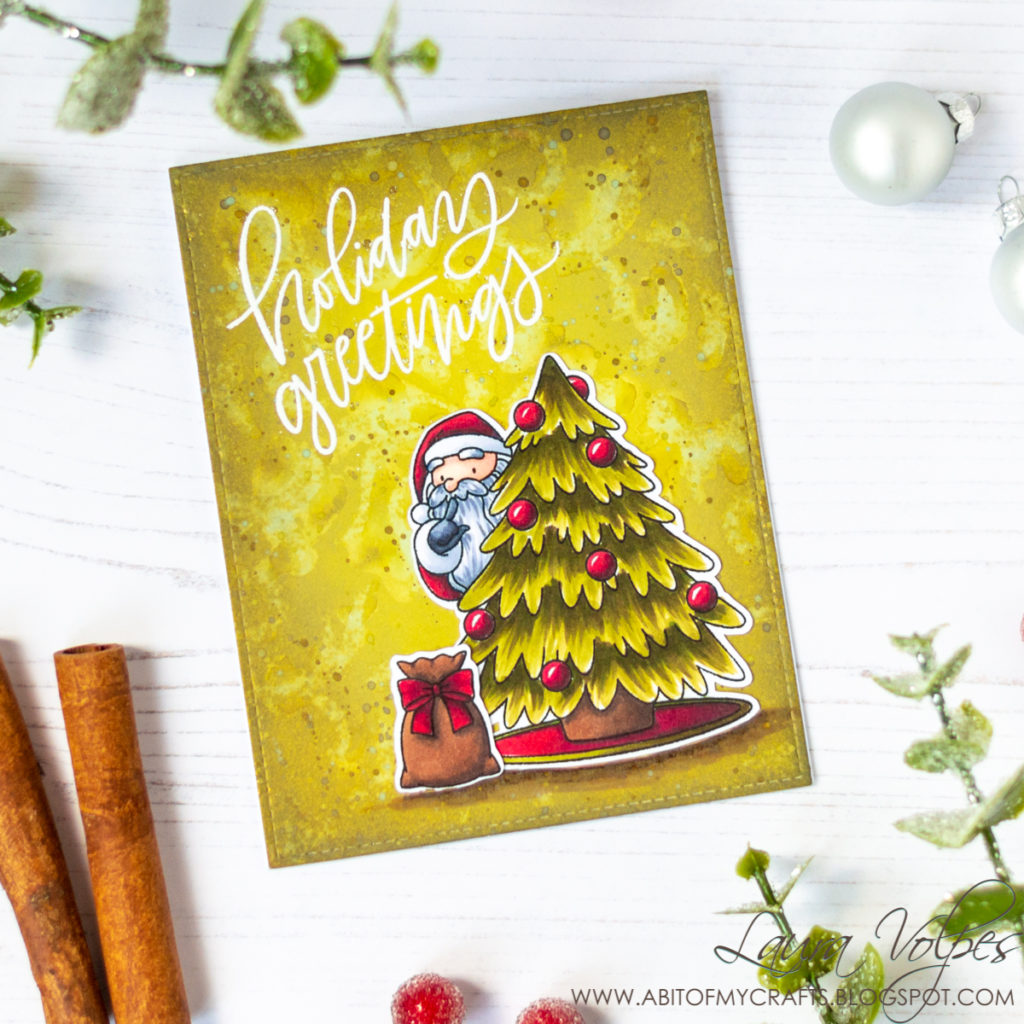
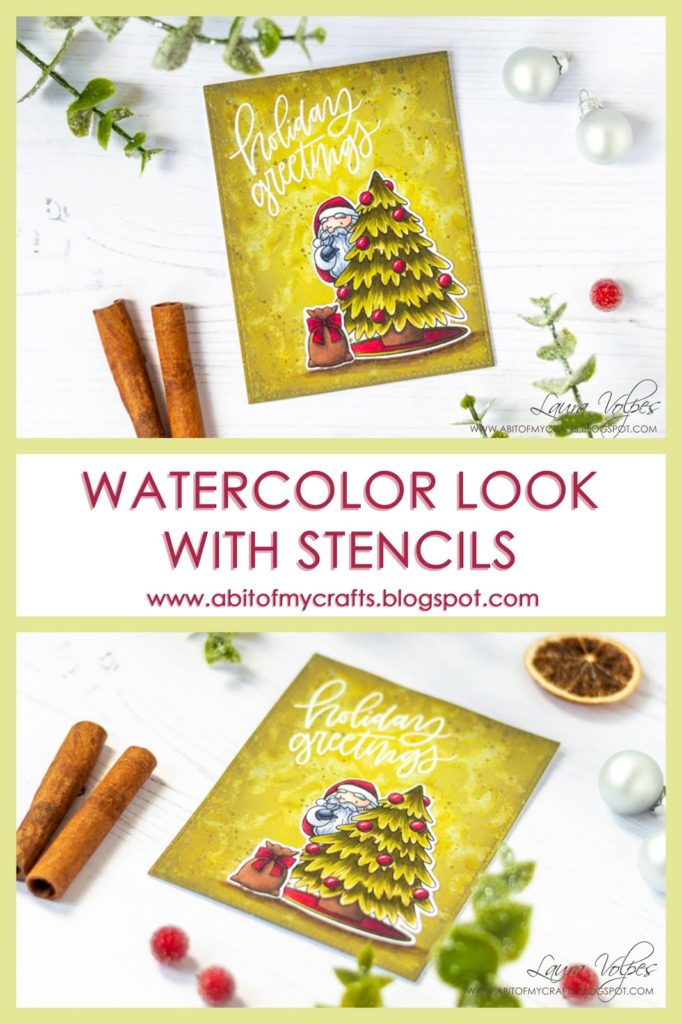
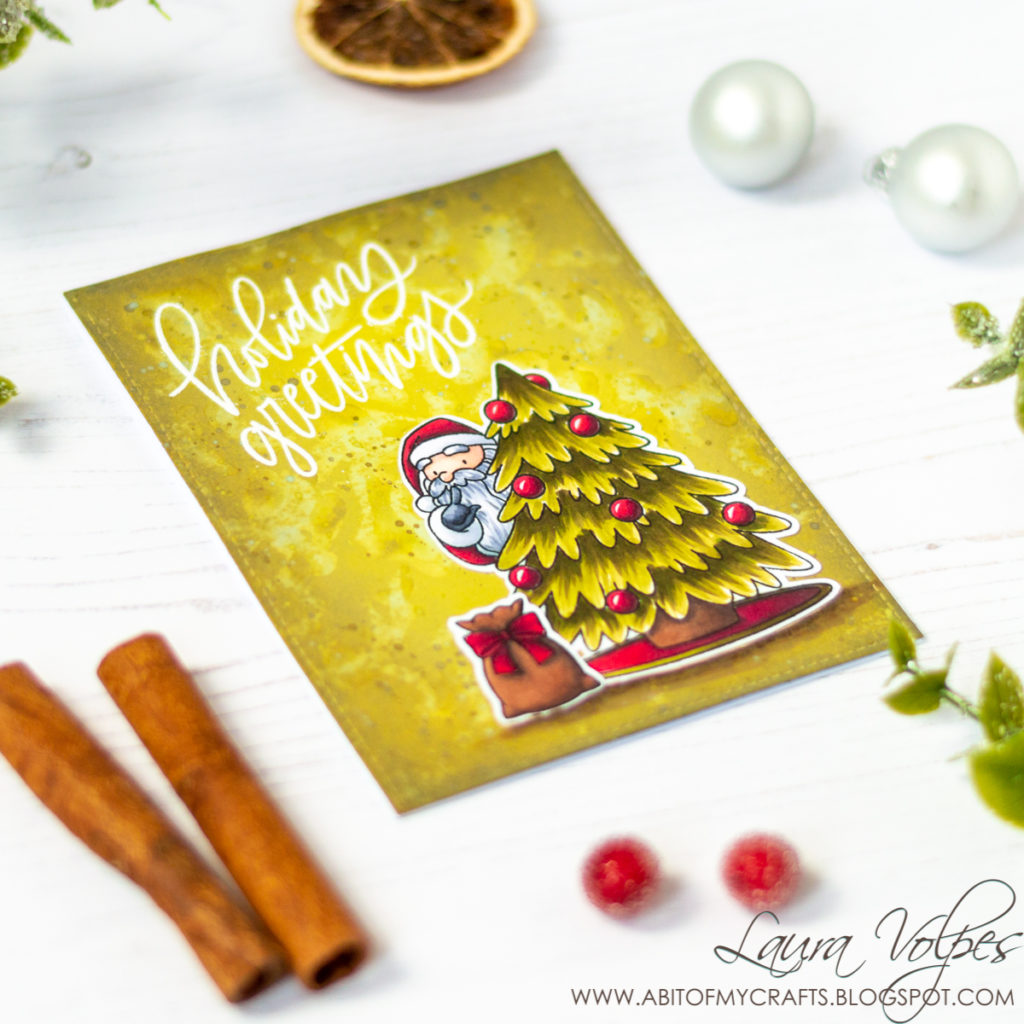
For my third and final card I used the Big Damask stencil to create a subtle background with a watercolor look. The base panel is again some Bristol Smooth cardstock, die cut with the Heffy Doodle Clover Frames Dies.
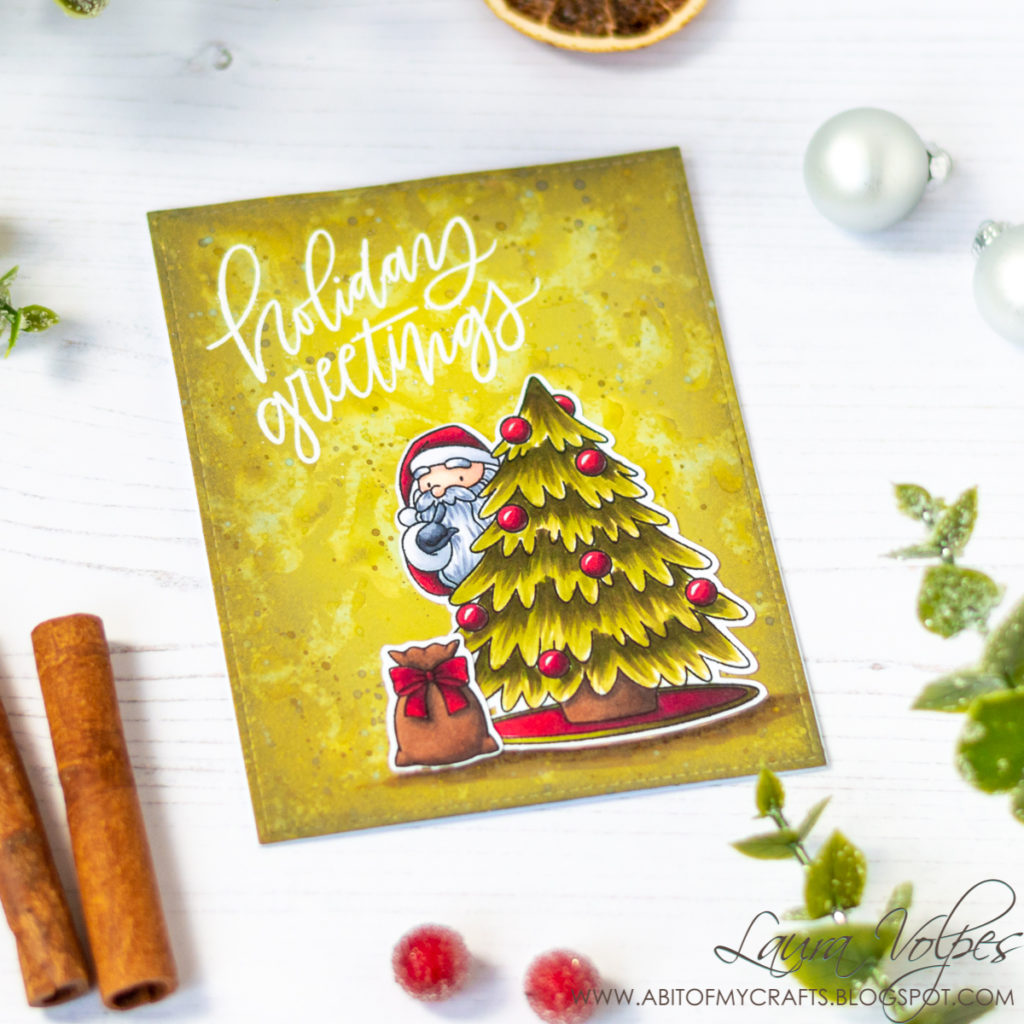
I started by blending Distress Oxides in Peeled Paint, Forest Most and Black Soot over the panel. I then lay the stencil over my cardstock and spritzed it with some water using my Distress Sprayer. The water reactivates the inks and creates a pretty watercolor like look.
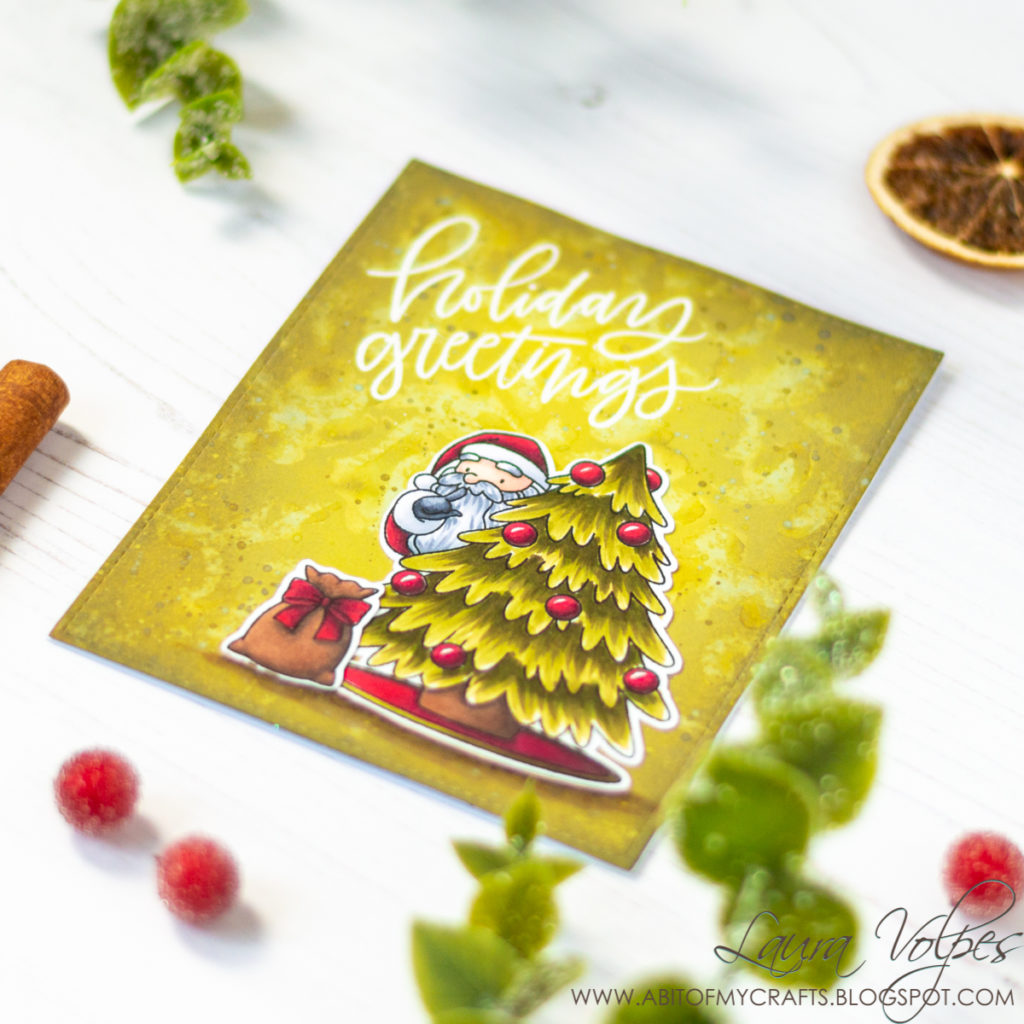
I added some interest on the background by creating some droplets with my Distress Oxides and the Gansai Tambi Starry Colors.
The images on this card come from the My Favorite Things Secret Santa’s stamp set. Also in this case I used my Illustrator markers to do the coloring, and here is a color chart for you.
As a last step, I heat embossed the sentiment from the My Favorite Things Hand Lettered Holiday Greetings with white embossing powder by Wow.

When possible, affiliated links are used. This