

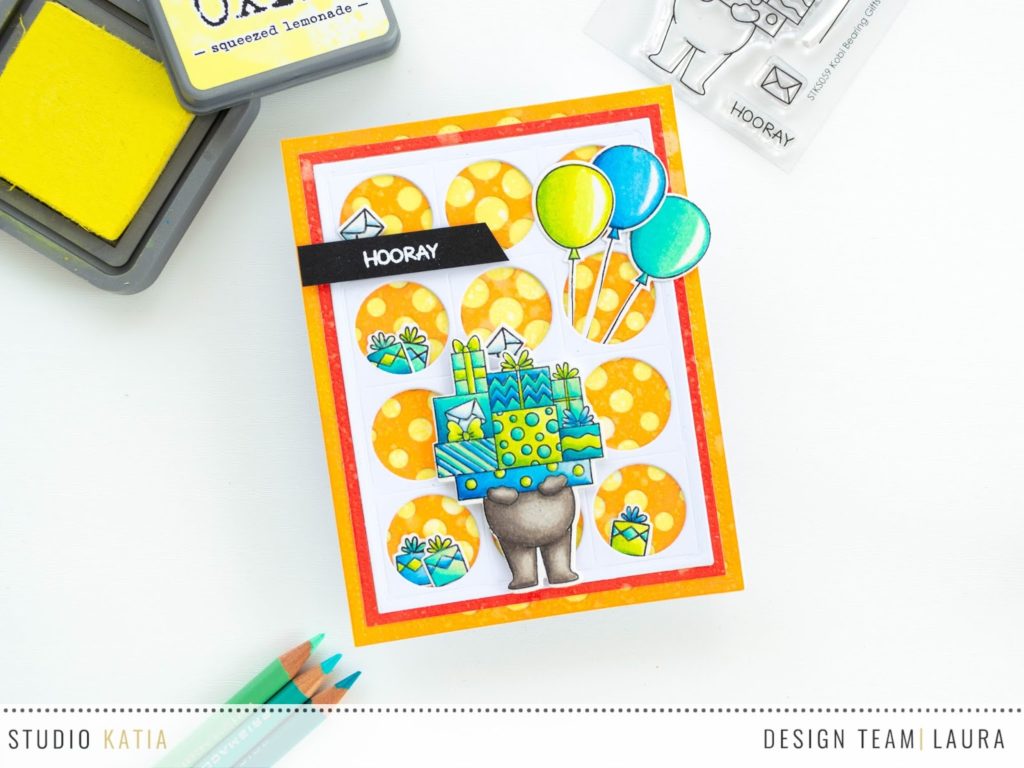
Hi everyone! It’s Laura here, and for our Masculine/Father’s day theme week I created a birthday card with the adorable Kobi Bearing Gifts stamp set.
As a first step I started working on my background. I cut three panels out of some Bristol Smooth cardstock using the rectangle die in the Darling Ribbon and Dotted Frames set and I inked them up with Distress Oxides in Squeezed Lemonade, Carved Pumpkin and Candiend Apple. I put down a uniform coat of ink and spritzed the backgrounds with water for a fun look.
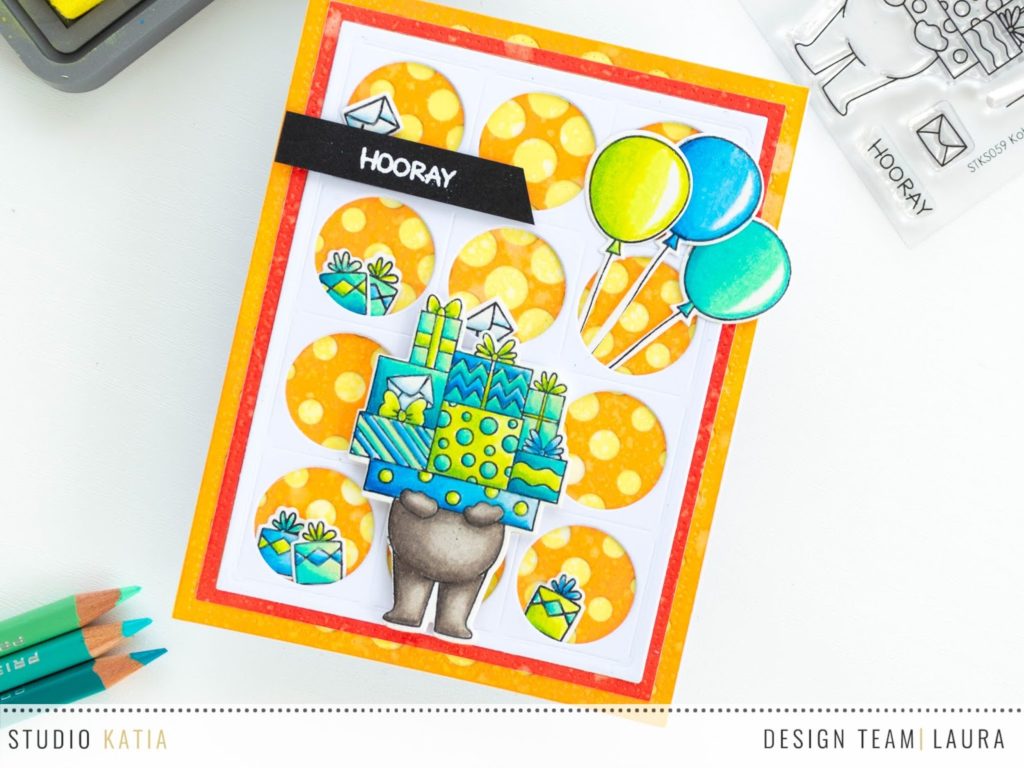
I then used the Halftone Dots Cover Creative Die to cut the orange panel, and the Dotted Patterns Loops Creative Dies to cut the red panel and two pieces of white cardstock. I layered the two white cardstock panels for some extra dimension.
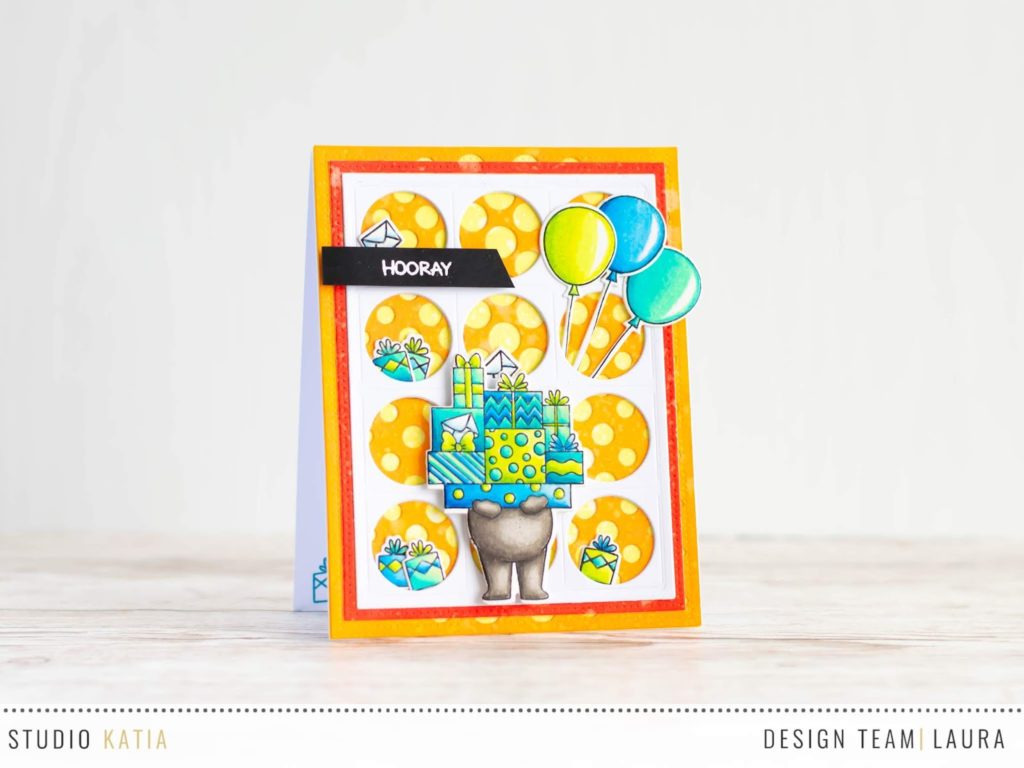
The images I used today come from the Kobi Bearing Gifts Clear Stamp Set. I stamped them with black ink on some Bristol Vellum cardstock and colored them with my Prismacolor pencils. I used a cold palette to get some nice contrast with my warm background. I will show a bit of the coloring in the video tutorial that you can find at the end of this post, but I also created a color chart for your reference. I hope you will find it useful.

After I was done coloring, I die cut all the images with the Kobi Bearing Gifts Coordinating Dies. I then arranged them on my background, that I had created by layering the ink blended ad die cut panels. I glued the balloons and the presents flat and popped up the image with Kobi with some foam squares.
I choose the sentiment that reads “hooray”, also from the Kobi Bearing Gifts Clear Stamp Set, and heat embossed it with white embossing powder over some black cardstock. I cut the cardstock into a thin strip and adhered it to my card front with some foam squares.
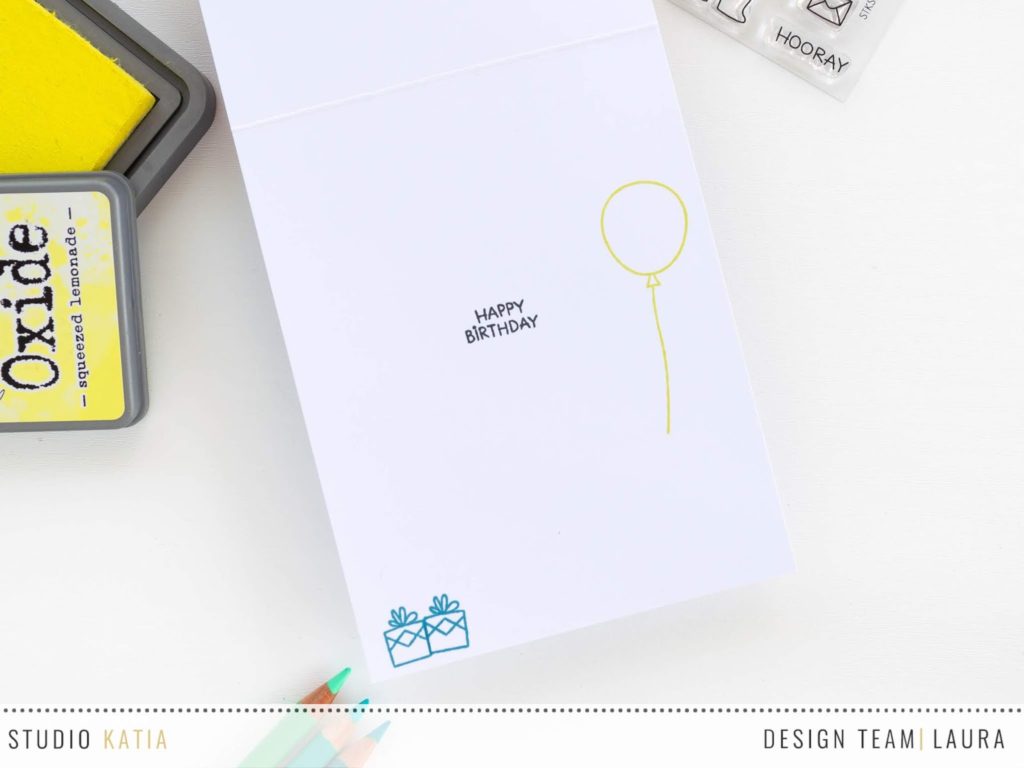
I also decorated the inside of the card using the smaller images in the set,and the sentiment that reads “happy birthday”. I used inks that match the color palette I used for my colored images, and left plenty of room for a hand written message.
As I mentioned earlier, I uploaded a video tutorial showing you how I created this card. You can watch it down below or click here to watch it on my YouTube channel.
And that’s it for today! I really hope you liked this card and enjoyed the video, and I hope I inspired you to create with the sweet Kobi Bearing Gifts stamp set!
Thank you all so much for stopping by, and have a great day!
SUPPLIES
Kobi Bearing Gifts | Clear Stamp Set
Kobi Bearing Gifts | Coordinating Dies
Dotted Patterns: Darling Ribbon | Creative Dies
Halftone Dots Cover | Creative Die
Dotted Patterns: Loops | Creative Dies

