

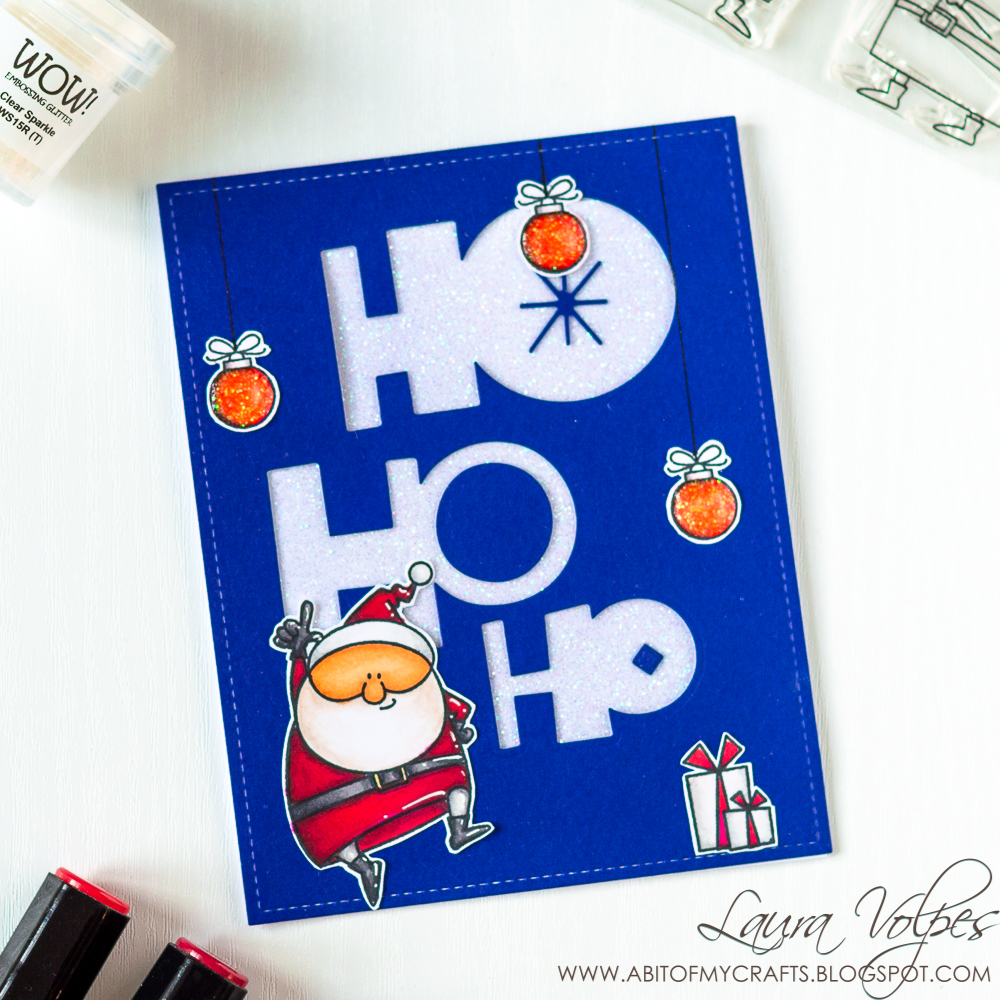
Hi everyone! Today I am back with a card and a video showing how to create your own glitter cardstock, and how to use it to make a quick and easy Christmas card.
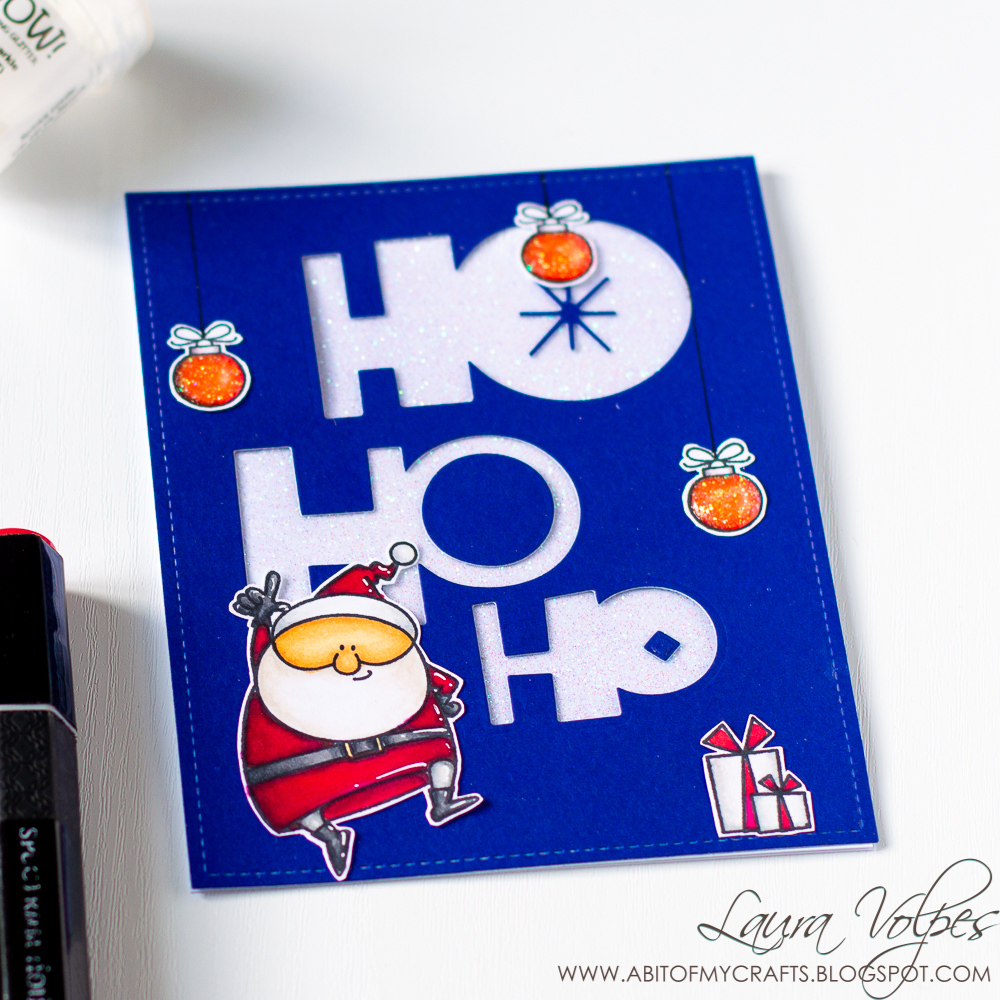
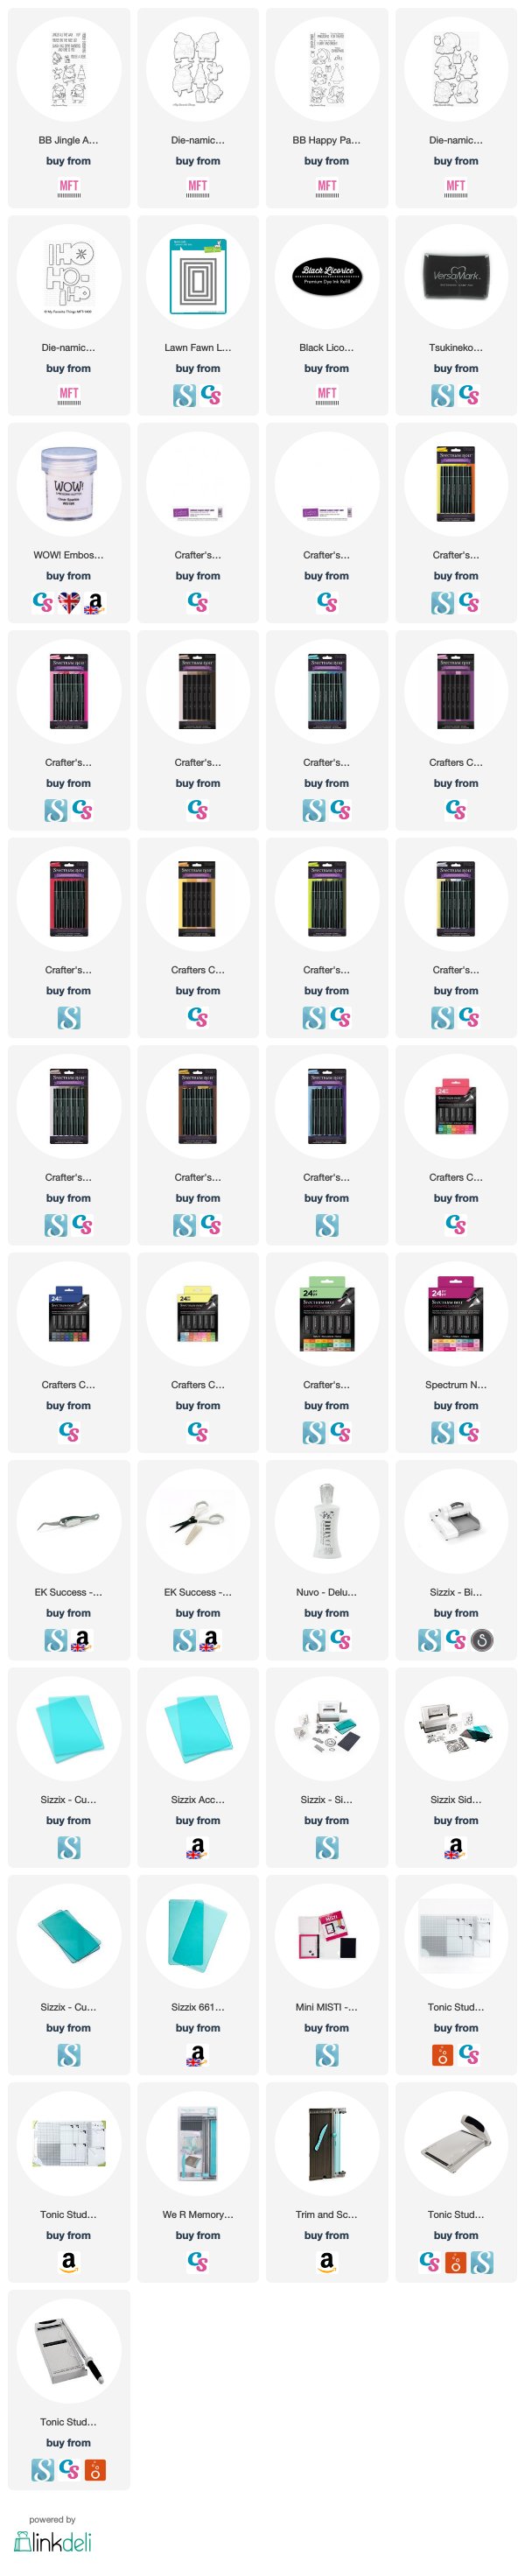
The images I used today are from the My Favorite Things Jingle all the Way and Happy Pawlidays stamp sets. I stamped them with MFT Black Licorice Hybrid Ink on Neenah Solar White 110lb cardstock and colored them with Spectrum Noir Markers.
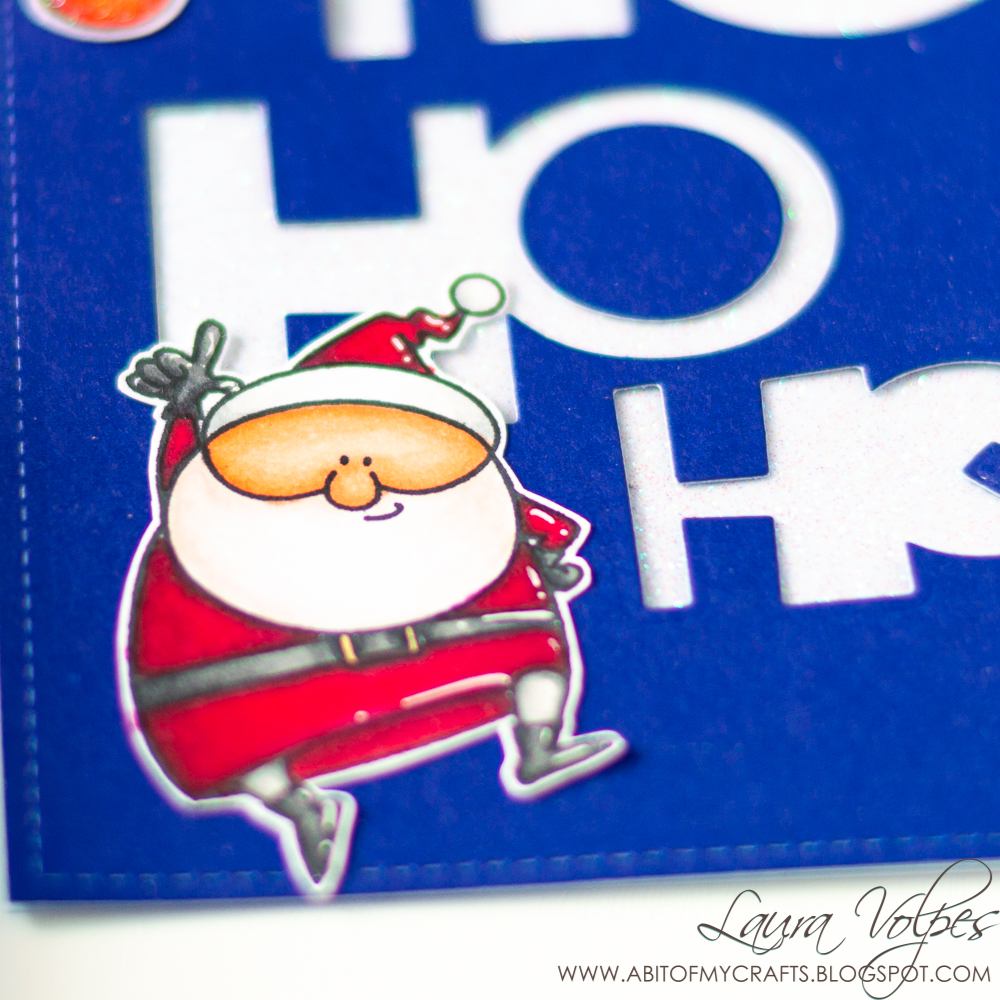
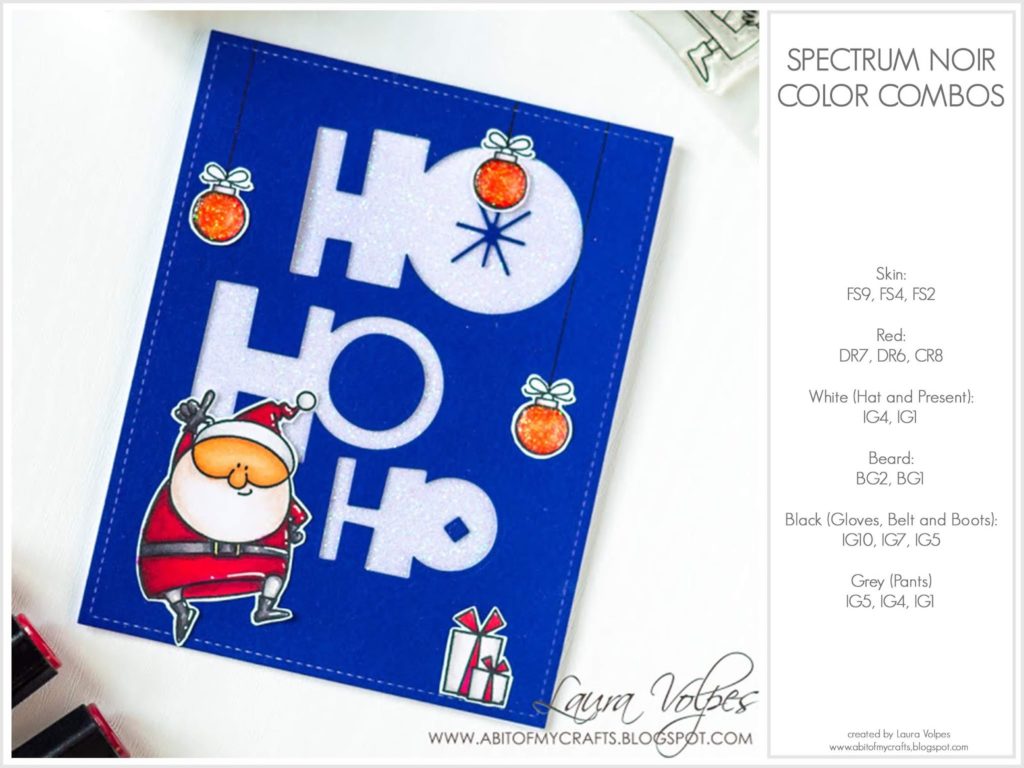
I kept the coloring quick and easy, and stuck to reds mostly, so that the images would stand out against the blue cardstock. Below you can find a chart with the color combinations of Spectrum Noir markers that I used for the images in today’s card.
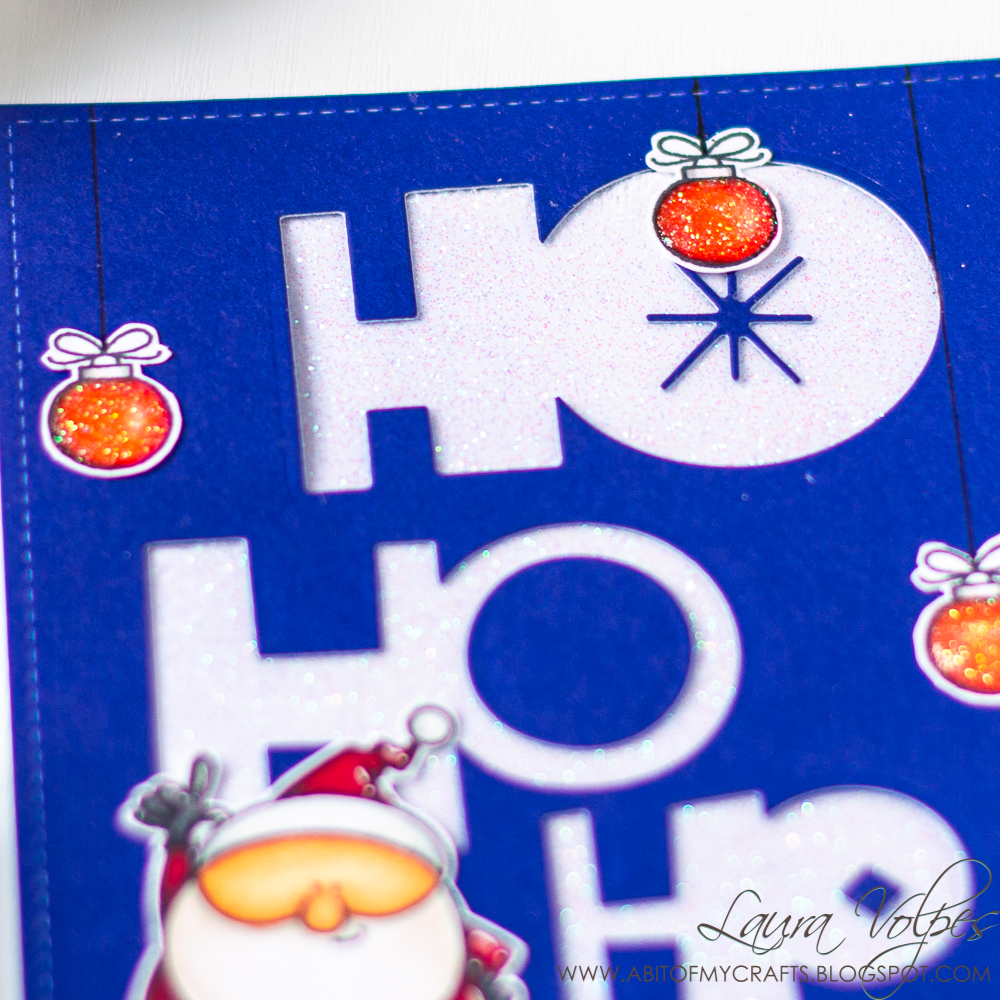
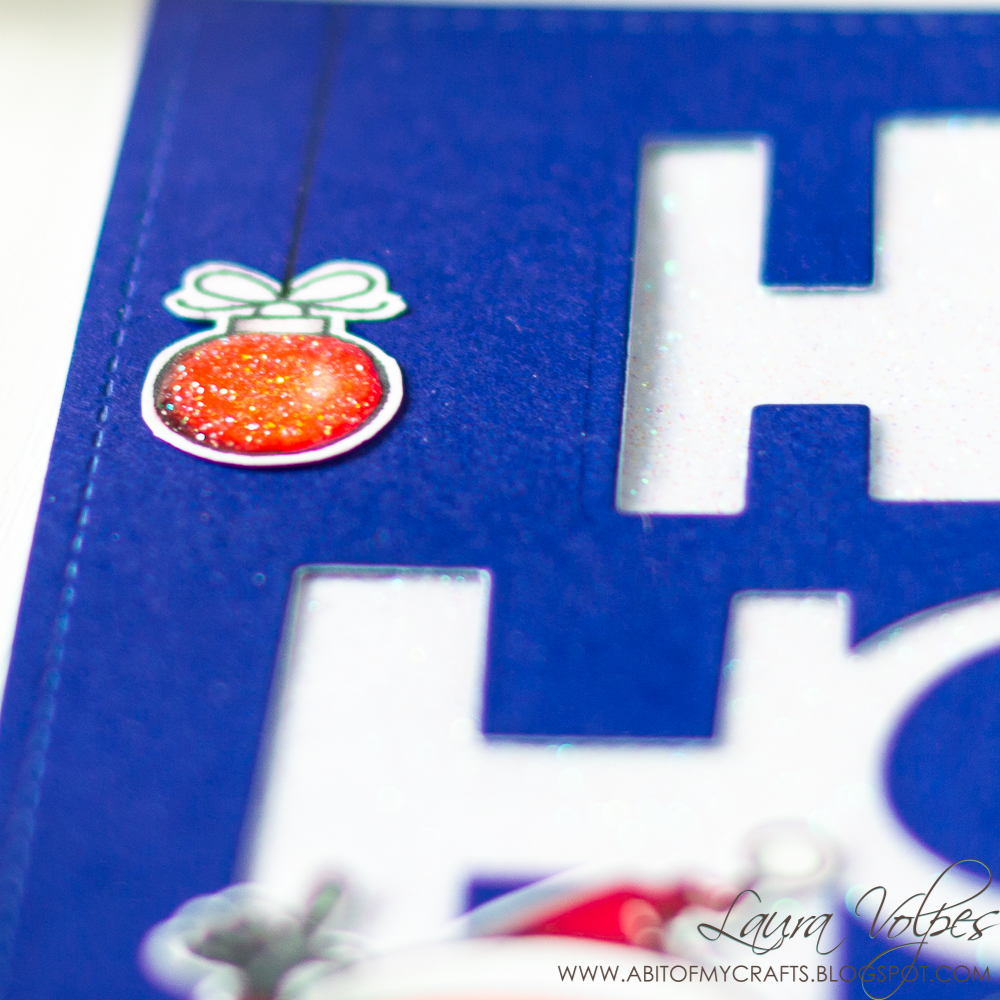
I assembled all the elements on a top folding A2 card base and moved on to the finishing touches. I added some white highlights with a white Gelly Roll pen and some sparkle to the baubles with a Spectrum Noir Clear Overlay Pen. For even more shimmer and dimension I also coated the baubles with Nuvo Drops in White Blizzard.
And this is the card for today! I really enjoyed creating my own glitter cardstock, and will definitely do this more often! The possibilities are endless with this technique!
As I mentioned at the beginning of this post, I created a video tutorial showing step by step how to create this quick and easy Christmas card! I am SO behind on cards this year, and definitely need some quick ideas to catch up!
If you liked the video, don’t forget to let me know by leaving a thumbs up and a comment on my YouTube channel! If you haven’t yet, make sure to subscribe to my channel for more inspiration, and, if you would like to support what I do, don’t forget to share my videos with your friends!


Comments
SO CUTE! I love the bright blue!!!