Hot Foiling Techniques – Three Cards feat Spellbinders Glimmer Hot Foil System and Plates by Paul Antonio

Hi everyone! It’s Laura here, from A bit of my crafts, and today I am really thrilled to be guesting on the Spellbinders blog and to show you some cardmaking inspiration with the Glimmer Hot Foil System and the Glimmer Hot Foil Plates by Paul Antonio.
Foiling Techniques Spellbinders Glimmer Hot Foil
The Glimmer Hot Foil System is so fun to use, I simply couldn’t stop! I created three different cards, each showcasing different plates and different techniques, so let’s have a look!
Card 1: Simple Foiling
Foiling Techniques Spellbinders Glimmer Hot Foil

For the first card I did some foiling with the Silver Glimmer Hot Foil Roll on some blue cardstock. I used the Faux Script Happy Birthday Plate for the sentiment, and added some details to the background panel with the Flourishes Frames Plate.

Foiling Techniques Spellbinders Glimmer Hot Foil

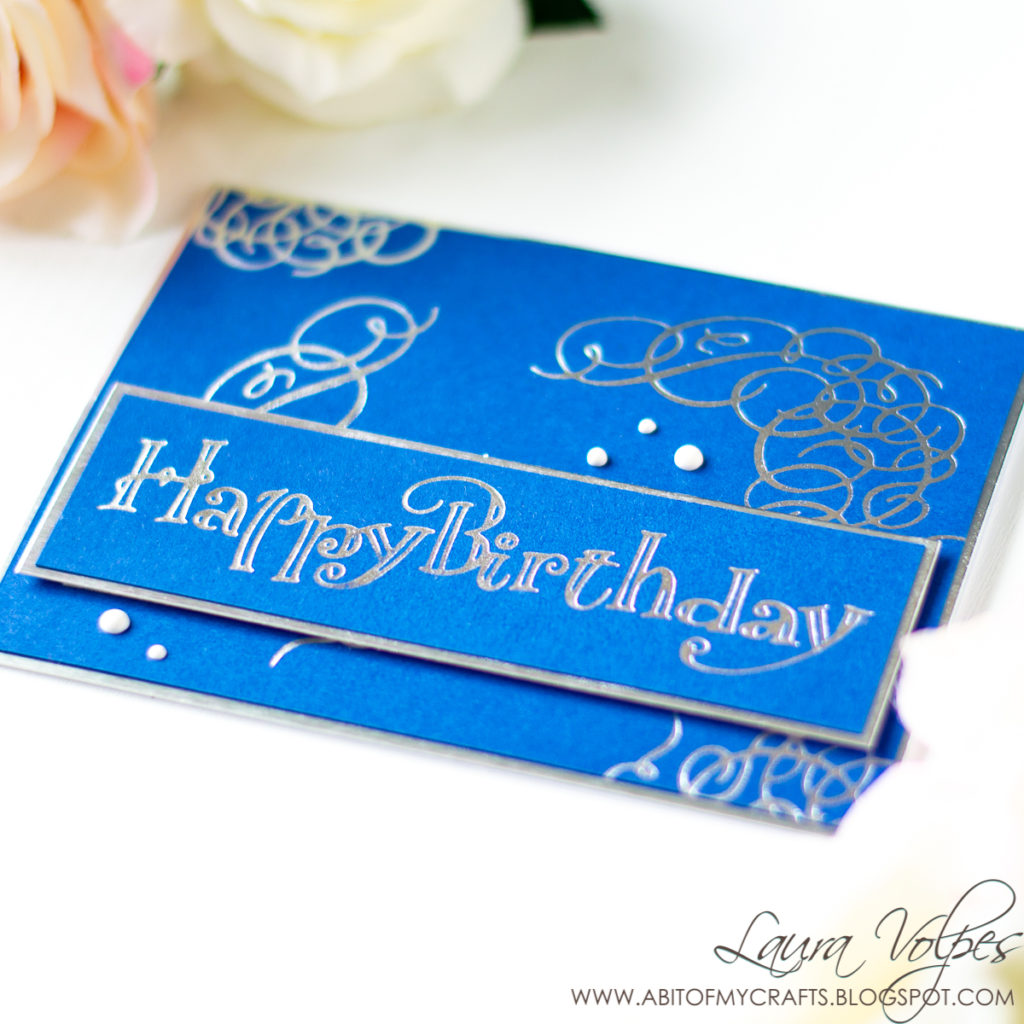
I matted my front and background panels with some silver cardstock from the Platinum Pack 3 and added some details with white Nuvo Drops.

Foiling Techniques Spellbinders Glimmer Hot Foil
I mounted everything on a top-folding A2 card base, and that finished off my first card.

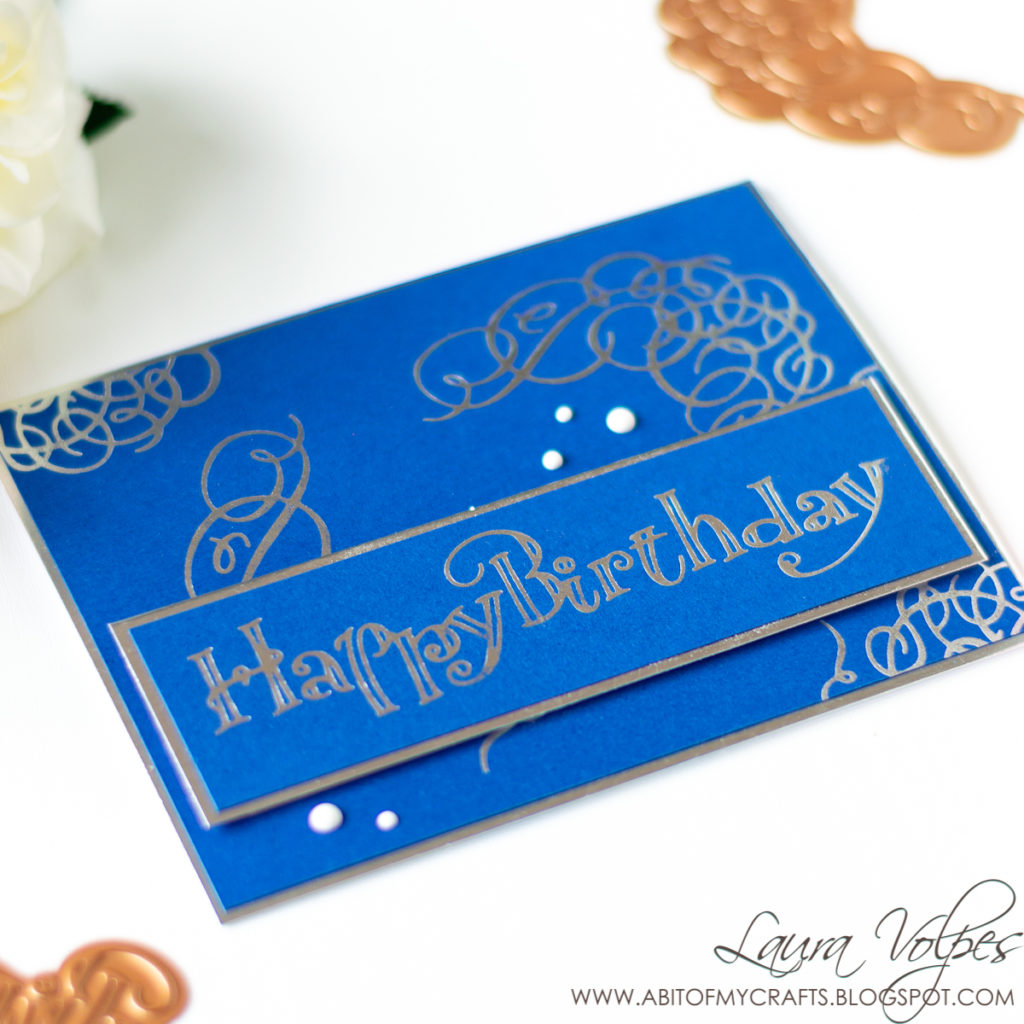
Card 2: Embossing with Glimmer Hot Foil Plates + Flat Partial Foiling.

Foiling Techniques Spellbinders Glimmer Hot Foil

For my second card I started by doing some foiling over vanilla cardstock using the Hearths & Love Plates and the Copper Glimmer Hot Foil Roll. I then fussy cut the shapes with my scissors and started working on the card background. 

Foiling Techniques Spellbinders Glimmer Hot Foil

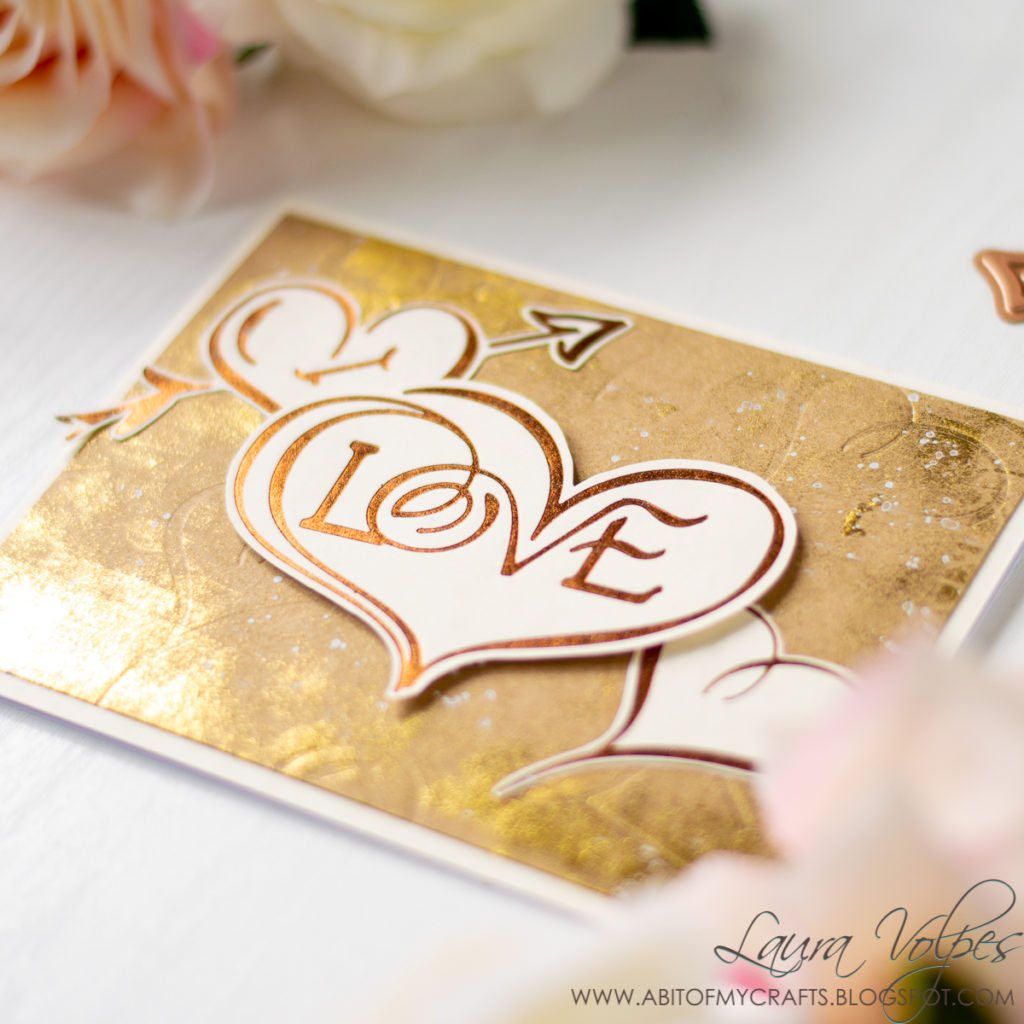
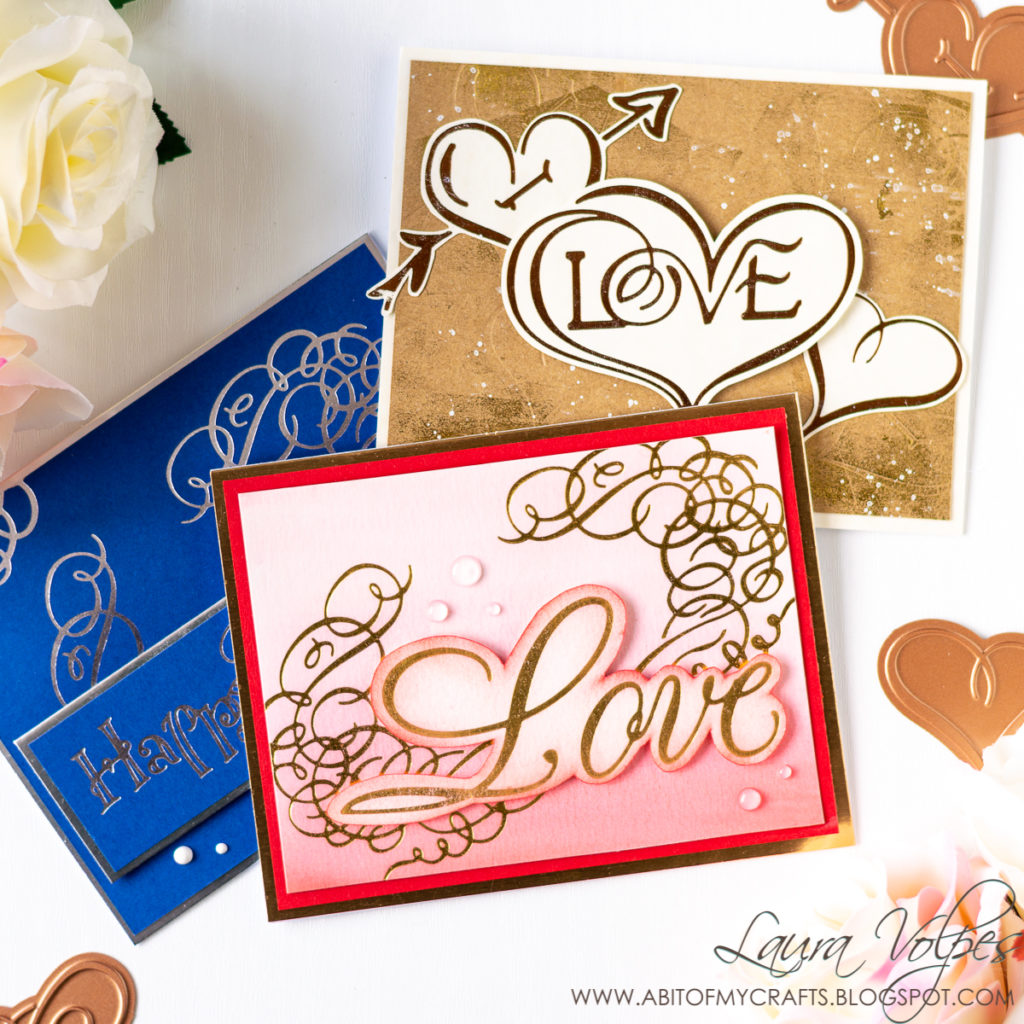
I used the same Hearths and Love Glimmer Hot Foil Plates to emboss a panel of kraft cardstock cut to 4″ by 5″ 1/4.
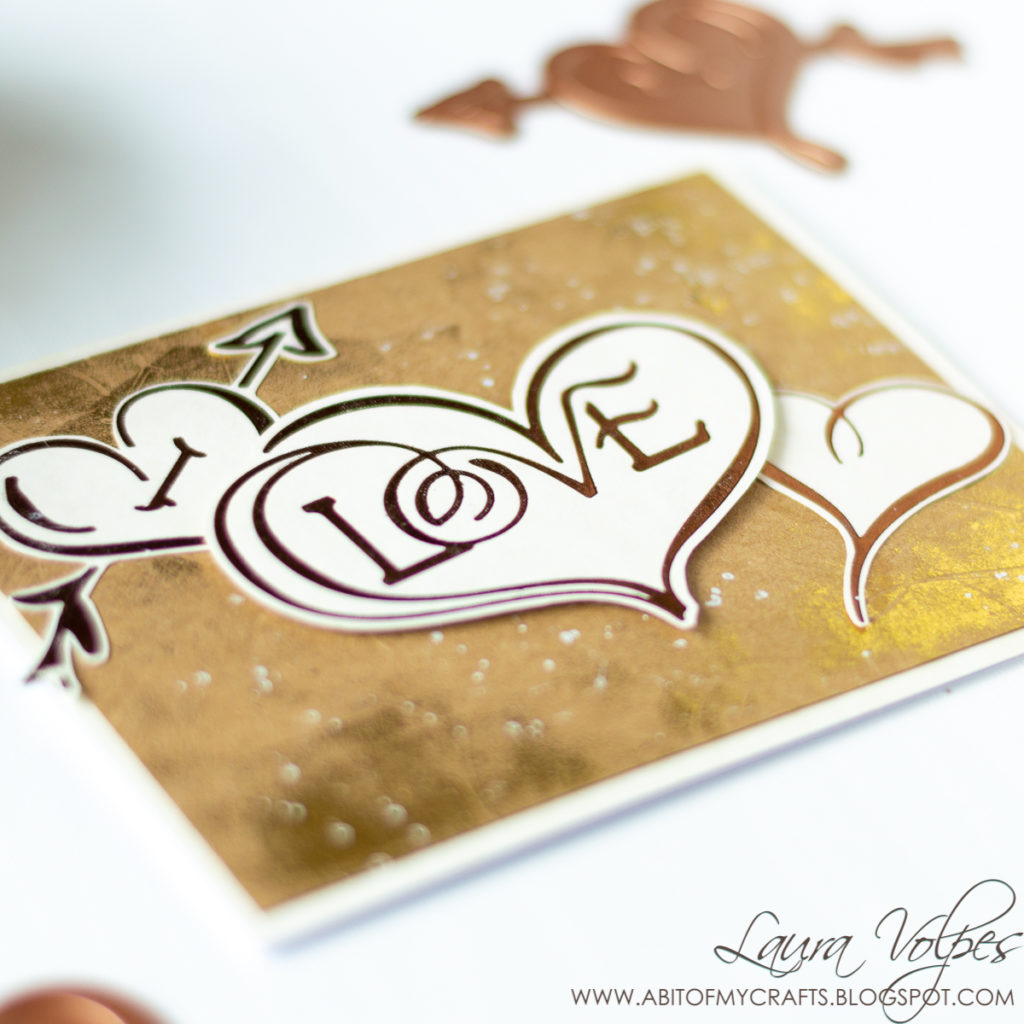
Then, in order to add some shiny detail to the background, I used some scraps of Gold Glimmer Hot Foil Roll and did some more foiling, this time without using any plate. This created a fun and slightly rustic look to the background, that I think fits very nicely with the kraft cardstock and the copper foiling on the focal images. Because I didn’ t use any plate and and the foil only sticks to certain areas on the panel, I called this technique flat partial foiling.
To add more to this rustic feel I added some white droplets to the background, using the white pan in my Gansai Tambi watercolor palette.

Foiling Techniques Spellbinders Glimmer Hot Foil

I matted the kraft cardstock panel with some vanilla cardstock and adhered the foiled and fussy cut hearts. The two smaller ones are glued flat on the background, and the larger one is raised on one layer of foam tape.
I mounted everything on a top-folding A2 card base, and that finished off card number two.
Card 3: Foil Resist
Foiling Techniques Spellbinders Glimmer Hot Foil

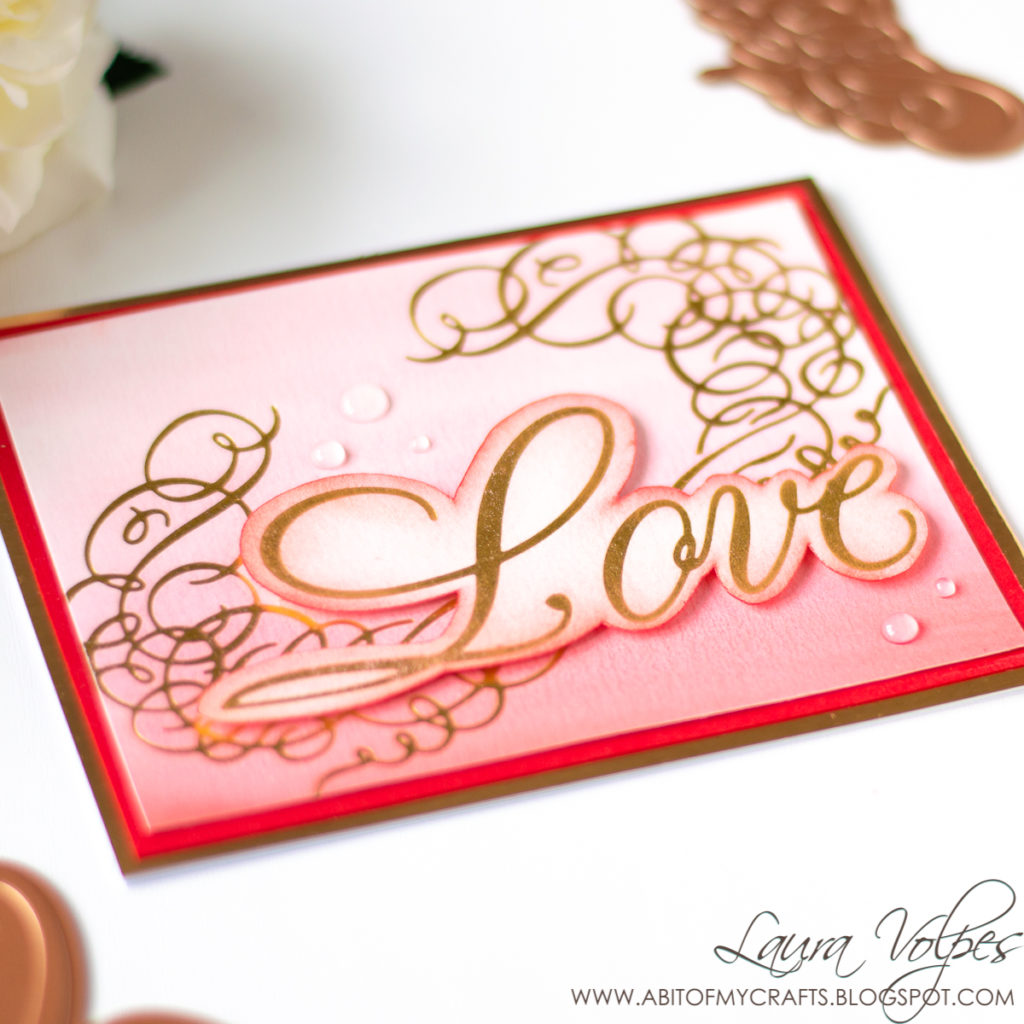
For my third and final card I used the gorgeous Script Love Plate and the Flourishes Frames Plate. I did some foiling with the Gold Glimmer Hot Foil Roll on watercolor cardstock, and then used a technique that can be called foil resist.

Foiling Techniques Spellbinders Glimmer Hot Foil

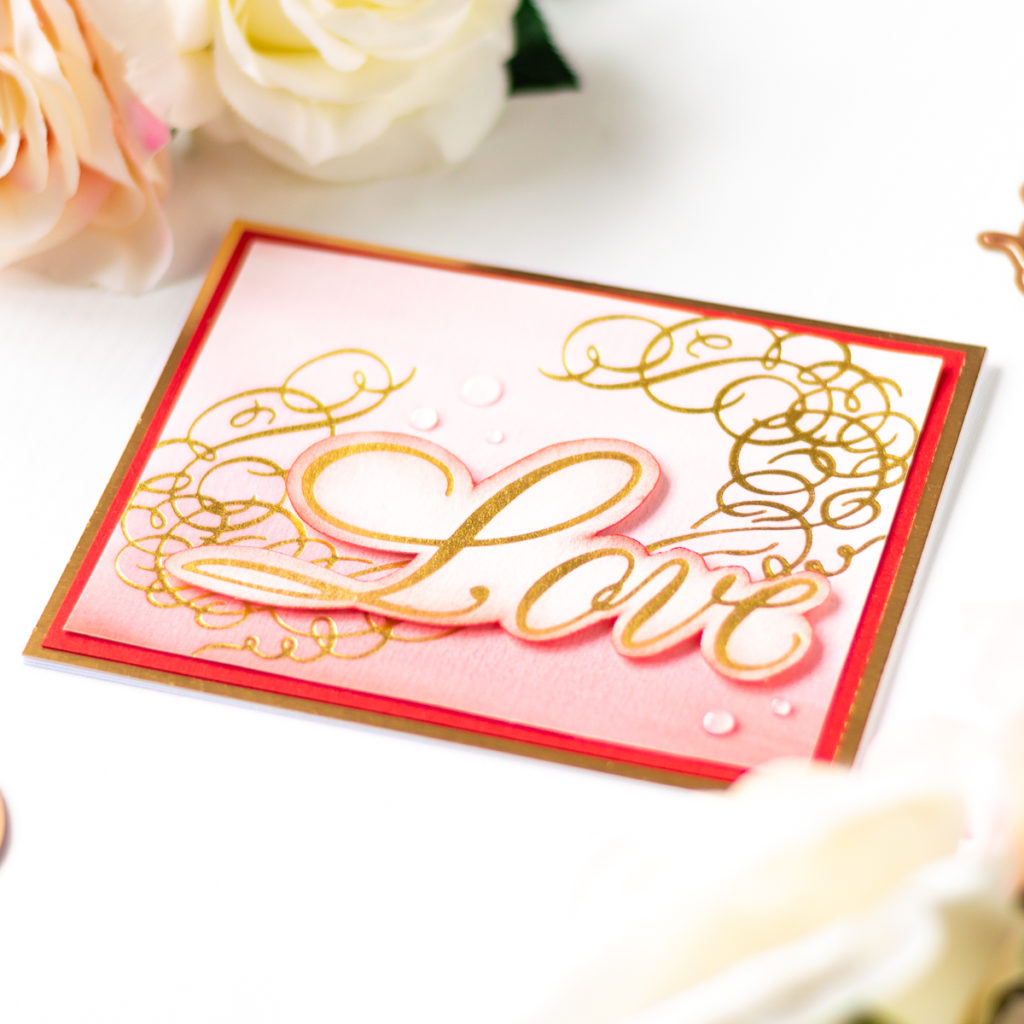
I wet the background panel with clean clear water, and created an ombre watercolor effect with my Distress Oxide in Festive Berries. The pigment from the Oxide Ink does not stick to the sleek foiled surface, and this is why I referred to this technique as foil resist.
I then fussy cut the outline of the love word and did some ink blending over it using a stencil brush and again Distress Oxide in Festive Berries.

Foiling Techniques Spellbinders Glimmer Hot Foil

I matted my watercolor panel with some red cardstock from my stash and with some gold cardstock from the Platinum Pack 3. I raised the love sentiment over one layer of foam tape and added some finishing touches with Nuvo Drops in Morning Dew. 
I mounted everything on a top-folding A2 card base, and that finished off card number three.

And that’s it for today! I really hope you like the cards and the techniques I have shown in this post. The Glimmer Hot Foil System is so fun to play with, and I love the elegant touch that foiled elements add to my projects!

If you would like to see more from me, you can visit my blog, I hope to see you there!
Thank you all so much for stopping by, and have a great day!

Laura


When possible, affiliated links are used at no additional cost to you. This means that if you make a purchase through one of these links, I will get a small commission at no additional cost to you. The money I earn this way goes towards running this blog and my YouTube channel. Thank you for supporting my creative journey! πŸ’–

Thanks for Sharing Your Thoughts! :)