

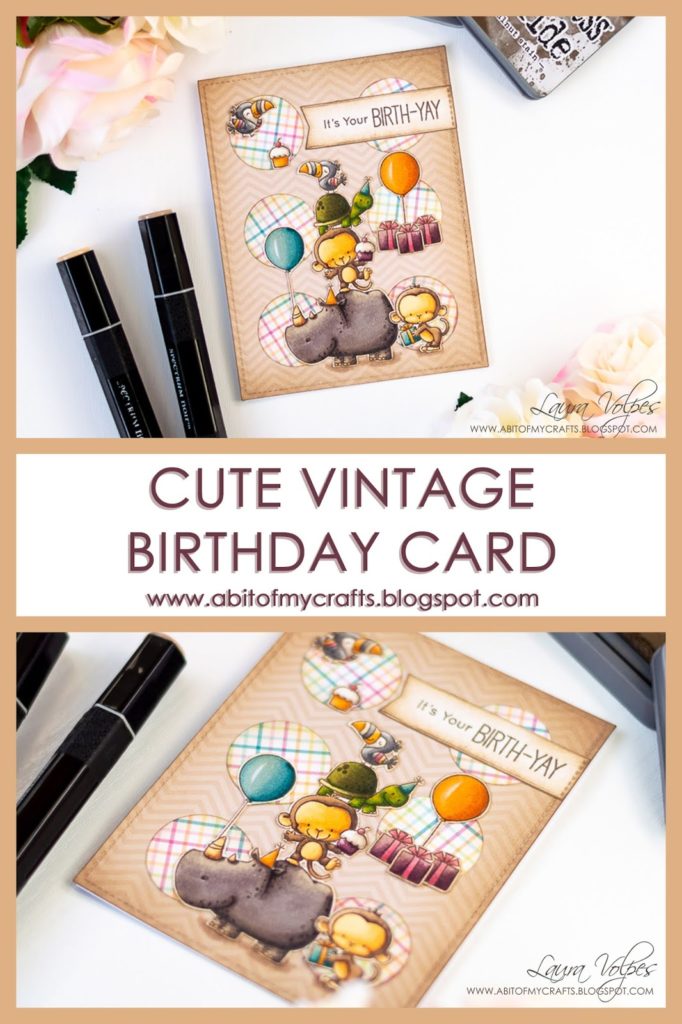
Hi everyone! Today I am back with a cute birthday card with an vintage feel for the Sketch Challenge on the My Favorite Things blog. At the end of this post you will also find a video tutorial showing how to create it
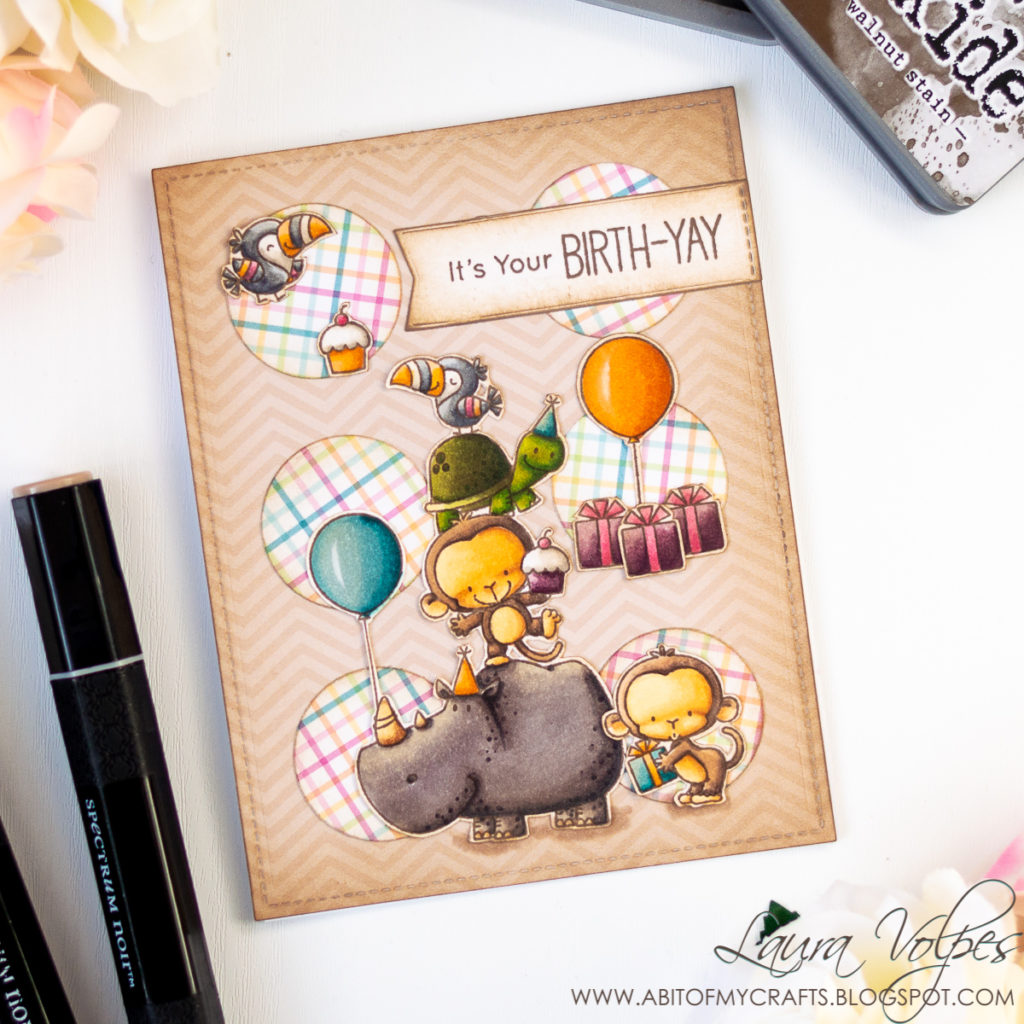
To start off the card I die cut one of the papers in the Fresh Squeezed Chevron Paper Pad and, in order to add an aged look to it, I blended some Distress Oxide in Walnut stain on the edges of the panel. I then used the Mini Circle Shaker Window & Frame Die-Namics by MFT to die cut six circles out of one of the papers in the Sweet Celebrations Paper Pad and blended Distress Oxide in Walnut Stain on the edges of the circles too. I used the Ranger Distress Blending Brushes to get a nice and soft blend.
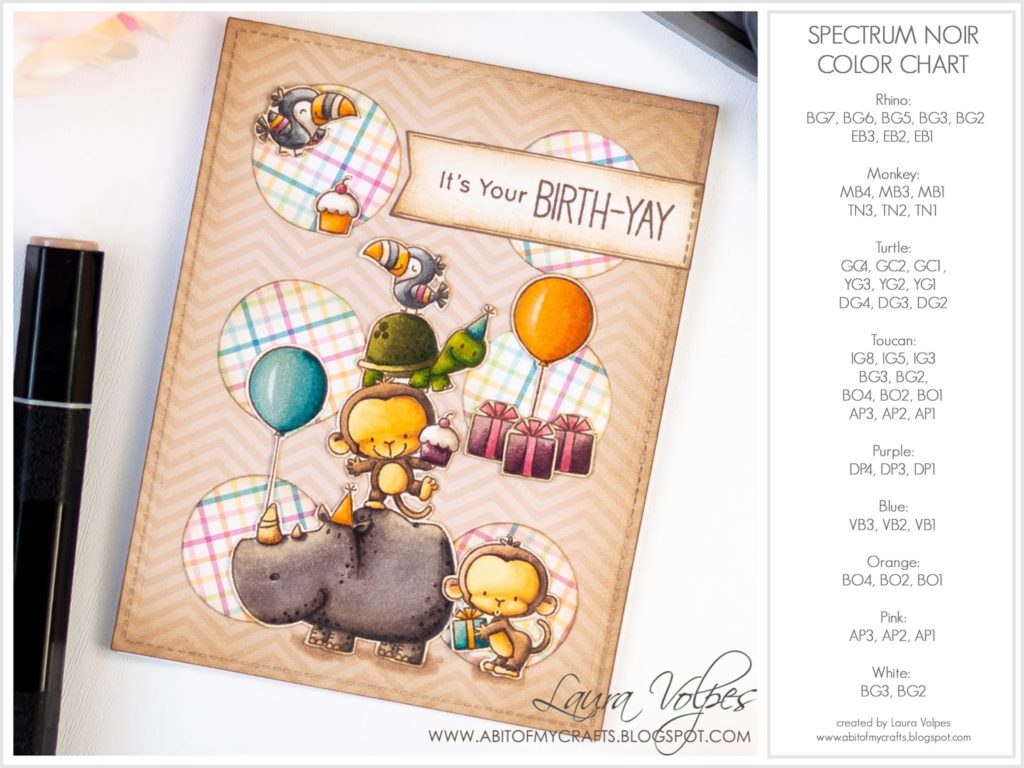
I glued the circles on my card base and started working on my images. For today’s card I used stamps from the My Favorite Things Birth-Yay stamp set. I stamped them with Memento Ink in Rich Cocoa on some Neenah Solar White 110 lb cardstock and colored them with Spectrum Noir Markers. I created a color chart for you, where I listed all the markers I used to color today’s images.
Once I was done coloring, I cut the images with my scissors and blended Walnut Stain Distress Oxide on their edges too. This ties them in to the rest of the elements in my card, and gives an overall cohesive look.
At this point I could start gluing the images on my card front, and I made sure to distribute them over the circular panels, leaving only the one on the top-right empty, as that’s where I intended to place my sentiment.


And this is my card for today! As I mentioned, I have a step by step video tutorial showing how to create this cute birthday card, which I think would be perfect for a boy! And if you enjoy the video, make sure to like it, leave me a comment and subscribe! You can share it with your crafty friends too, if you think it might be interesting to them as well! Thanks for your support!
And that’s it for today! I really hope you guys enjoyed this post and the video! I will be back soon with another fun project and, in the meantime, I wish you all a great day!


Comments
This card is adorable!! I enjoyed your video. Thank you for sharing. I definitely appreciate the color chart. Thank you for sharing that as well.
Really love that card. It so cute and your coloring is fantastic!
Very cute! Wonderful craftmanship.
I like that you "shaded" the edges of the cuts outs to match the vintage theme. It helps the cuts to blend in.
http://www.kristaspapercafe.us
Frankly speaking, this is an outclass forum ive ever seen. please do write more about easy birthday card.