I really like the look of foiled elements on my cards, it is so pretty that you really don’t need to add a whole lot more to your projects. If you follow me, you might have realized that my foiled cards are all quite clean and simple.
But what if you want to add a personal touch? Well, it turns out that metallic gel pens are the perfect ally! In this card I used them to add detail to the background and to the die cut flowers.
Let’s see how, shall we? 🙂
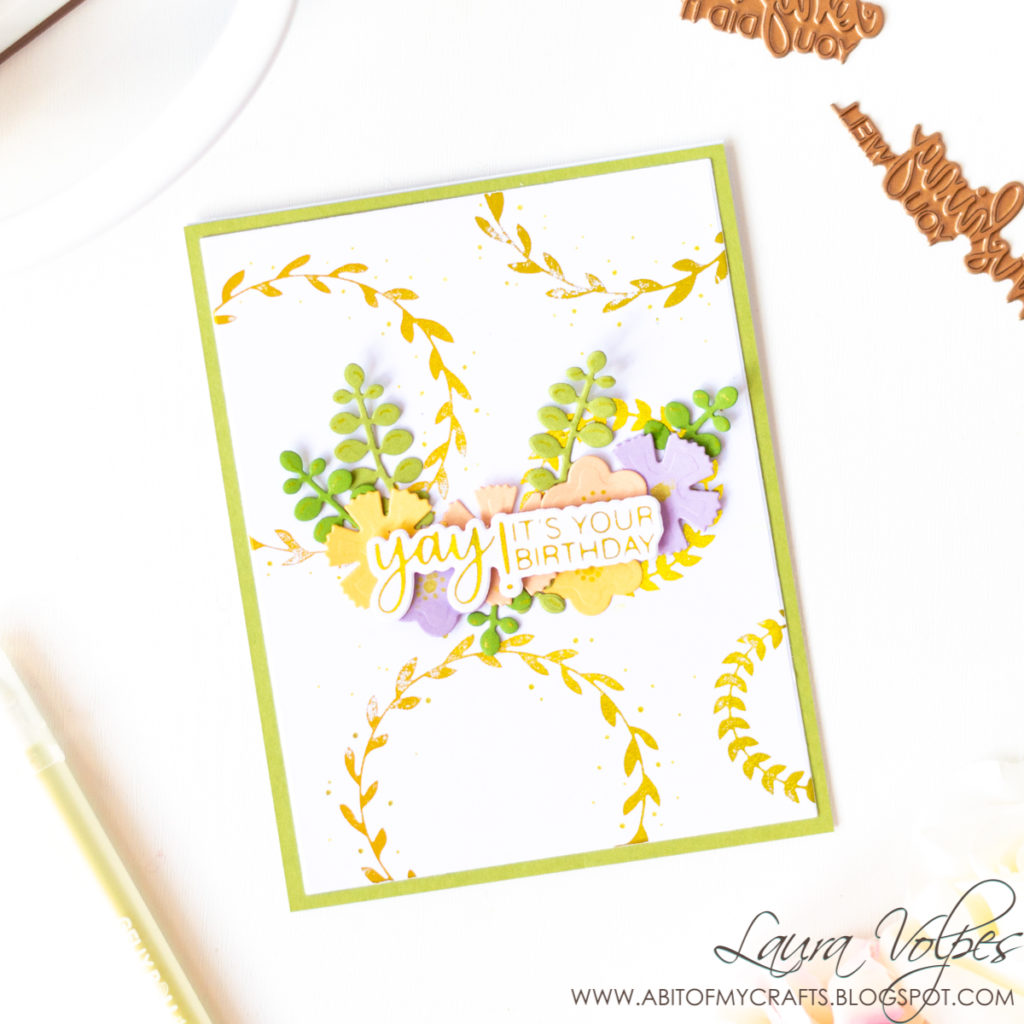
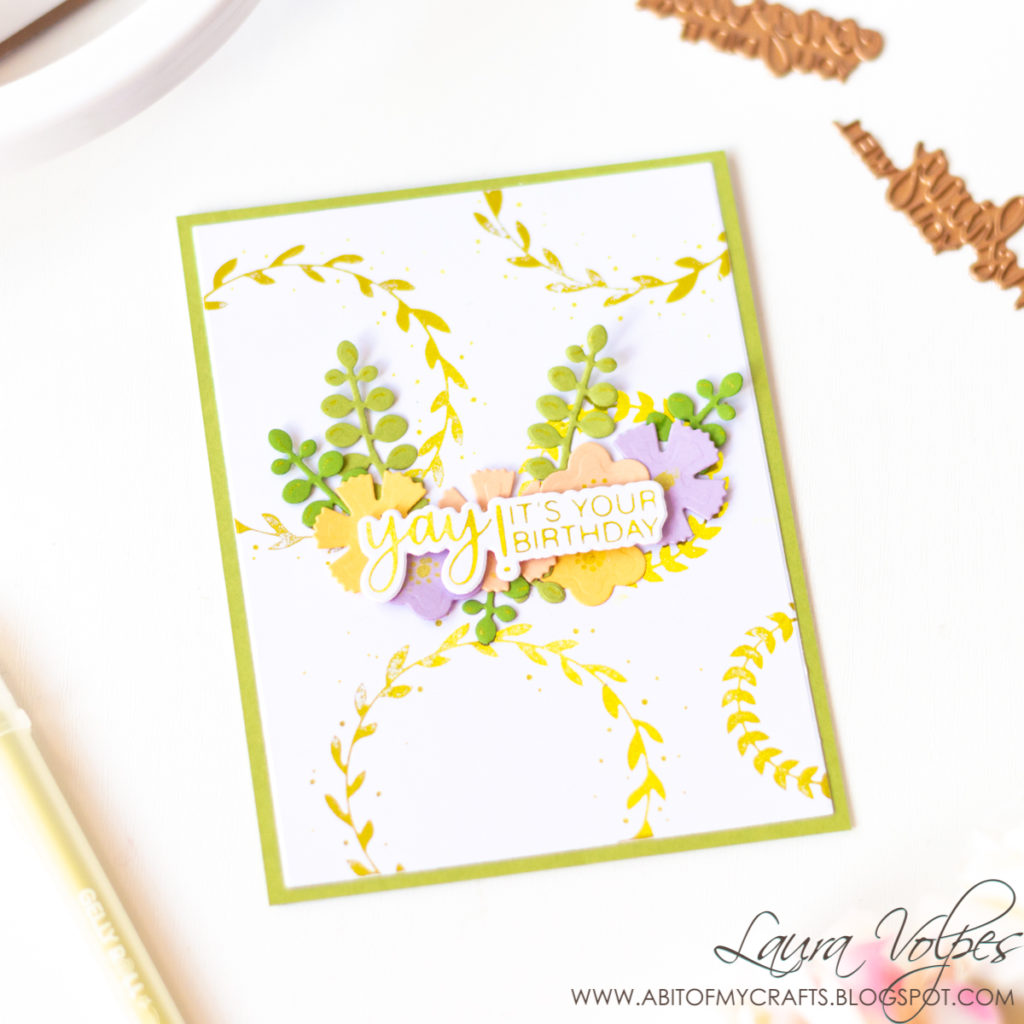
I started off by foiling the wreaths from the Circle Pattern Glimmer Hot Foil Plate by Spellbinders. I used the Citrine Hot Foil Roll on some white card stock, previously die cut with the Lucky Clouds Dies, also by Spellbinders.
After I was done foiling, I decided that I wanted to add a few more details to the card, and I busted out my brand new Sakura Gold Gelly Roll Pen. It was the perfect shade, and you can’t tell that the color is in principle different from the one of the foiled wreaths. Pretty amazing, huh? 🙂
I am now eager to get more colors and keep experimenting with gel pens on my cards.
For the sentiment I used one of the plates in the July 2019
Glimmer Hot Foil Kit of the Month by Spellbinders. I love the plates and I love that there are coordinating dies too! You can also check out
this post for a couple more cards I made with this month’s kit!
If you are interested in subscribing, you can do so at this link. And if you don’t have a hot foil machine yet, you can take advantage of a 10% discount on the
Glimmer Hot Foil System, valid for new kit subscribers.
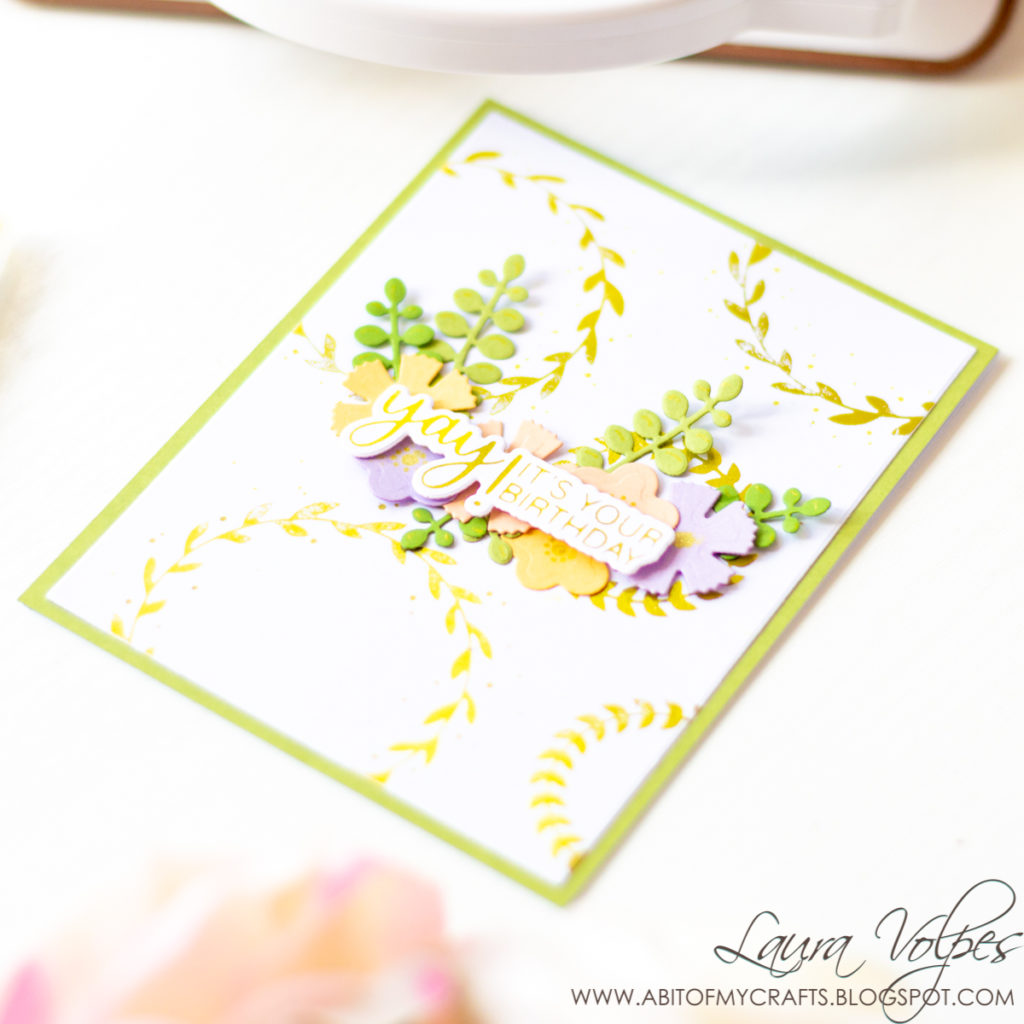
I finished off the card by adding some die cut flowers (I used dies in the Sew Sweet Valentine set) and raising the sentiment over some foam tape. To tie in the flowers to the background, I added some gold gel pen details to those, too.
I created a quick tutorial, that you can watch down below or on my
Facebook page. I hope you like it!
And that’s it for today! I really hope you enjoyed today’s inspiration on how to add your own swing to hot foiled cards. Let me know if you have tried hot foiling already, or if you are planning to!
Thank you all so much for stopping by, and have a great day!
When possible, affiliated links are used at no additional cost to you. This means that if you make a purchase through one of these links, I will get a small commission at no additional cost to you. The money I earn this way goes towards running this blog and my YouTube channel. Thank you for supporting my creative journey! 💖
Like this:
Like Loading...