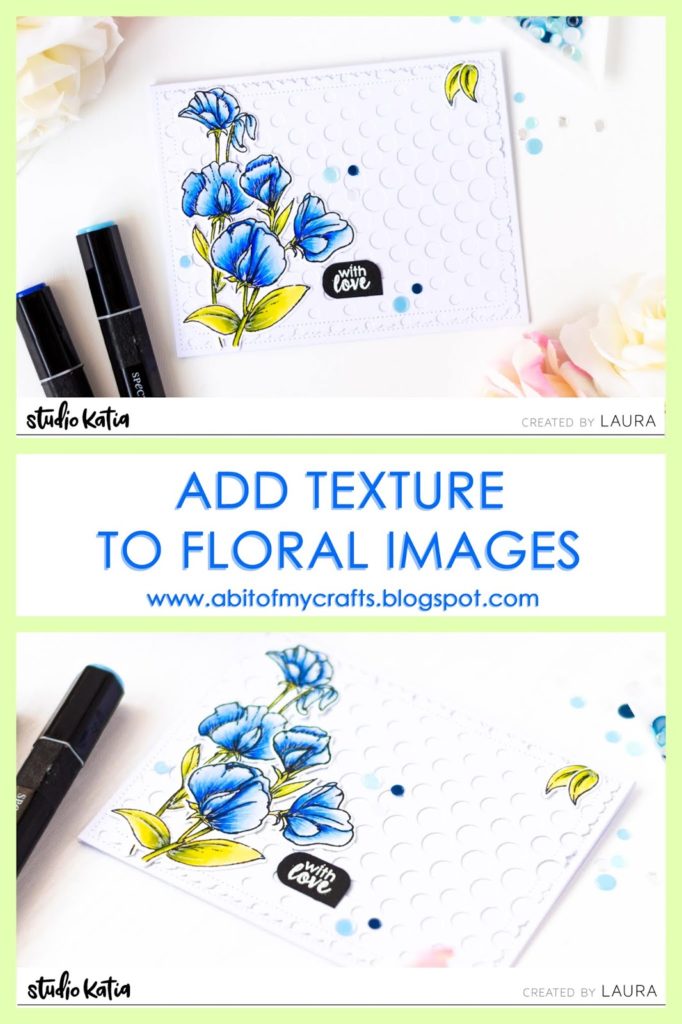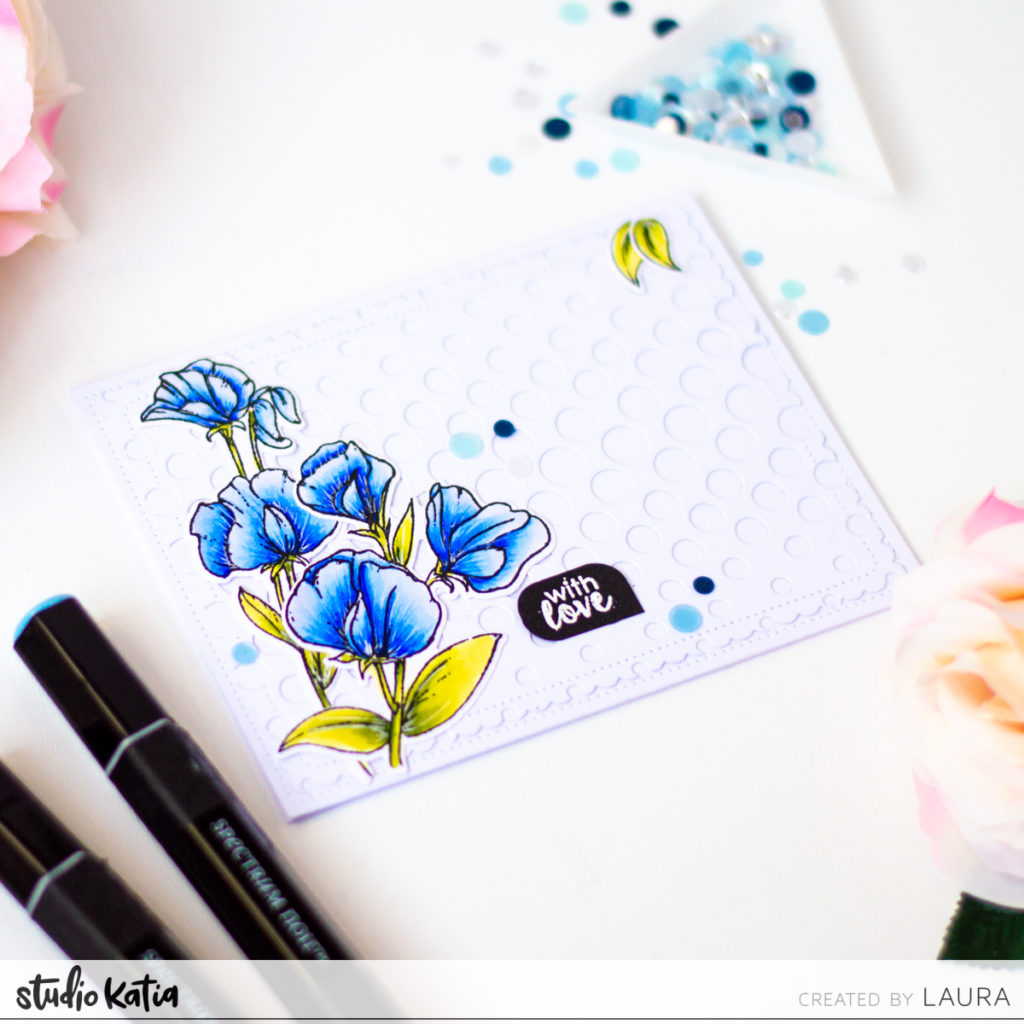
I started by stamping my images with Spectrum Noir Finesse Black Ink on Neenah Solar White 110lb cardstock and coloring them with Spectrum Noir markers. I then used my ColourBlend pencils and a white gel pen to add some details and create interest on my images.
I die cut my flowers with the You’re So Sweet dies and started working on the card base.
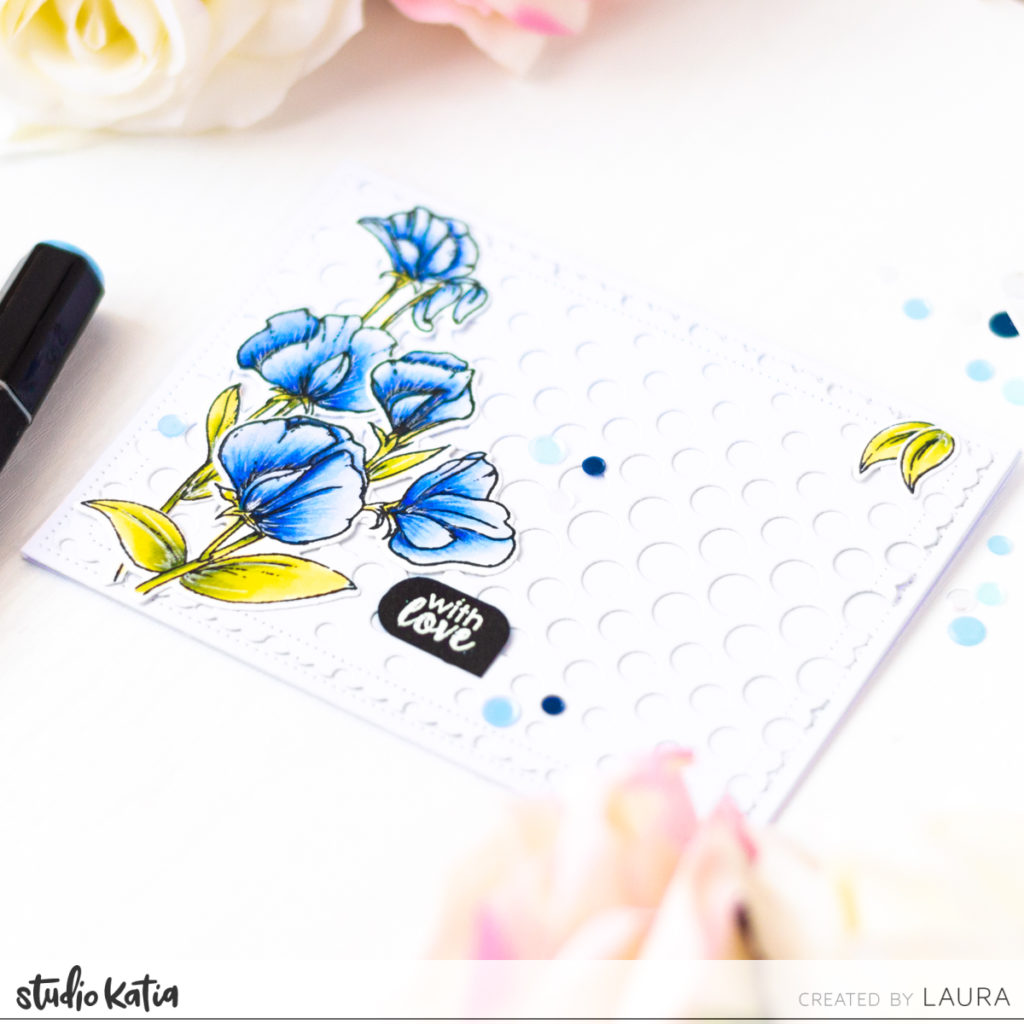
For that, I layered two sheets of white cardstock. The one at the back was die cut with the Darling Ribbon and Frames dies. The one at the front was cut with the Scallop Hearts Cover die first, and with the Halftone Dots Cover die afterwards.

I heat embossed the sentiment, also part of the You’re so Sweet stamp set, using white embossing powder by Wow! over black cardstock. I created a little label and used my WeRMemory Keepers Corner Chomper to round three of its edges.
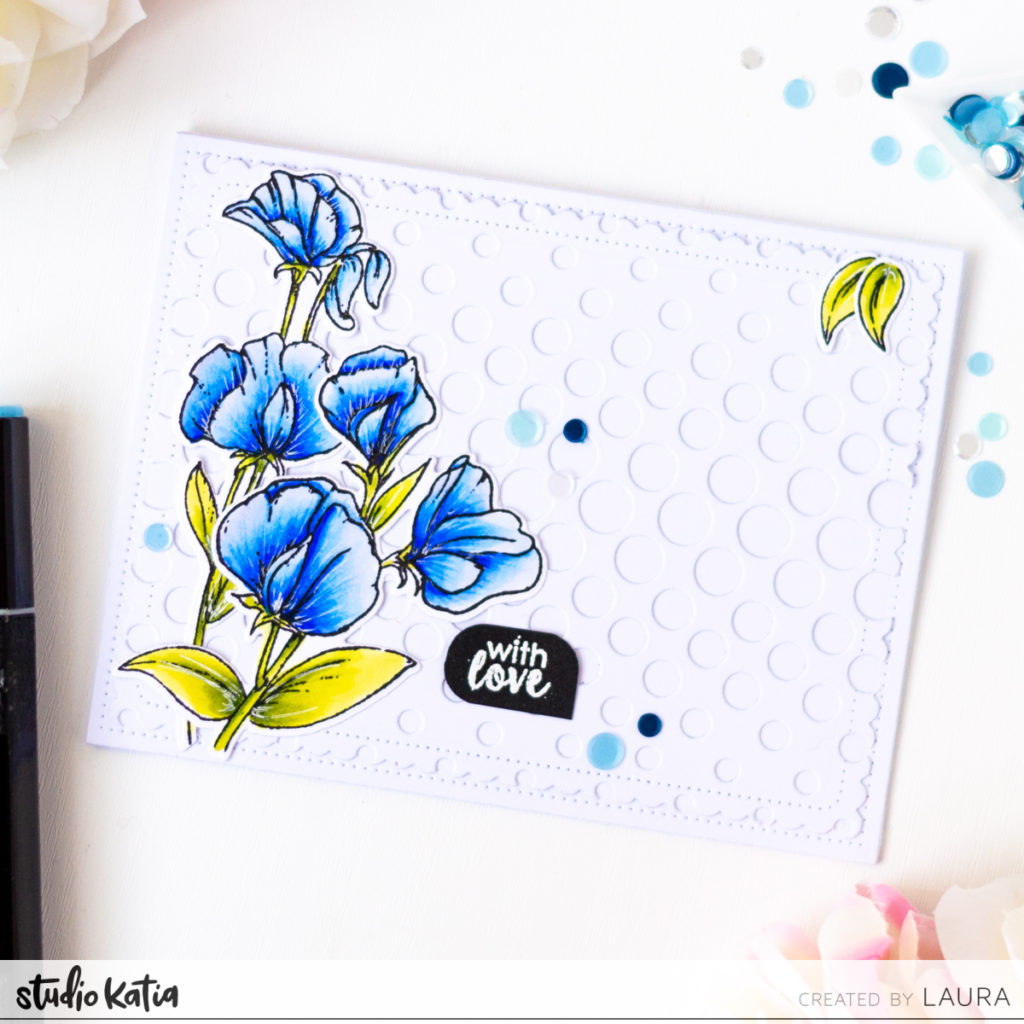
I finished off the card front with some Sparkling Sea confetti and decorated the inside of the card (you can see how in the video tutorial).
Speaking of video tutorial, if you are interested to see how to create this clean and simple floral card, here’s the video for you.
And don’t forget to subscribe to my channel for more inspiration!