Privacy & Cookies: This site uses cookies. By continuing to use this website, you agree to their use. To find out more, including how to control cookies, see here: Cookie Policy
Hi everyone! I am back with my second post for today, and this time I am going to share with you two cards that I created with the new Scrapbook.com Tis the Season Cut File. You will need an electronic cutting machine to use the file (I have a Brother ScanNCut), and once you purchase the cut file, you will receive a .zip folder with lots of SVG cut files for your cards, planners and scrapbook pages!
Today I have two cards that I created with two different files in the bundle: One cuts the sentiment Tis the Season and the other cuts a panel with Christmas Trees. I also a have a video tutorial for you at the end of this post, that shares the whole process for these cute Christmas cards.
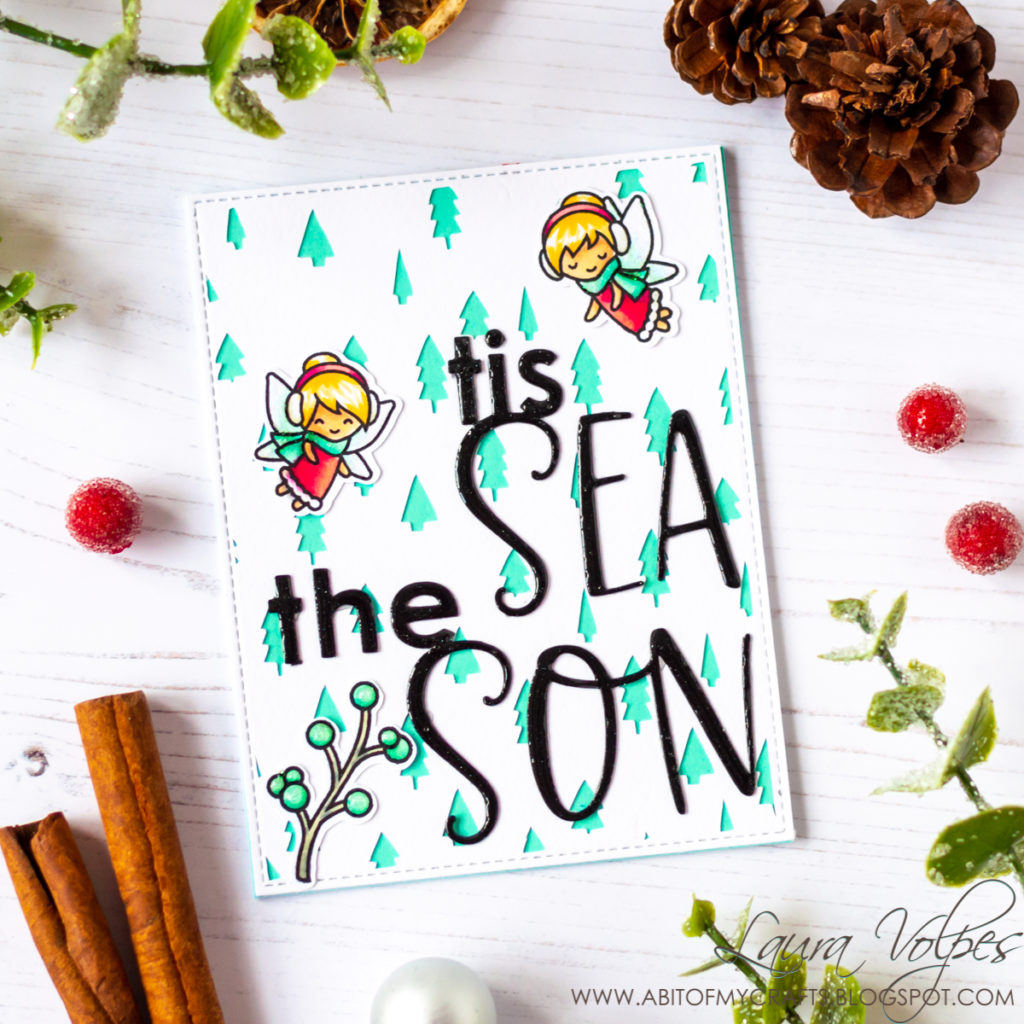
As a first step, I cut the sentiment twice out of some black cardstock and the panel with the trees out of some white cardstock.
I ran the panel with the trees through my die cutting machine with the Heffy Doodle Clover Frames dies, to give it a nice stitched detail all around. This step, however, is totally optional, as the file is designed to cut your cardstock already to 4 1/4 by 5 1/2 inches.
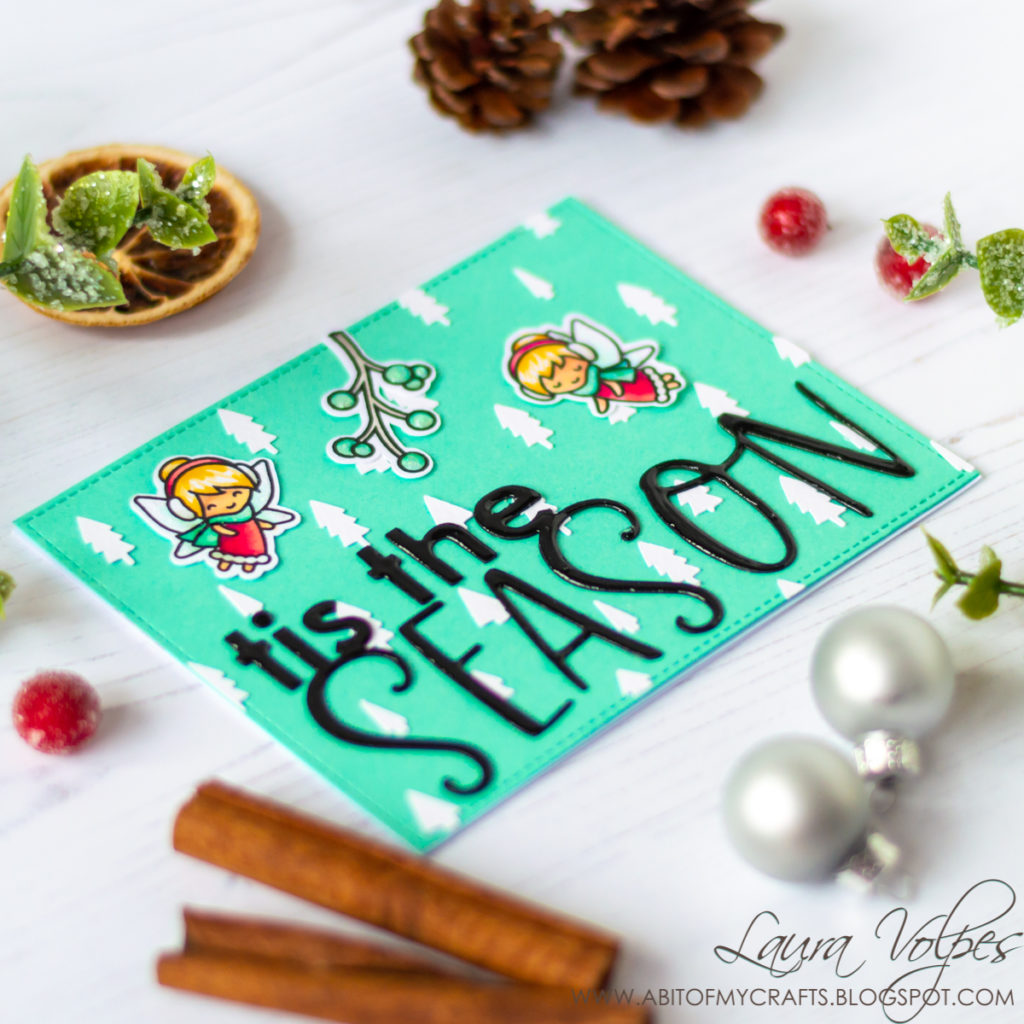
I then layered my panel over some Heffy Doodle Hint of Mint cardstock, that I had also trimmed to 4 1/4 by 5 1/2 inches. I glued down the sentiment, splitting it so that it would fit on my card front and then decided to add a few images to decorate my card.
These cute little fairies are part of the Frosty Fairy Friends by Lawn Fawn. I stamped them on Neenah Solar White 110lb cardstock with Spectrum Noir Black Alcohol Proof ink and I colored them with my Nuvo Alcohol markers.
I added some sparkle to the berries, the scarves and the wings with my Nuvo Drops in White Blizzard and then coated the sentiment with a shimmer pen first and myRanger Glossy Accentsthen, to make it nice and shiny
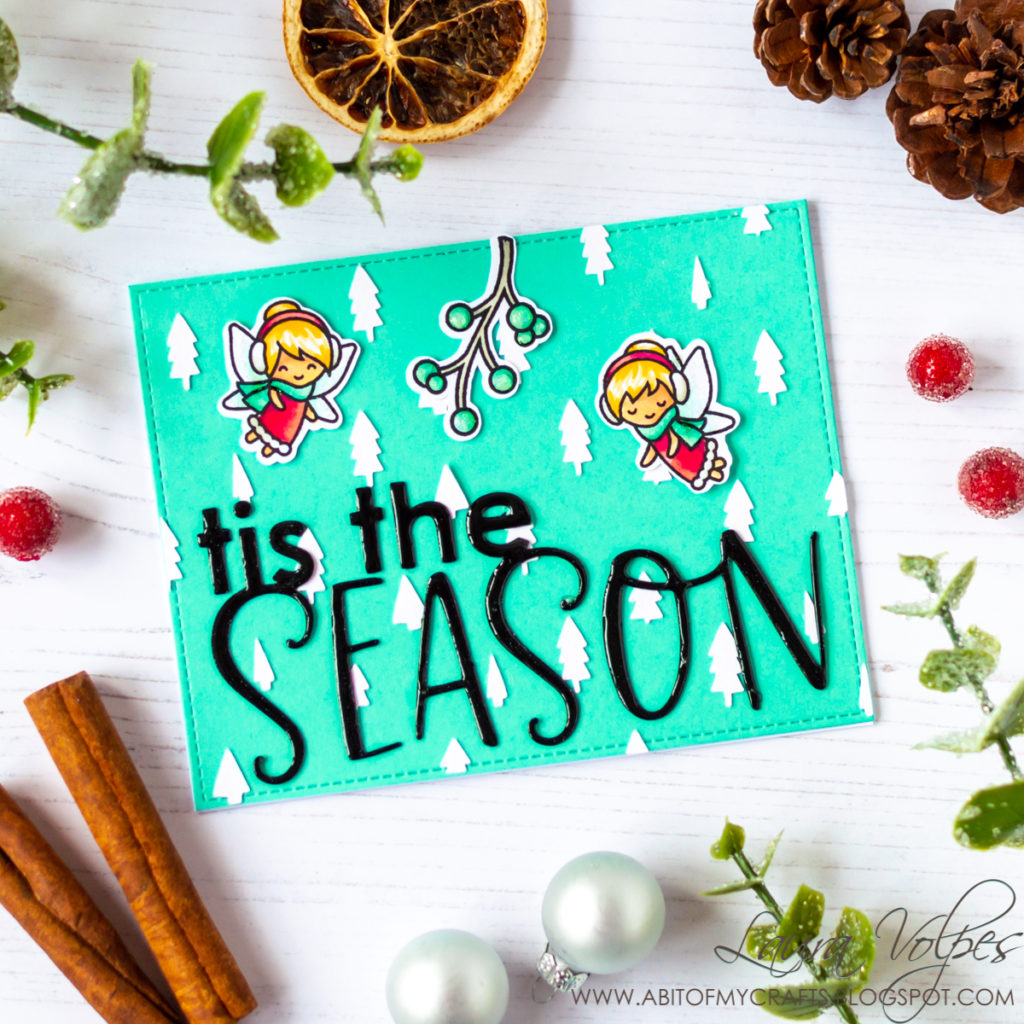
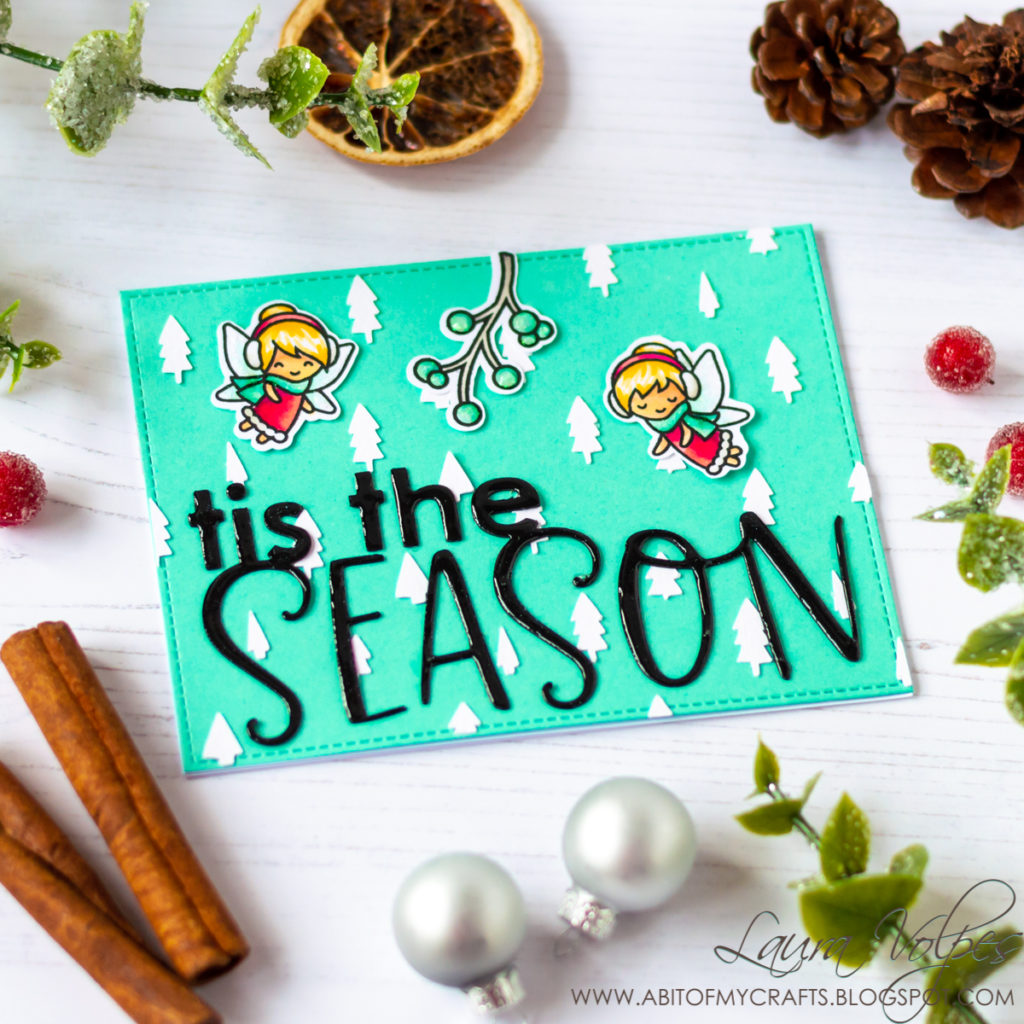
For my second card I used the same supplies, but changed the design a little.
I used the trees that had been cut out of the main panel on my first card, and I glued them down to my card base, in a sort of pseudo-random order. My card base was again some Hint of Mint cardstock by Heffy Doodle, that I die cut with the Heffy Doodle Clover Frames dies.
I used again the same fairies from the Lawn Fawn Frosty Fairy Friends stamp set to decorate the card front, and I think the result is really cute!
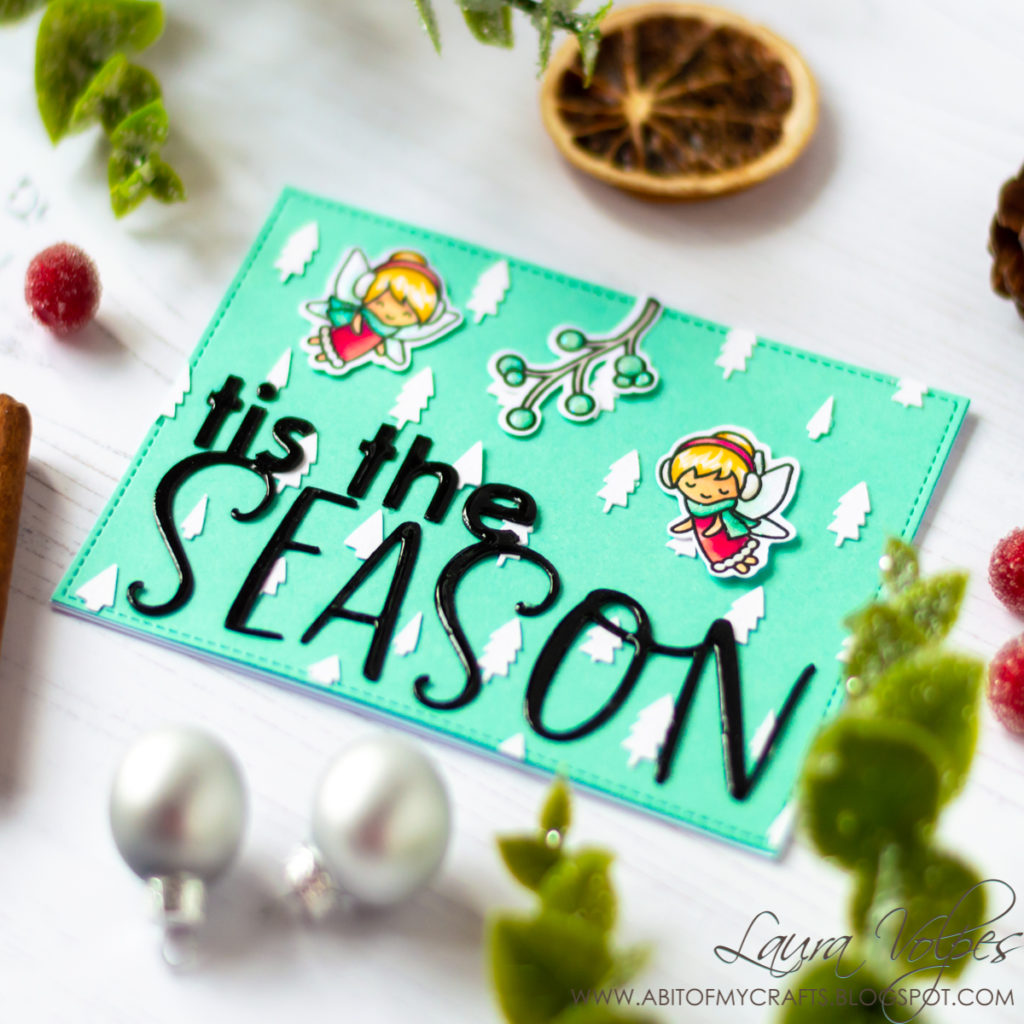
I couldn’t resist adding shimmer to this card too, so I used my Nuvo Drops, shimmer pen and Glossy Accents to embellish the images and the sentiment.
I have to say that I really love the result and I love how quick and easy it was to create these two super cute Christmas cards! I am still quite new to cut files, but they are so fun to use, and I definitely want to use them more often in my cardmaking! As promised, here is the video tutorial for today’s cards!
Thank you all so much for stopping by and have a wonderful day!
The items marked with a * were sent to me for free for designing purposes. When possible, affiliated links are used. This means that if you make a purchase through one of these links, I will get a small commission at no additional cost to you. The money I earn this way goes towards running this blog and my YouTube channel and allows me to keep sharing inspiration with you. Thank you for your support! 💖


Comments
These are darling!!!
Author
Thank you!