Is it too late to create a DIY Desk Calendar? I don’t think so! If I let things like being late get in the way of my activities….well, I wouldn’t get much done!
…better late than never, and, to be honest, this project is so quick and easy to make that you’ll get it done in an afternoon!

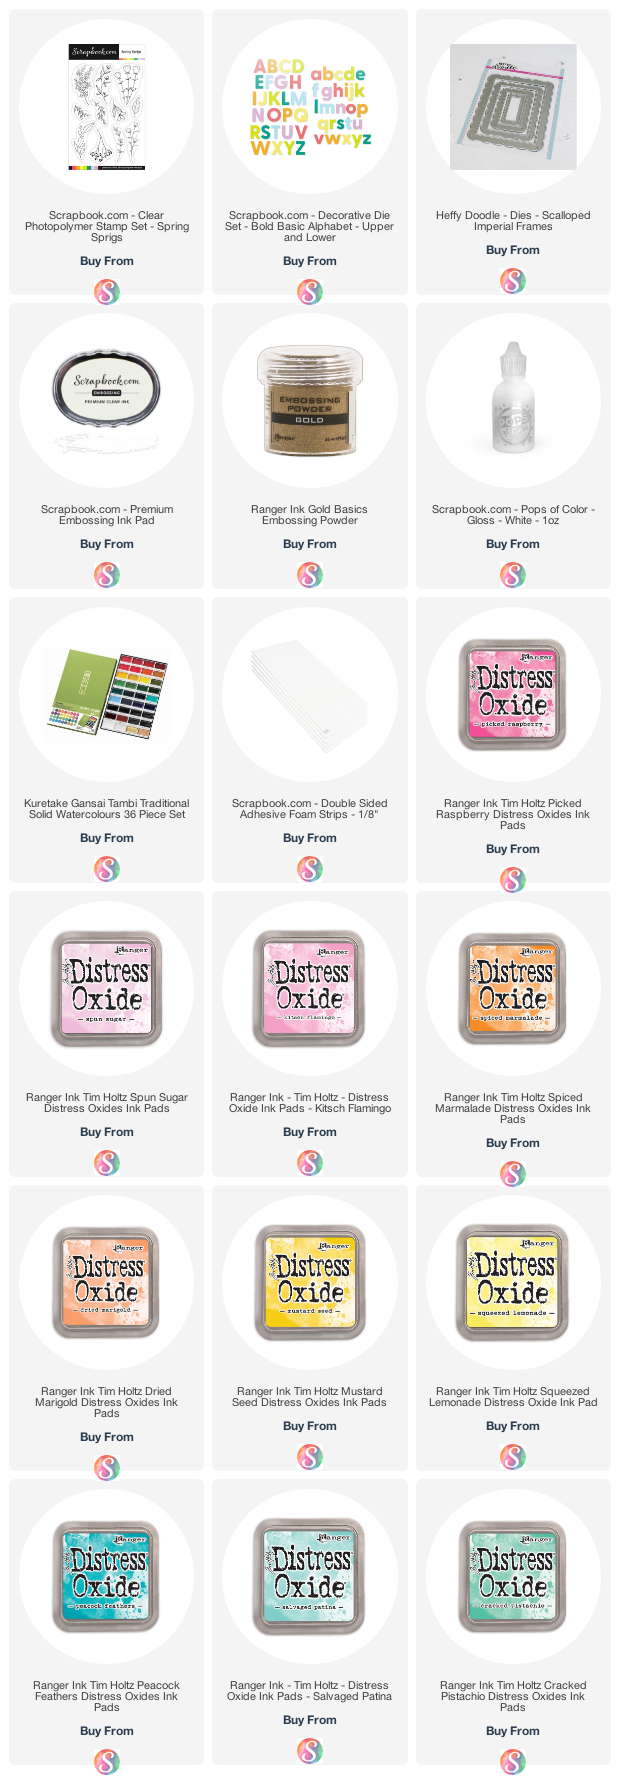
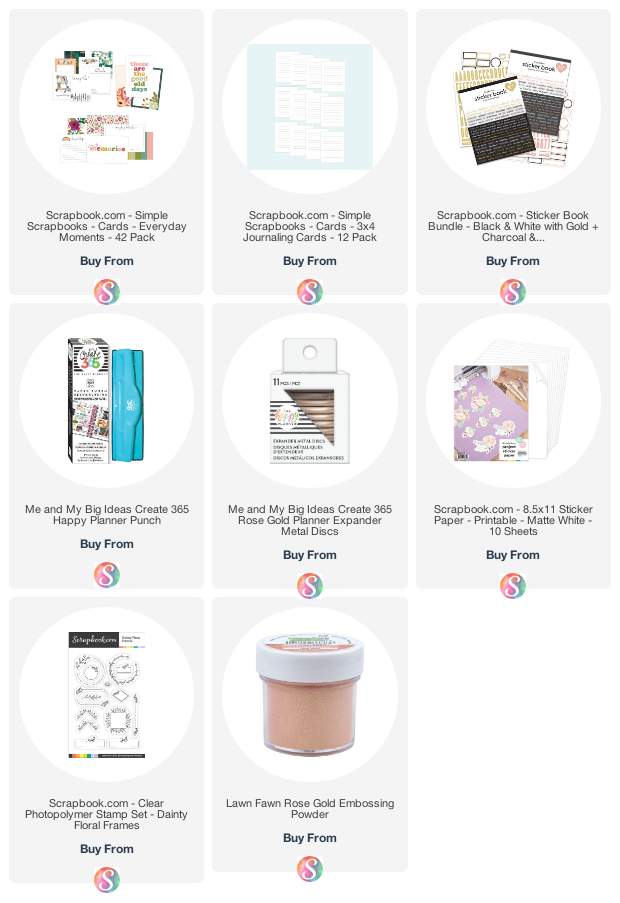
Full supply list with picture links at the end of this post
• Scrapbook.com Pocket Cards – Everyday Moments
• Scrapbook.com 3×4 Journaling Cards
• Happy Planner Punch
• Rose Gold Expander Metal Discs for Happy Planner
DIY Desk Calendar – How To

The reason why this project is SO easy and quick is that I used the Scrapbook.com Everyday Moments Pocket Cards. They come in a mix of 4×6 and 4×3 cards with fun patterns. The smaller ones have each month in the year – just perfect!

I selected 12 larger cards from the set and I used my Happy Planner Punch to punch holes on one of the long sides. At this point I had also already paired each small monthly journaling card with a larger one.

I decided to add a bit of glamour to the larger cards, so I heat embossed some of the images in the Dainty Floral Frames stamp set with Rose Gold embossing powder.

Next, I cut the blank 4×3 vertical journaling cards in half on the long side. I glued them under the cards for each month. This is going to create a small section for notes. Functional and pretty!

For the actual calendars I dowloaded a free monthly calendar file for 2021 and I printed it on the Scrapbook.com sticker paper. I cut each monthly calendar and I glued it to the corresponding journaling card. I then glued everything to form my montly pages.

Rince and repeat 12 times and you have your calendar! I told you it was easy!

For the cover I selected another pretty journaling card and I decorated it with stickers from the Scrapbook.com Black and Rose Gold sticker book. I also added some details with a white gel pen.

To make the whole thing stand up I created a triagular base. I cut two sheets of heavy white cardstock to 8.5×4″. I scored them at 2.5″ and punched them with my Happy Planner punch.
I then glued them together to create something that looks like a tent. The wider the base, the more stable your calendar – so probably something like a 10×4″ sheet scored at 4″ would be even better.

I used some rose gold Happy Planner rings to hold everything together and…ta-daaa! My pretty DIY Desk Calendar for 2021 is done!

The items marked with a * were sent to me for free for designing purposes. When possible, affiliated links are used at no cost to you. Thank you for your support!

