Privacy & Cookies: This site uses cookies. By continuing to use this website, you agree to their use. To find out more, including how to control cookies, see here: Cookie Policy
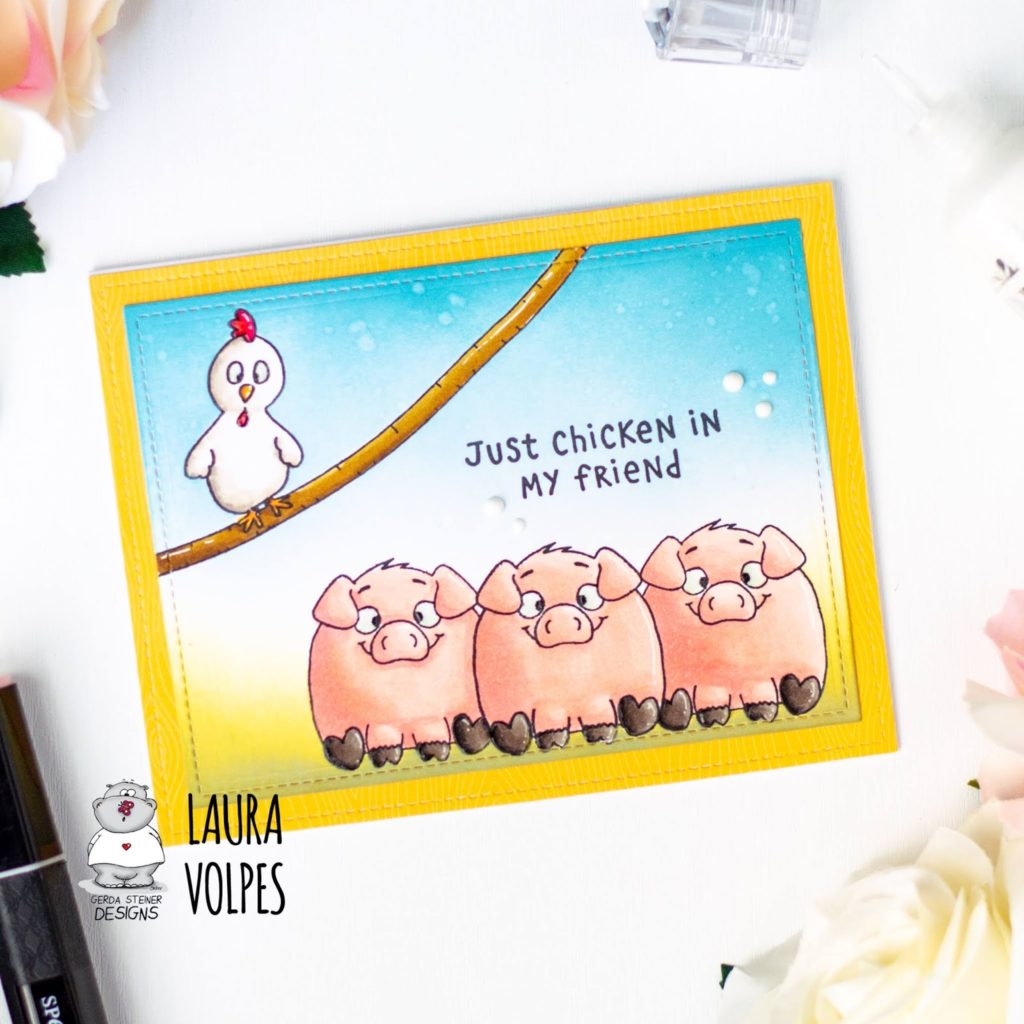
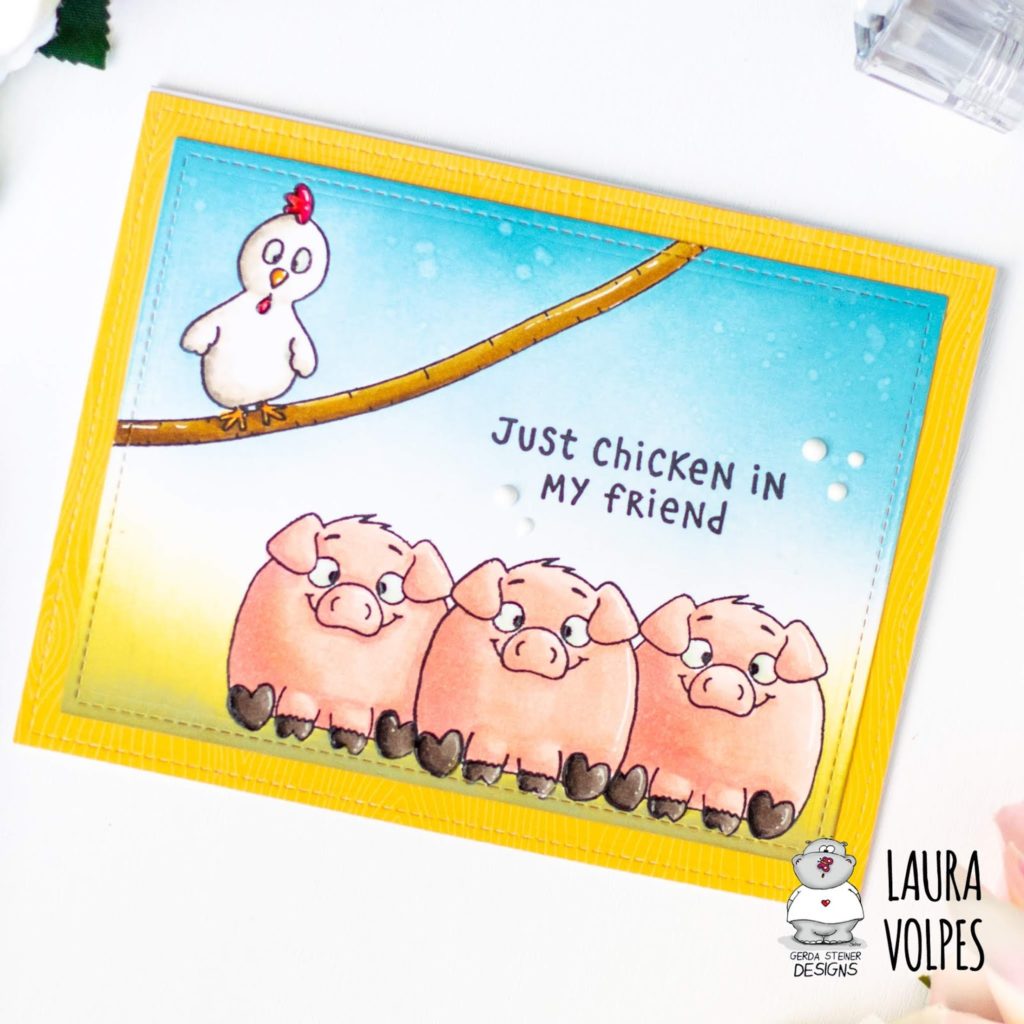
Hi everyone! Today I am back with a fun masked scene I created with the Gerda Steiner Designs Chicken Scratch stamp set and a video tutorial showing how to make it!
I created my scene on some Neenah Solar White 110lb carstock that I die cut with the Lawn Fawn Small Stitched Rectangle Stackables. For the masks I used some repositionable packaging labels and to stamp the images I used my Mini MISTI and the Scrapbook.com Premium Hybrid Ink pad.
After I was done stamping, and with the masks still in position, I did some ink blending with Distress Oxides and the Ranger Blending Brushes. I used Crushed Olive and Peeled Paint for the grass and Broken China and Tumbled Glass for the sky. I added some water droplets for an extra detail on the background.
To color the images I used Spectrum Noir alcohol markers. You can watch the coloring process, including a list of the markers I used, in the video tutorial at the end of this post.
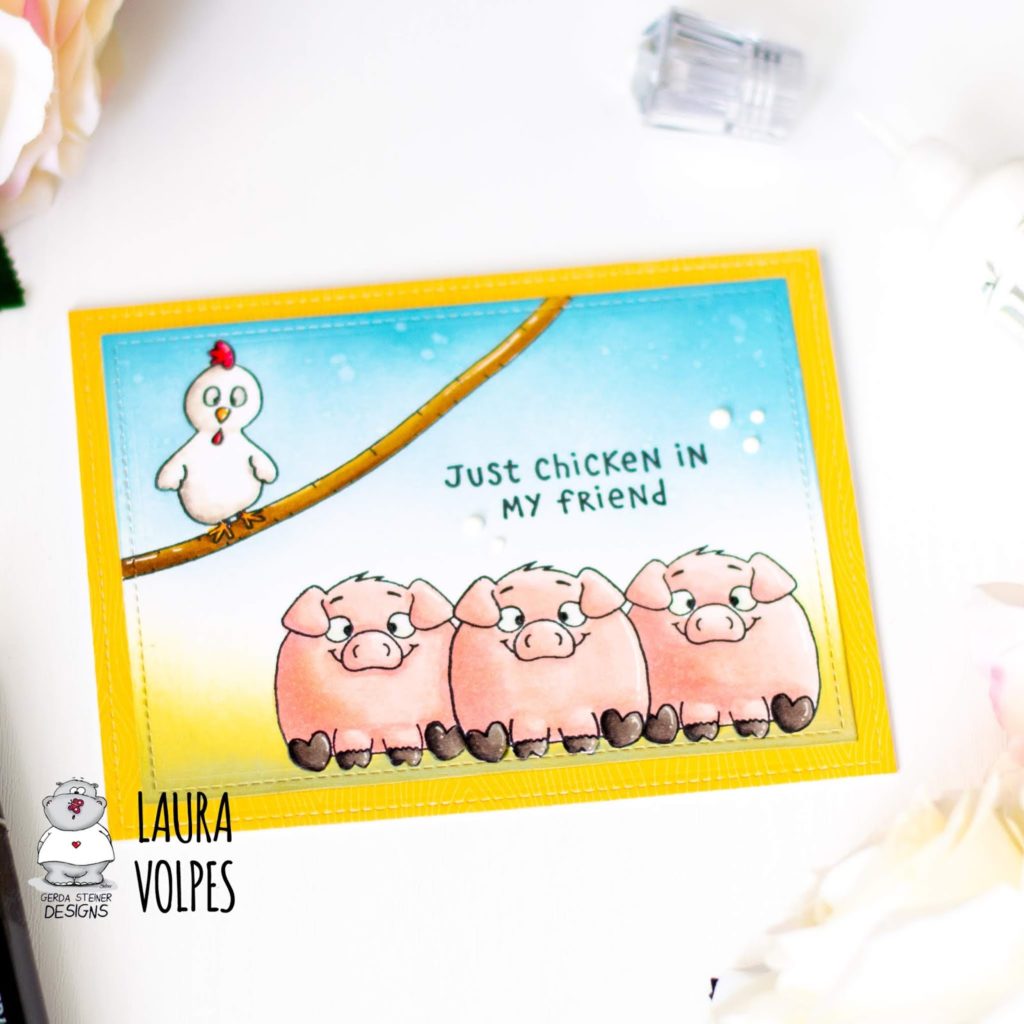
I created a background for my scene using the largest die in the Lawn Fawn Large Stitched Rectangle Stackables and the Knock on Wood 6×6″ paper collection. I adhered everything to a top folding A2 card base and moved on to the finishing touches.
I added some details to the images with Glossy Accents and some enamel dots with Nuvo Drops in Simply White.
And that’s my card for today! As I mentioned, I filmed a video tutorial for you, showing you how to create this cute masked scene with the Gerda Steiner Designs Chicken Scratch Stamp Set. You can watch it down below or directly on my YouTube channel.
Thank you all so much for stopping by and have a great day!
Laura
When possible, affiliated links are used at no additional cost to you. This means that if you make a purchase through one of these links, I will get a small commission at no additional cost to you. The money I earn this way goes towards running this blog and my YouTube channel. Thank you for supporting my creative journey! 💖
Fantastic masking. Thank you for the really helpful video, I'm getting into masking just lately, it really is much easier once mastered. Have a great weekend x
What a great card! I always love your creations, you are so talented! I'm going to watch that video later today, I want to see how you did that. And thank you for always having a link to save your cards to Pinterest, that's where I "store" my favorite things!


Comments
Fantastic masking. Thank you for the really helpful video, I'm getting into masking just lately, it really is much easier once mastered. Have a great weekend x
What a great card! I always love your creations, you are so talented! I'm going to watch that video later today, I want to see how you did that. And thank you for always having a link to save your cards to Pinterest, that's where I "store" my favorite things!