


Hi everyone! Today I am back with a Valentine’s Day card featuring products from the SugarPea Designs December 2020 release! Make sure to also check out the video tutorial at the end of this post, if you are interested in the step-by-step process!
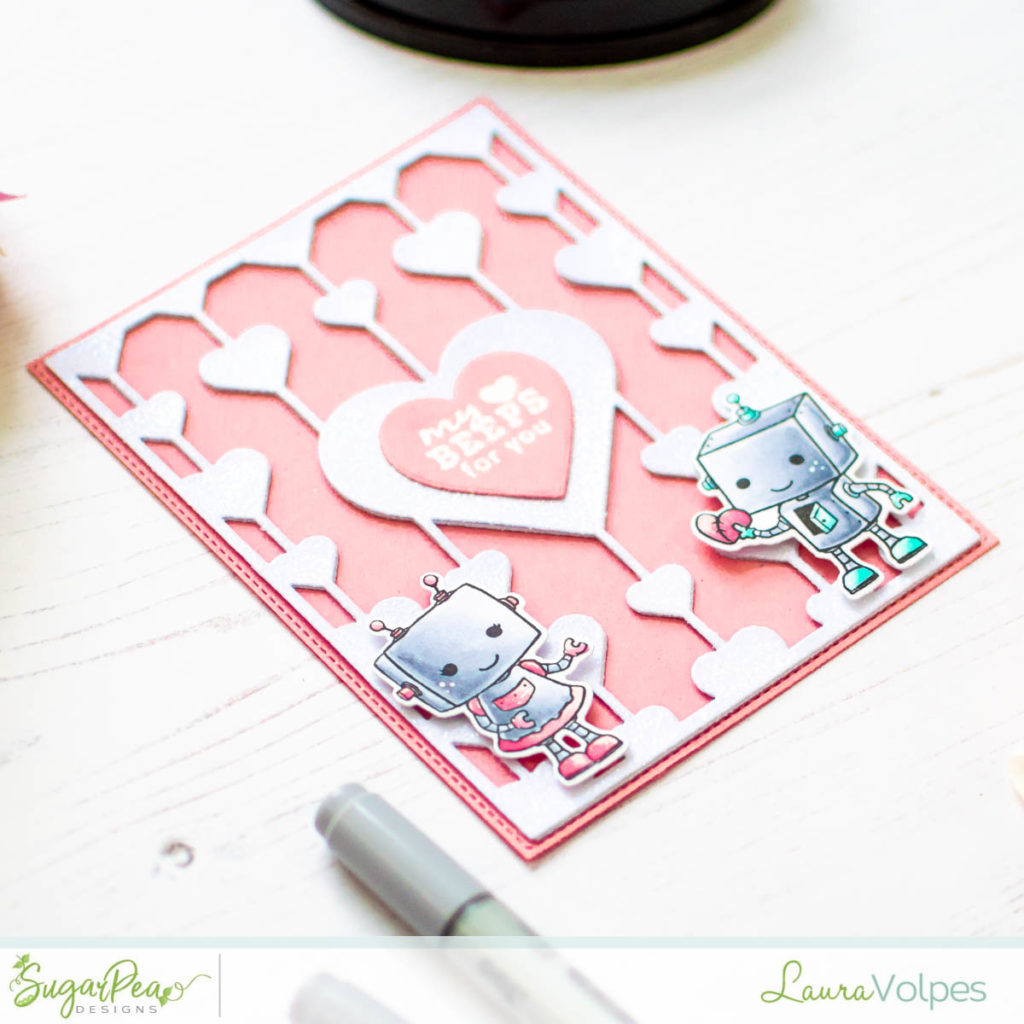
For my card background I used the Dangle Hearts Cover Plate die. I die cut some white cardstock and I turned it into glitter cardstock using Hologram Sparkle embossing powder. I layered three die cuts to create dimension and glued everything to a pink base.
For the pink base I used the A2 stitched rectangle in the Card Front Element Builder dies.
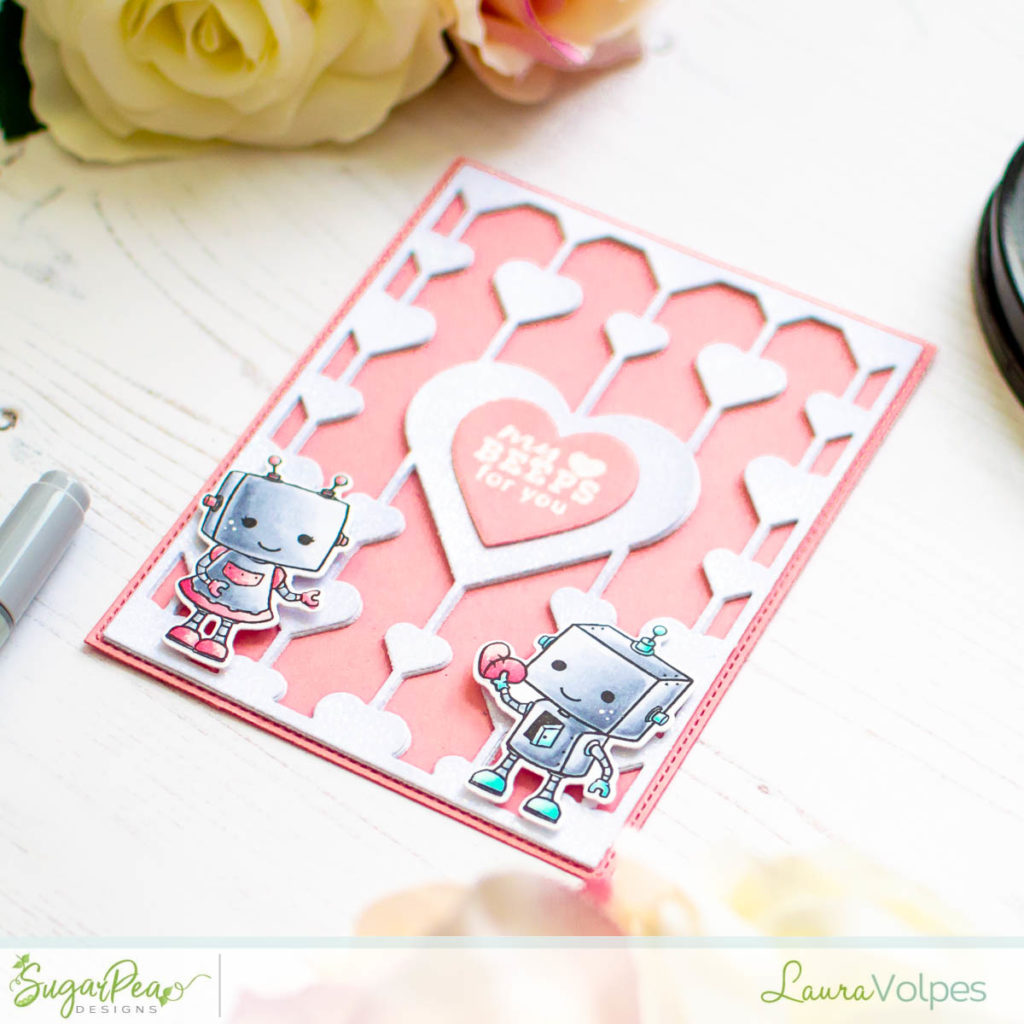
The images I chose today are part of the Love Machine stamp set. They were stamped on Neenah Solar White 110lb cardstock with alcohol proof ink and colored with Copic markers. Once the coloring was over, I die cut them with the coordinating dies.

I used the new Simple Heart die to cut some more pink cardstock, and I heat embossed my sentiment on it with white embossing powder.
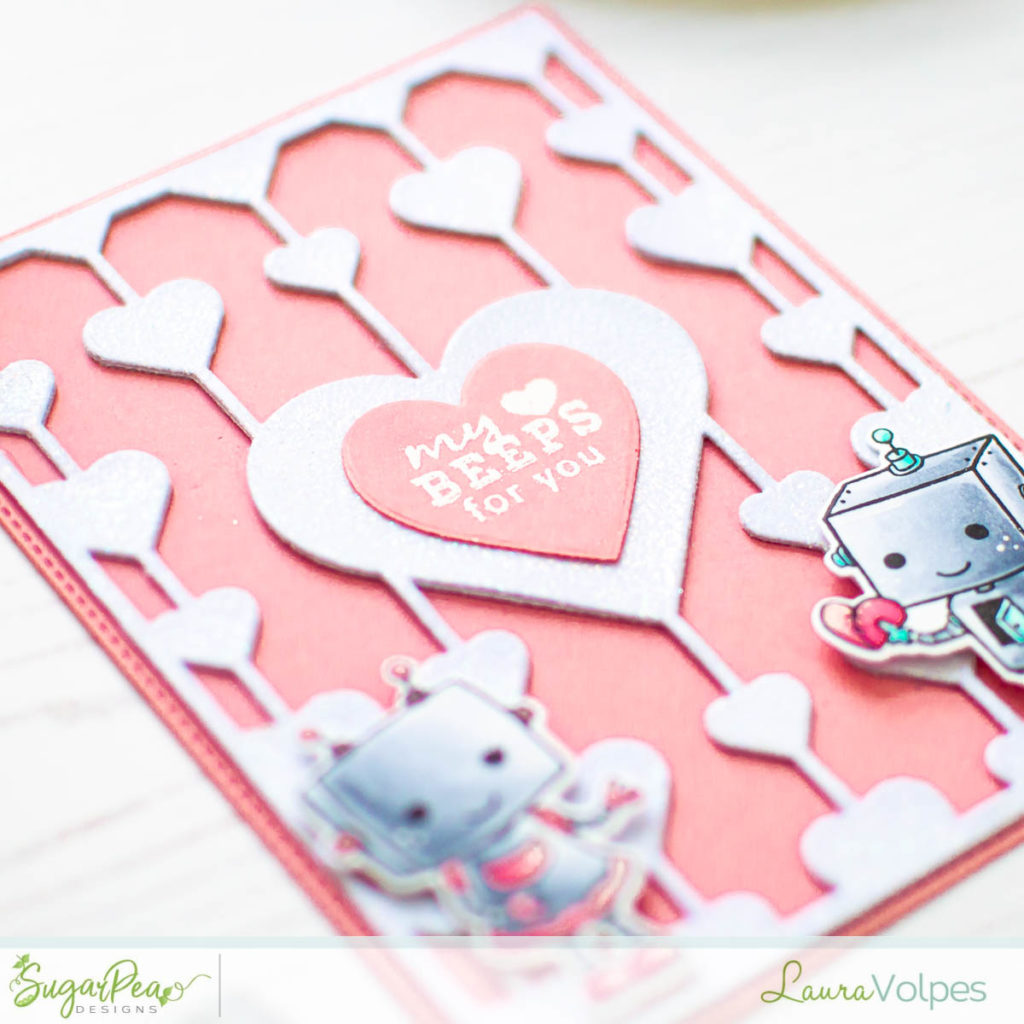
I glued everything to my card base, raising the little robots on some foam tape for added dimension.
As I mentioned, there is a video tutorial for you showing how to make this card, I hope you’ll enjoy it!
Thank you all for stopping by and have a great day!

The items marked with a * were sent to me for free for designing purposes.
When possible, affiliated links are used. This means that if you make a purchase through one of these links, I will get a small commission at no additional cost to you. The money I earn this way goes towards running this blog and my YouTube channel and allows me to keep sharing inspiration with you. Thank you for your support! 💖
When possible, affiliated links are used. This means that if you make a purchase through one of these links, I will get a small commission at no additional cost to you. The money I earn this way goes towards running this blog and my YouTube channel and allows me to keep sharing inspiration with you. Thank you for your support! 💖


