


Hi everyone! Today I have a super fun interactive card that I created with the Heffy Doodle Hello Squeekheart stamp set and the Lawn Fawn Flippin’ Awesome dies!
Before I tell you more about this project, I wanted to let you know that the products I used for this card are on sale on the Heffy Doodle store! And since Heffy Doodle was a sponsor of the Spread Joy not Germs blog hop, you can get a 15% discount with the code SPREADJOY15! Yay for crafty goodies!

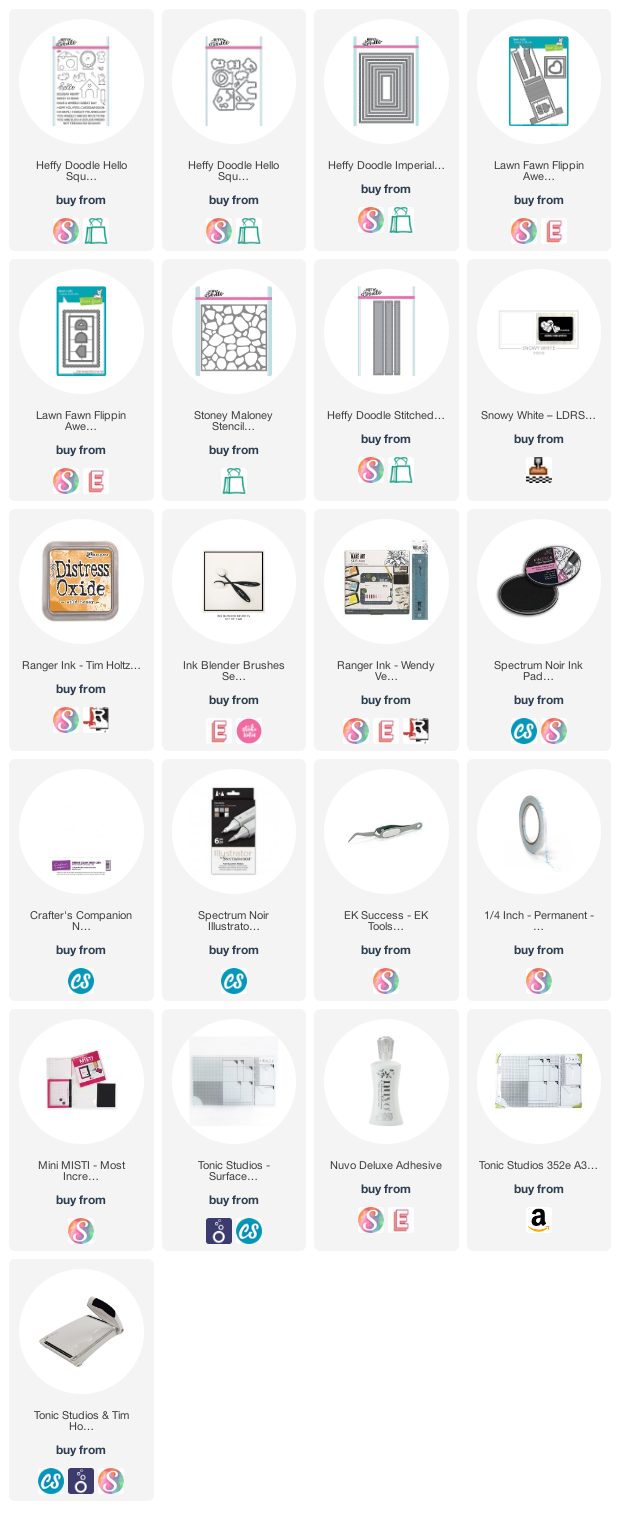
As I mentioned, for my card today I used the Hello Squeekheart stamp set and, for the interactive part of the card, I used the Lawn Fawn Flippin’ Awesome and Flippin’ Awesome Add-On dies.
For the card base I used the Imperial Stitched Rectangle Dies.
I started by die cutting all the pieces I needed from some yellow and light brown cardstock. I then created a cheese pattern on the yellow die cuts using the Stoney Maloney stencil, a blending brush and Distress Oxide in Wild Honey. It is not very visible in the pictures, but it real life it adds a super fun touch to the card.

As I mentioned, for my card today I used the Hello Squeekheart stamp set. Additionally, for the interactive part of the card, I used the Lawn Fawn Flippin’ Awesome and Flippin’ Awesome Add-On dies. For the card base I used the Imperial Stitched Rectangle Dies.
I started by die cutting all the pieces I needed from some yellow and light brown cardstock. I then created a cheese pattern on the yellow die cuts using the Stoney Maloney stencil, a blending brush and Distress Oxide in Wild Honey. It is not very visible in the pictures, but it real life it adds a super fun touch to the card.

I then stamped and colored some of the images in the Hello Squeekheart stamp set. I used Illustrator alcohol markers and then die cut everything with the coordinating dies. Here is a list of the markers I used:
Mice: MB4, MB3, MB2 MB1
House: BG3, BG1
Cheese: GY5, GY4, GY3, GY2, GY1
Wheel: VB3, VB1, PP5, PP3, PP1

I then went ahead and assembled my interactive card. I created little scenes in all the panels I have on my flip card element and glued everything to the card base.
As a last step, I stamped the sentiment with white pigment ink on some brown cardstock and I die cut it with the Stitched Strips of Ease dies.
And that’s my card for today! Super fun and oh, so cute! If you want to see it in action, I have a short clip on my Instagram profile (@abitofmycrafts).
Thank you all for stopping by and have a great day!

The items marked with a * were sent to me for free for designing purposes. When possible, affiliated links are used at no cost to you. Thank you for your support! 💖


Comments
I can see why the flipping die is called Flipping Awesome! Your card is awesome.