


Hi everyone! Today I am really thrilled to be back with a video in which I am sharing 5 different ways to create card backgrounds and 5 card examples too! The video is a collaboration with Justine Hovey, so make sure to check out her inspiration as well – she is amazing!
For today’s post I will switch things up a bit: I will have my video first and then mini articles about each card, with individual supply lists! Don’t forget to check out Justine’s video too and to subscribe to my channel if you haven’t already!
Card 1 – Distress oxides and micro glaze

For my first card I used one of my favorite techniques, but with a bit of a twist! I used the ink smooshing technique using Distress Oxides and Distress Micro Glaze. For this technique to work, you need Alcohol ink cardstock as your surface, rather than regular watercolor cardstock.
The images I used are from the new Boba Tea stamp set by Mama Elephant – so adorable! Like all the images in today’s video I stamped them with Preimium Hybrid Black ink on Neenah Solar White 110lb cardstock and I colored them with Spectrum Noir markers.

I kept the design pretty simple: I started by die cutting the ink smooshed background using the Blueprints 27 Die-Namics by MFT. I then glued it to an A2 panel that I die cut out of brown cardstock with the Lawn Fawn Large Stitched Rectangle Stackables dies.
Lastly, I used the Heffy Doodle Stitched Circles to cut some Vanilla cardstock. This way I created three circles of different size: one for my images, one for my sentiment, and the third to complete a visual triangle on my design.
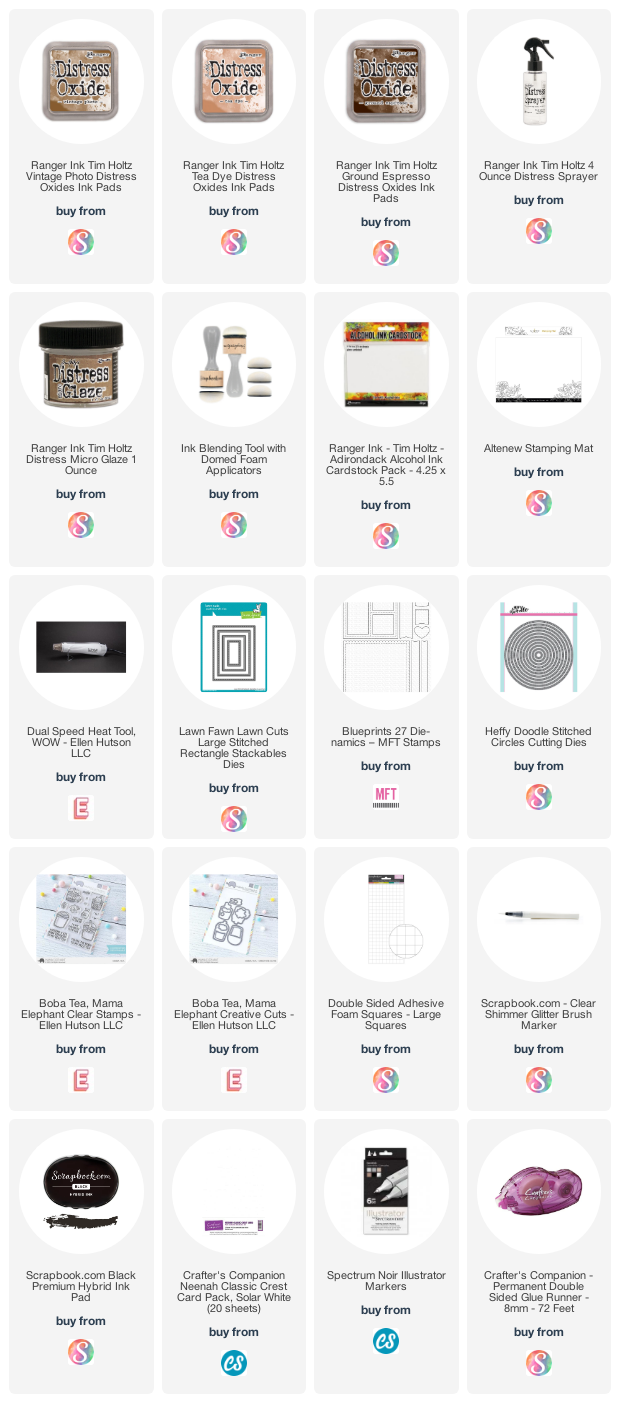
Here is the list of supplies I used to create this card.

The items marked with a * were sent to me for free for designing purposes. When possible, affiliated links are used at no cost to you. Thank you for your support! 💖


card 2 – alcohol inks background

For my second card I decided to use Alcohol Inks. I chose Turquoise, Pistachio and Denim and added them to a sheet of Yupo Paper (different from the Alcohol ink cardstock used in Card 1). I used the Alcohol Ink Blending Solution and a spritzer to help me move the inks around.
While the inks were still a little bit sticky, I applied Prism foil to the background, to create metallic accents.

I then decided to add more interest to the background, so I stamped the Wavy Coloring Book background stamp using Alcohol Lift Ink. This reactivates the alcohol inks in the stamped areas, so that I can rub off the excess and reveal the stamped pattern.
I added an image and one of the sentiments in the Avery Elle Otterly Fantastic stamp set and finished off the card using some Sparkling Sea confetti by Studio Katia.
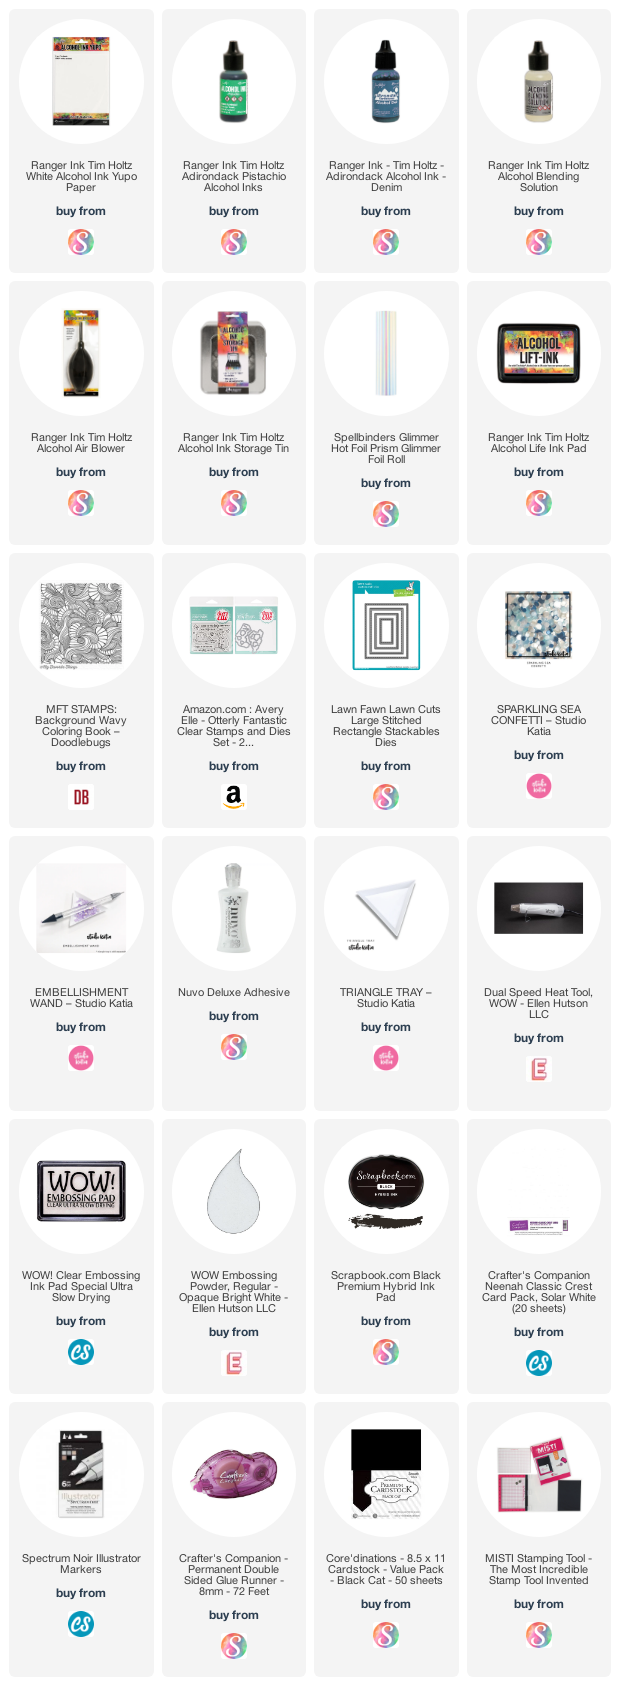
Here is a list of the supplies I used to create the card
The items marked with a * were sent to me for free for designing purposes. When possible, affiliated links are used at no cost to you. Thank you for your support! 💖

card 3 – oxide sprays and stencils

The third background is definitely the quickest one to make: it literally took seconds! I just had to lay my On My Heart stencil by Heffy Doodle on some watercolor cardstock and spray it a couple of times with Distress Oxide Spray in Work Lipstick. DONE! So quick and so cute!

The images I chose are part of the Lawn Fawn Sweet Friends stamp set. I raised them on a die cut circle using some foam squares and, for a finishing touch, I added some white gel pen details and some Crystal Stickles to the ice creams.
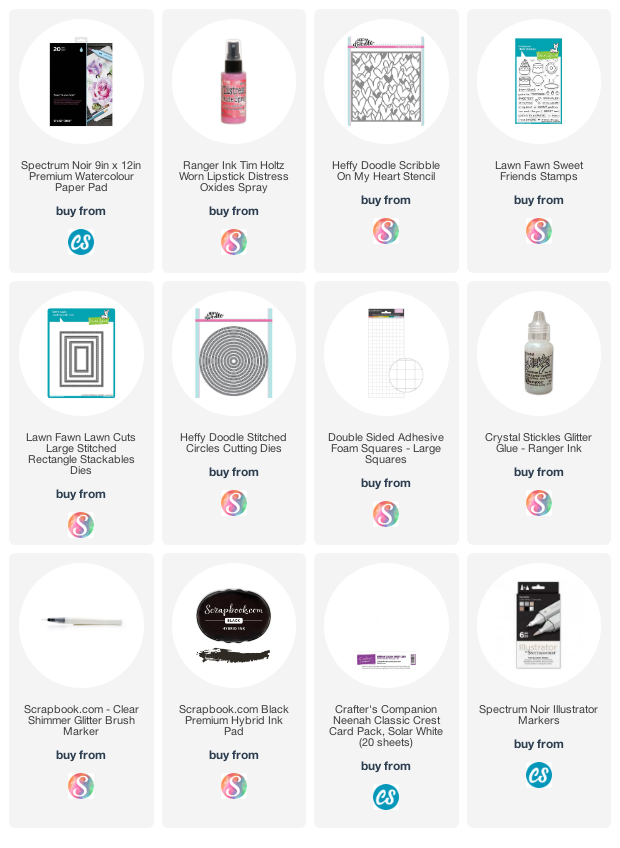
You know the drill by now, supply list below! 🙂
The items marked with a * were sent to me for free for designing purposes. When possible, affiliated links are used at no cost to you. Thank you for your support! 💖

Card 4 – Distress Crayon Rainbow

The background I created on my fourth card is also a very quick and easy one. I used Distress Crayons and went for a rainbow color palette. I scribbled my Distress Crayons on some watercolor cardstock, spritzed the background with some water and very lightly blended my crayons with a flat brush. I did this very quickly, as I wanted to retain that lovely texture created by the watercolor cardstock

The image I used is part of the adorable Magical Friends stamp set by MFT. I also created some cloud borders using the Lawn Fawn Puffy Cloud Border dies. I layered some white cardstock and pearlescent vellum for added interest.
I raised everything on a layer of foam tape and finished off the card by coating areas of the dragon’s body with a Glitter Brush Pen.
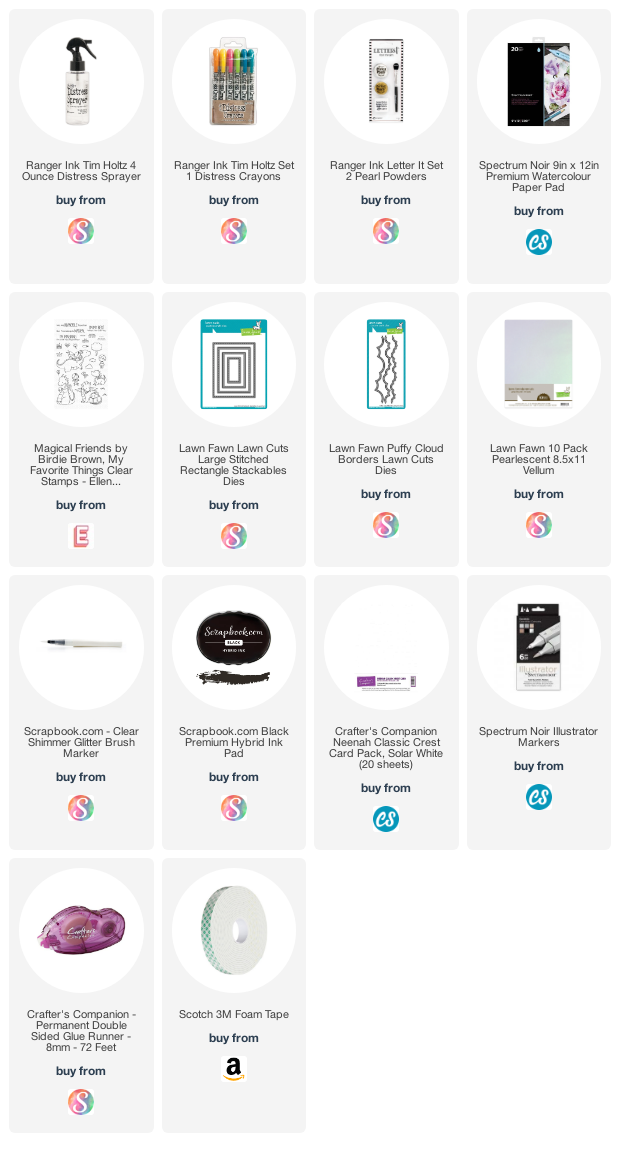
The items marked with a * were sent to me for free for designing purposes. When possible, affiliated links are used at no cost to you. Thank you for your support! 💖

Card 5 – diy patterned paper

For my fifth and final card I used a technique that I often feature in my cards: I used small images to create a custom pattern paper effect. I chose images from the Lawn Fawn Love Letters stamp set and I stamped them on a Neenah Solar White card front with Premium Hybrid Black Ink by Scrapbook.com.
You can leave the background black and white or use colored inks instead. I decided to color it with my Illustrator markers. The images are so small that this took no time at all!
For the focal point of my card I die cut some pearlescent vellum with the Lacy Heart Stackables dies, also by Lawn Fawn. I adhered some more images from the Love Letters stamp set and that finished off my card.
The items marked with a * were sent to me for free for designing purposes. When possible, affiliated links are used at no cost to you. Thank you for your support! 💖

And that’s it for today! I really hope you enjoyed this post and the video I made for my collaboration with Justine!
Thank you all for stopping by and have a great day!


Comments
I love the oxides and micro glaze technique! I have them both but I didn’t know you can use them like this. Thanks for sharing!