Hi everyone! Today I am back with a super sweet and cozy Christmas card with stamps by Impronte d’Autore.
The card is a vellum window card and I am going to show you step by step how to create it.
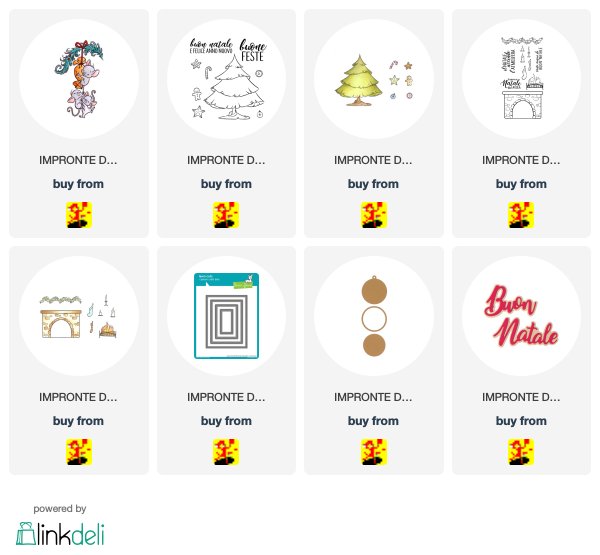
As a first step, I stamped my images with Versafine Onyx Black and I embossed them with clear embossing powder. I then colored them with Zig Clear Color Real Brush Markers. The sets I chose for today’s card are Topini Dolci, Buone Feste and Natale da Favola. The latter two have coordinating dies, that I used to die cut the images.
I then moved on and started working on my card base. I cut some white cardstock to 5.5×8.5″ and I scored it at 4.25″. I created a window on the card front with one of the dies in the set Tag Tonda.
I created the background for the scene inside my card with Distress Oxides and the masking technique. I used Scattered Straw, Wild Honey, Rusty Hinge and Fired Brick in the top portion, blending the Oxides in a circular pattern around the area where the fireplace was going to be.
For the lower portion, that is the floor, I used Brushed Corduroy, Walnut Stain and Ground Espresso. Also in this case I blended the lighter shades in the area were I the fireplace was going to be.
Once I completed the background I could move on and assemble my scene. And I have to tell you, I really love the way it turned out. 🙂
I then coated the back of the window with some vellum, that I die cut to the size of my card front with the Lawn Fawn Large Stitched Rectangle Stackables.
I added just a tiny bit of Nuvo Deluxe Adhesive along the stitched lines and I glued the vellum behind my card front. Adding glue on the stitched lines will keep it pretty much unnoticeable, even on vellum. The important thing is to only use a very small amount.
I added just a tiny bit of Nuvo Deluxe Adhesive along the stitched lines and I glued the vellum behind my card front. Adding glue on the stitched lines will keep it pretty much unnoticeable, even on vellum. The important thing is to only use a very small amount.
For my card front I used again Distress Oxide in Scattered Straw, Wild Honey and Rusty Hinge. I glued down the little mice and created my sentiment with the Buon Natale (Merry Christmas) die.
I have to say that I am really happy with today’s card: these cute mice give it such a sweet look and the cozy scene on the inside makes this the perfect Christmas card to give to a special person in our life.
The more I look at it the more I want Christmas to come…
I really hope you liked this card too and as always thank you so much for visiting me here on my blog!
The items marked with a * were sent to me for free for designing purposes.
When possible, affiliated links are used. This means that if you make a purchase through one of these links, I will get a small commission at no additional cost to you. The money I earn this way goes towards running this blog and my YouTube channel and allows me to keep sharing inspiration with you. Thank you for your support! 💖
When possible, affiliated links are used. This means that if you make a purchase through one of these links, I will get a small commission at no additional cost to you. The money I earn this way goes towards running this blog and my YouTube channel and allows me to keep sharing inspiration with you. Thank you for your support! 💖
